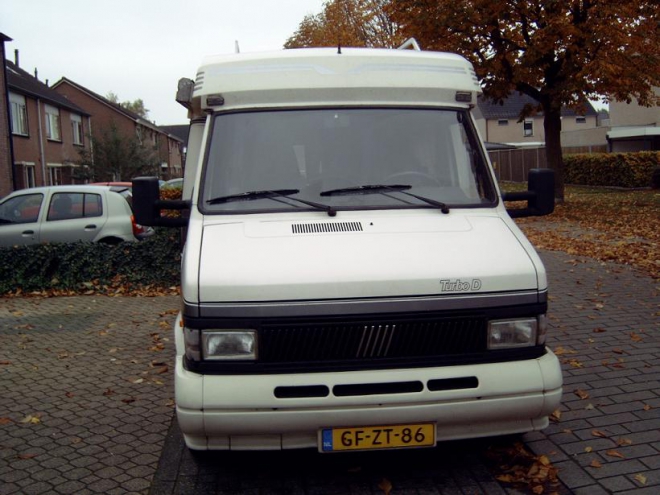
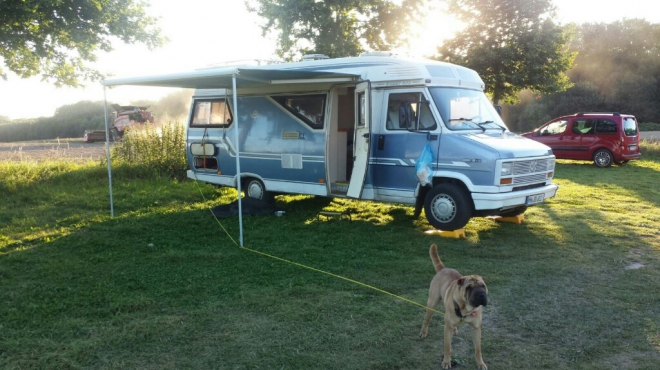
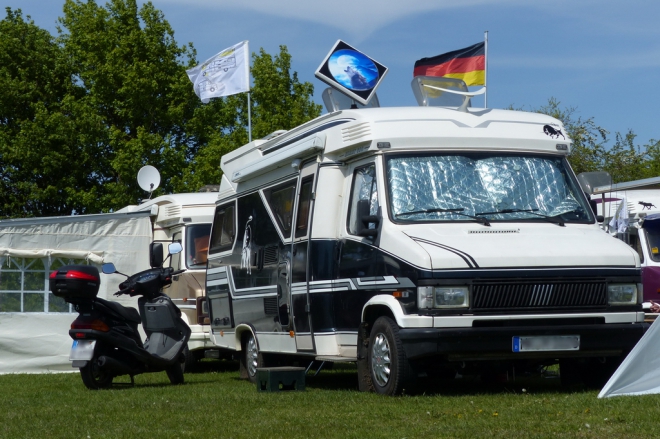
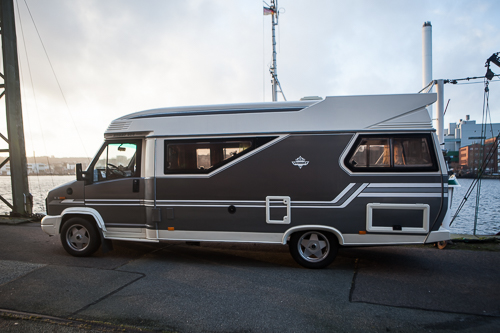
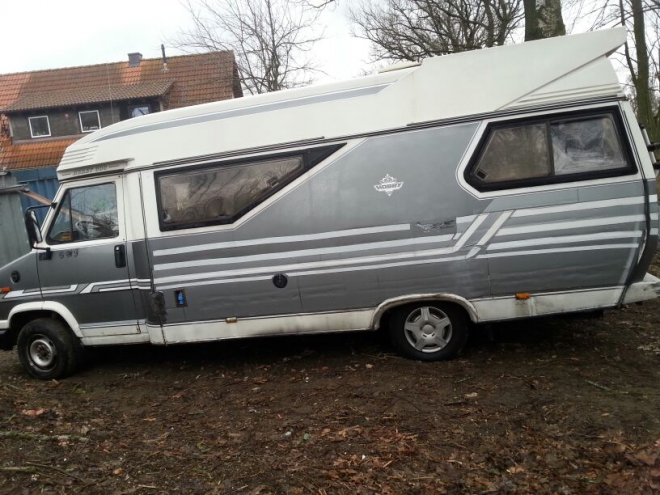
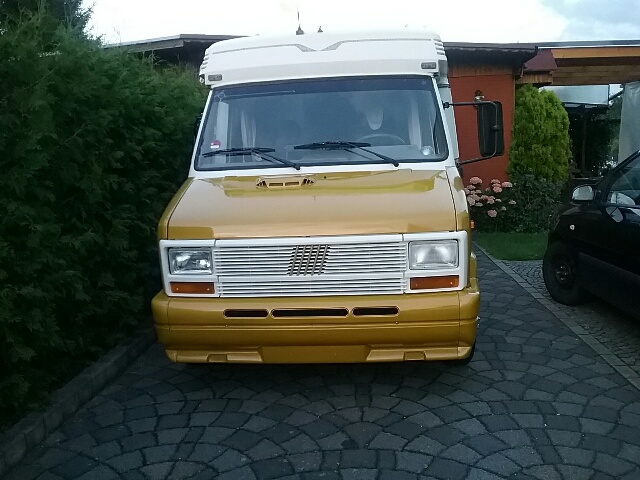
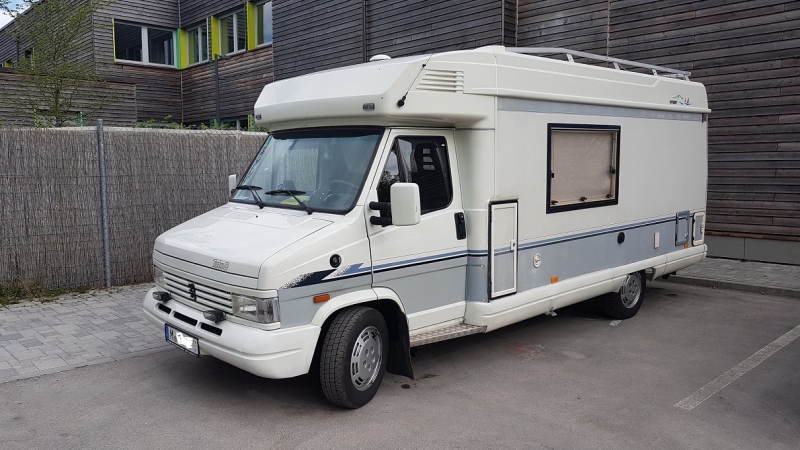
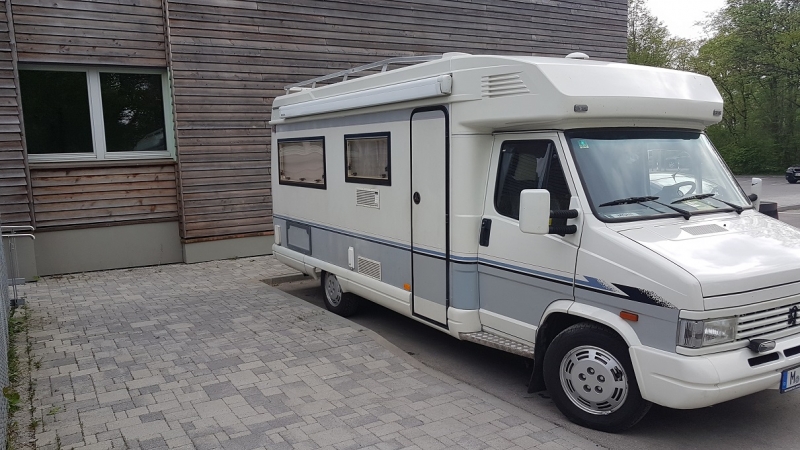
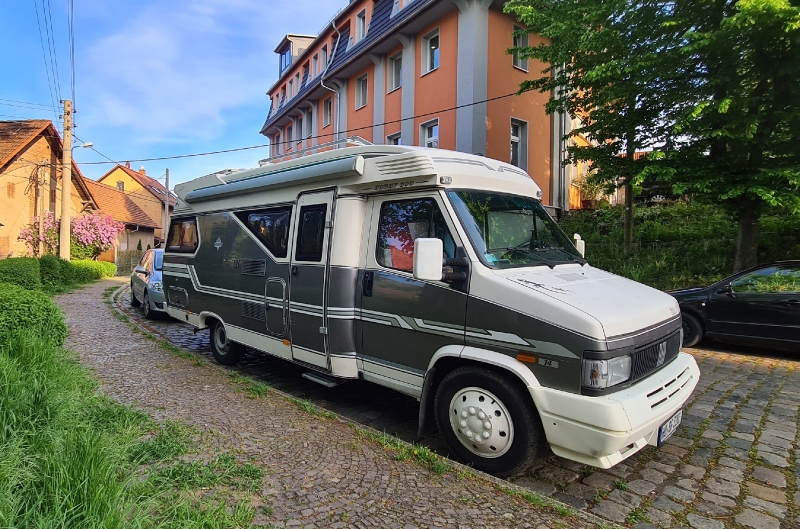
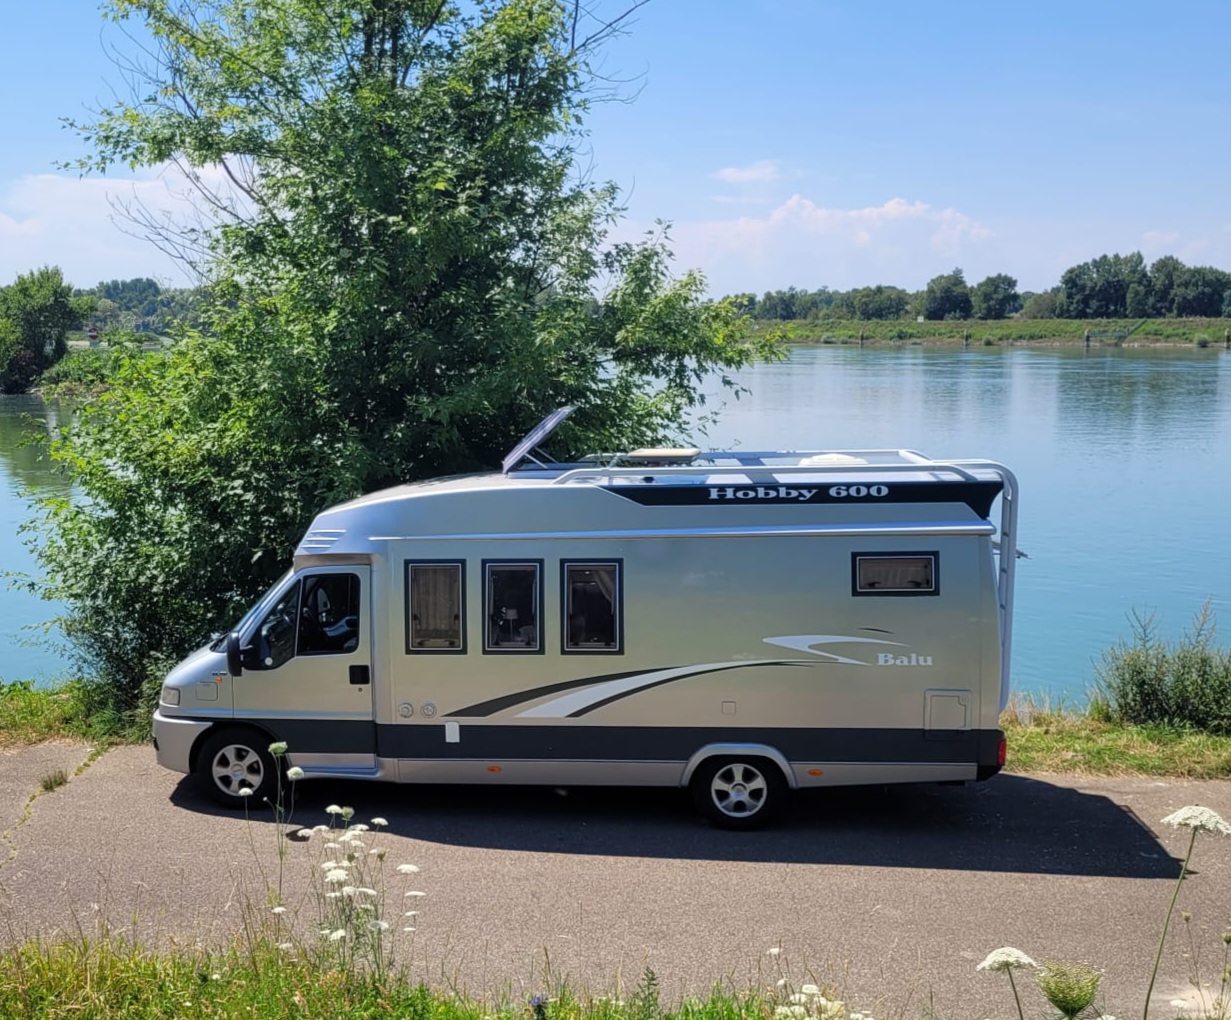
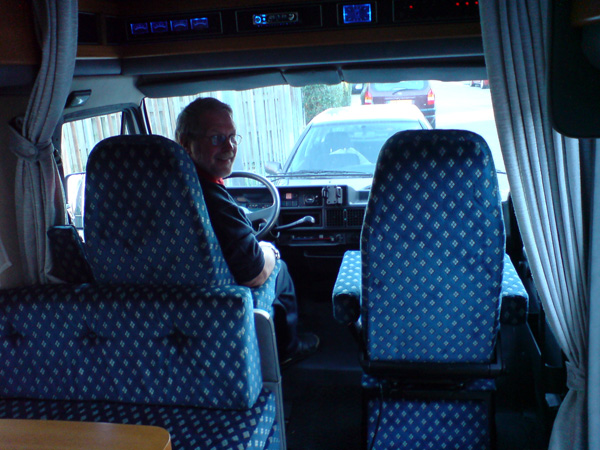
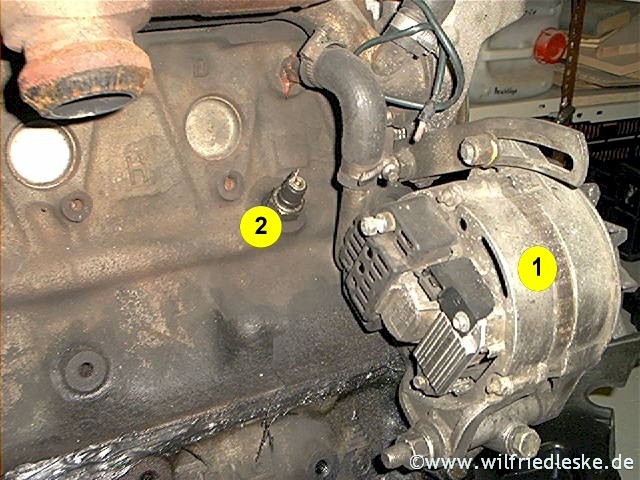
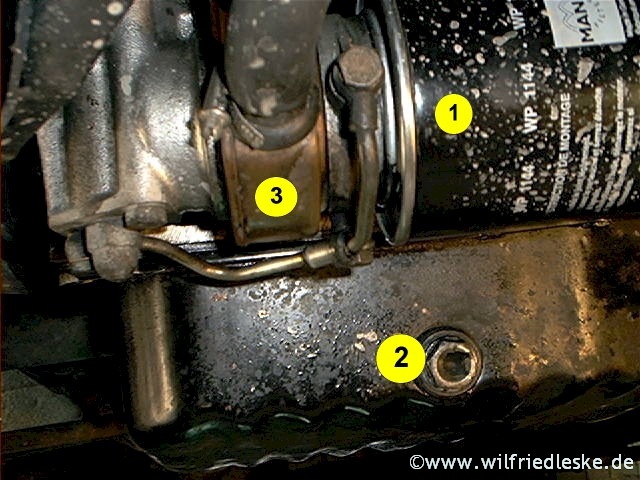
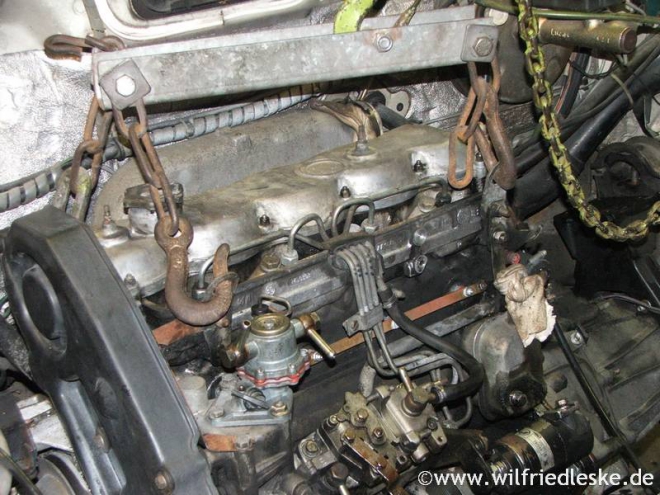
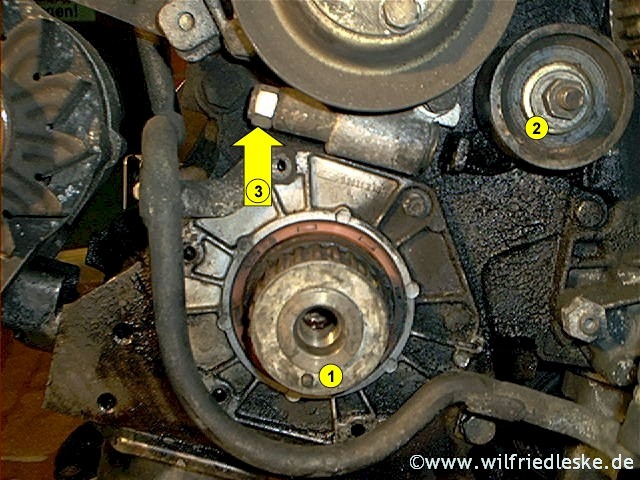
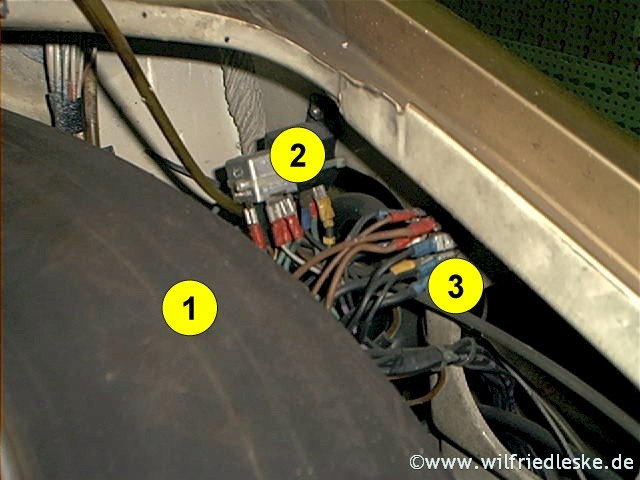
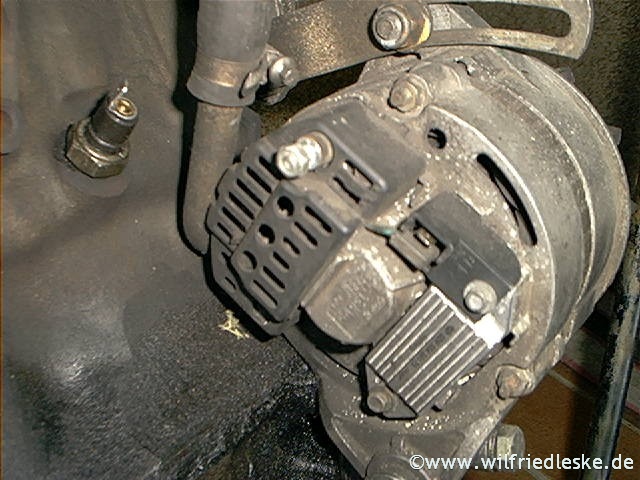
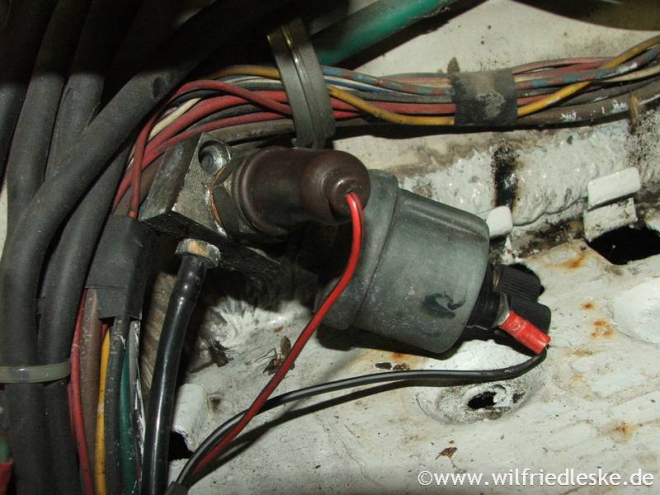
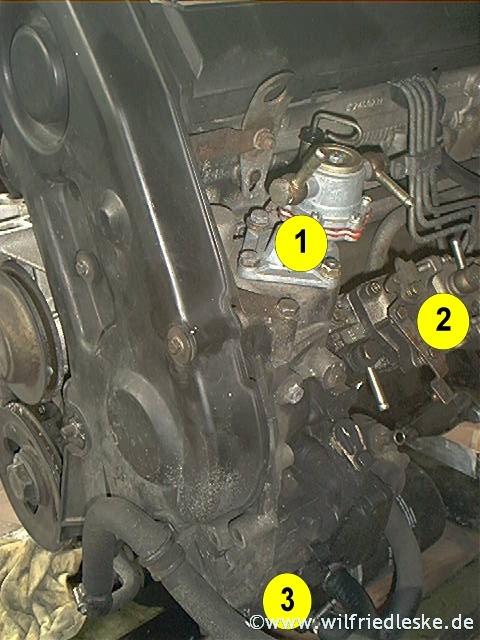
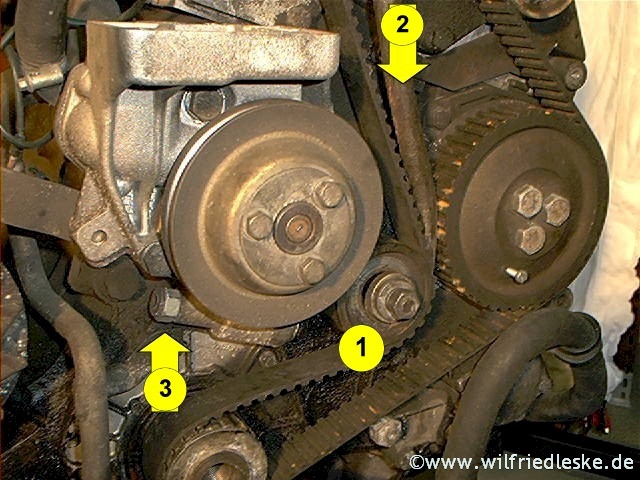
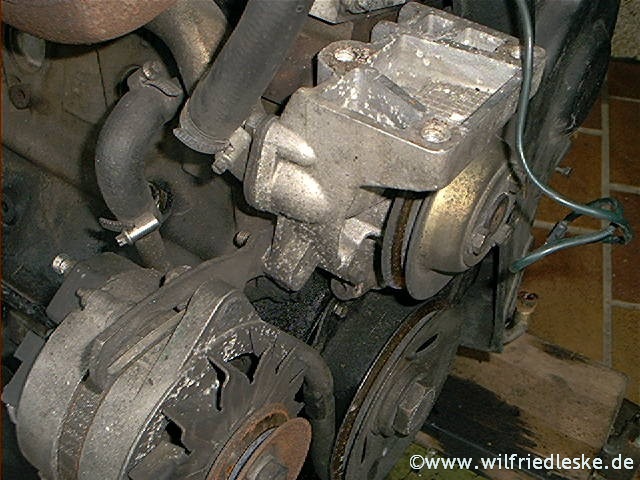
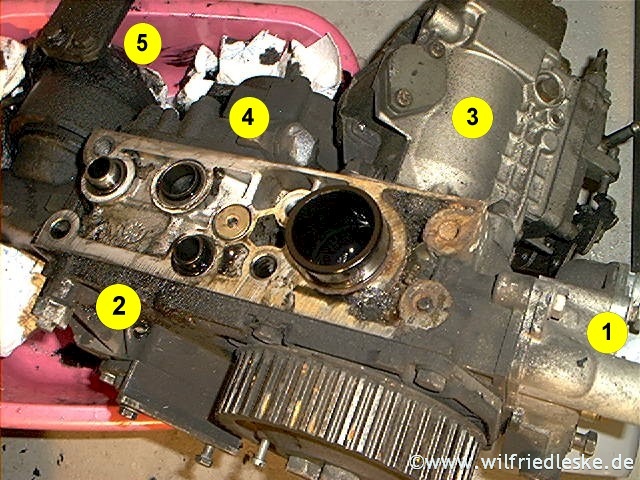
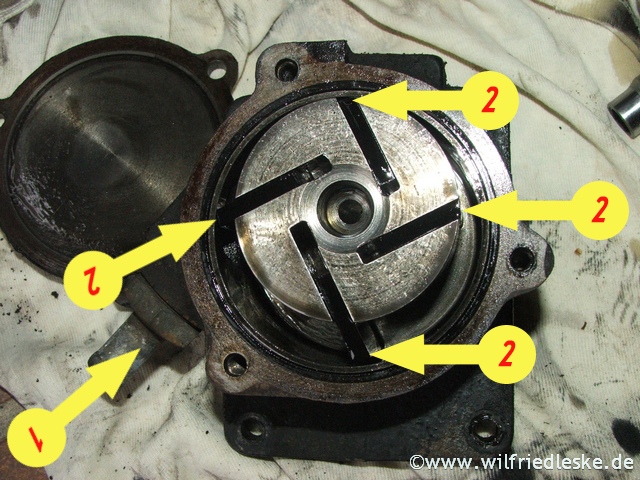
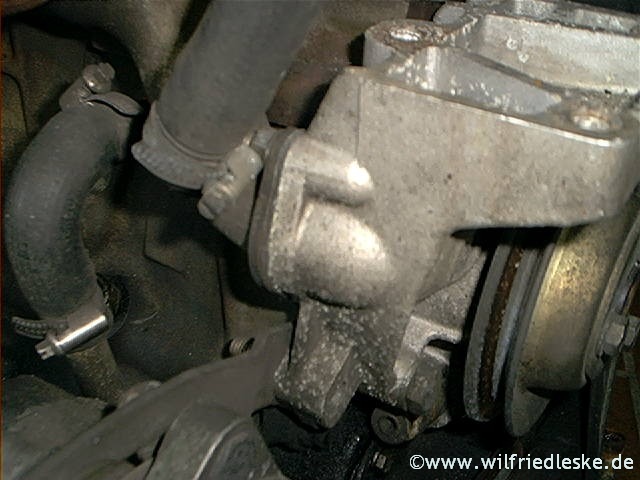
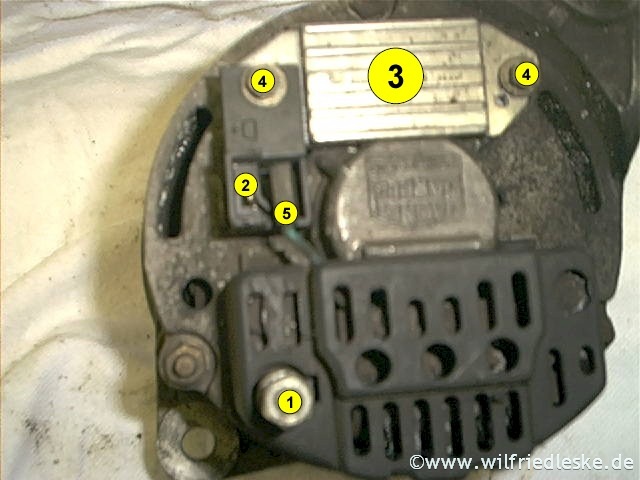
The work has started, and it already took me too long for a simple task! I had discharge from the main battery and dash lights were lightly showing with the ignition off. I spent far too long disconnecting every plug, batteries, solar source, relays etc. etc. eventually I traced it to a broken alternator rectifier. Very annoying! A new alternator is now on the list to be ordered!
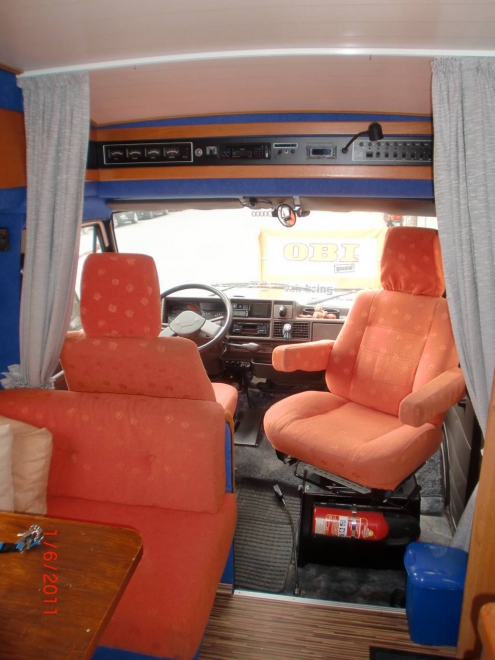
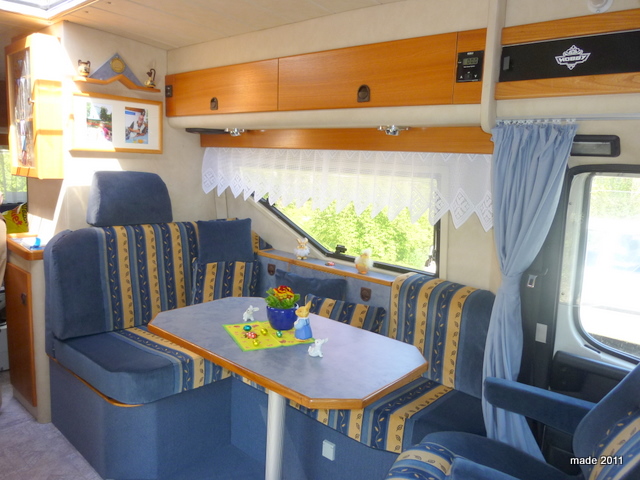
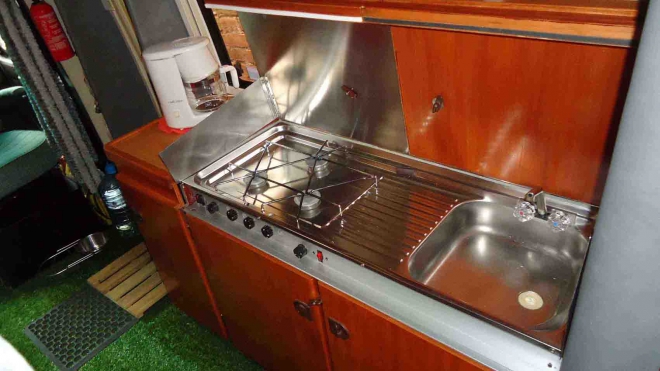
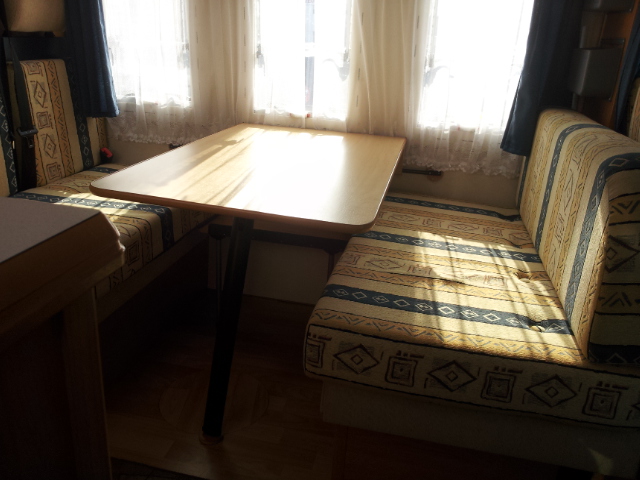
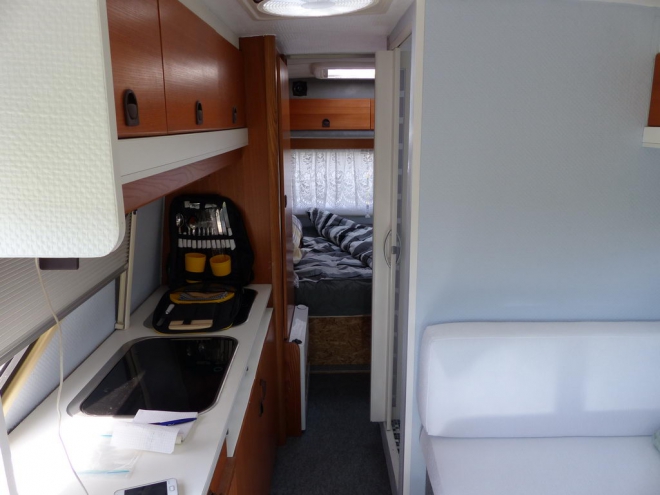
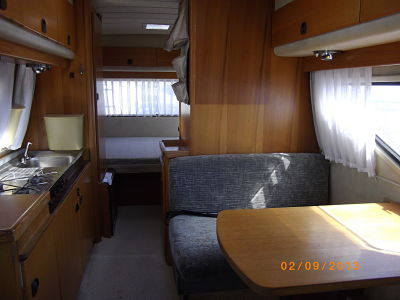
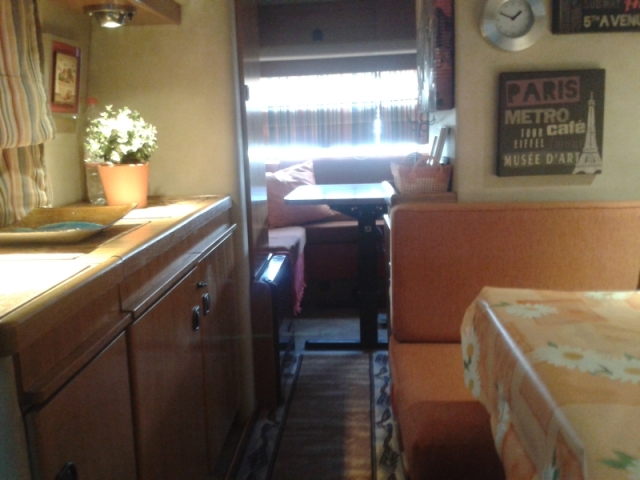
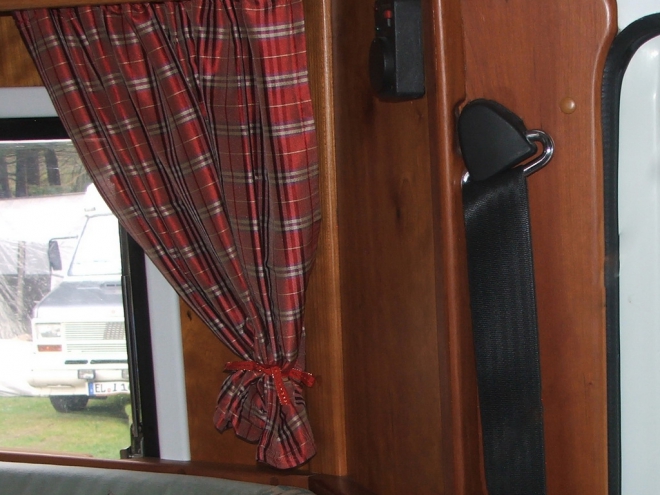
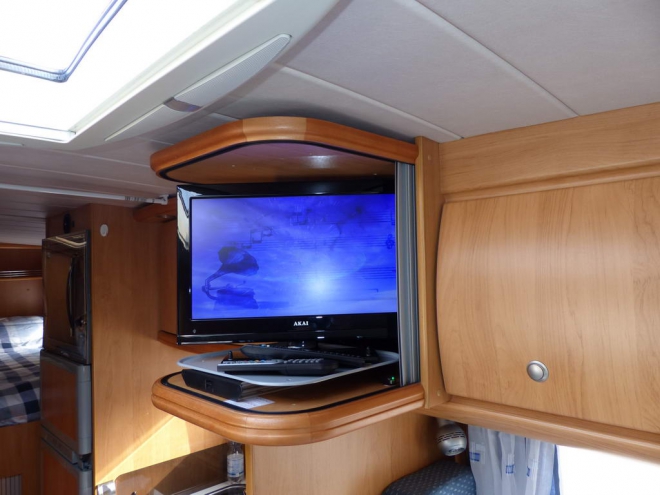
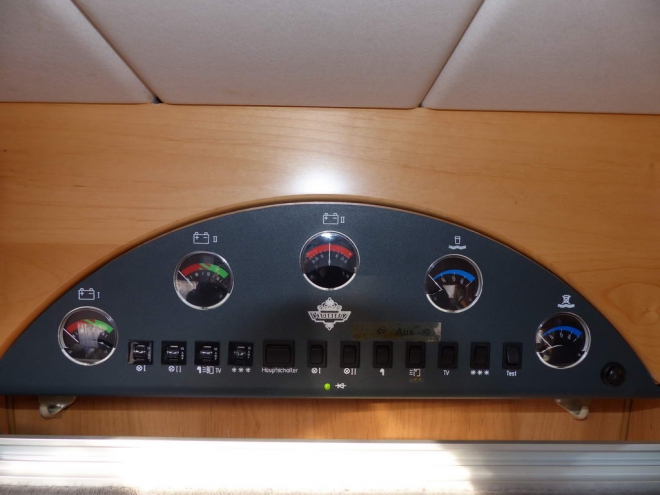
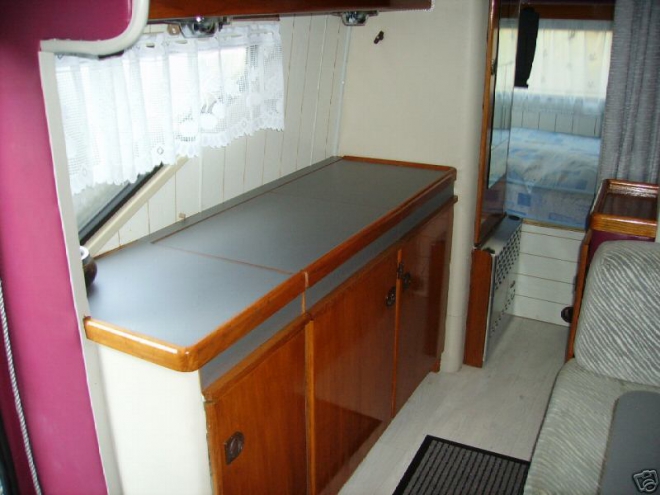
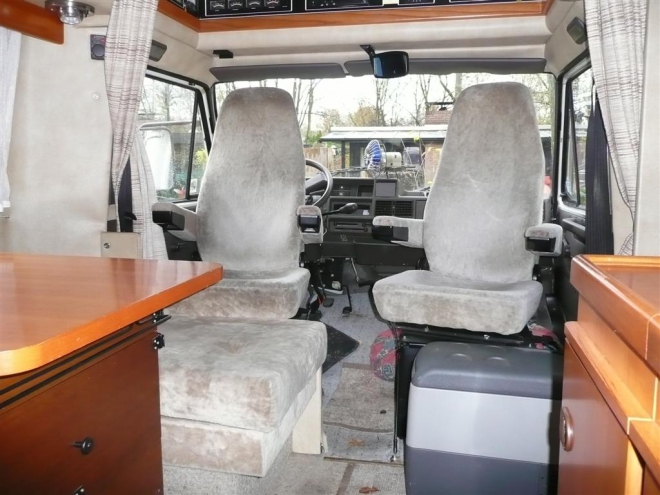
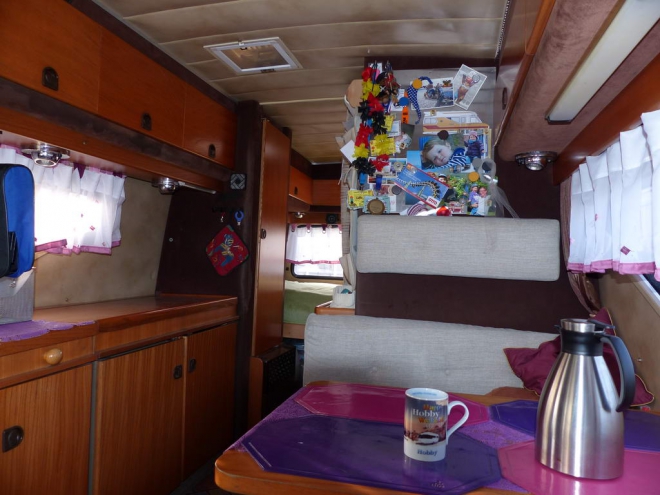
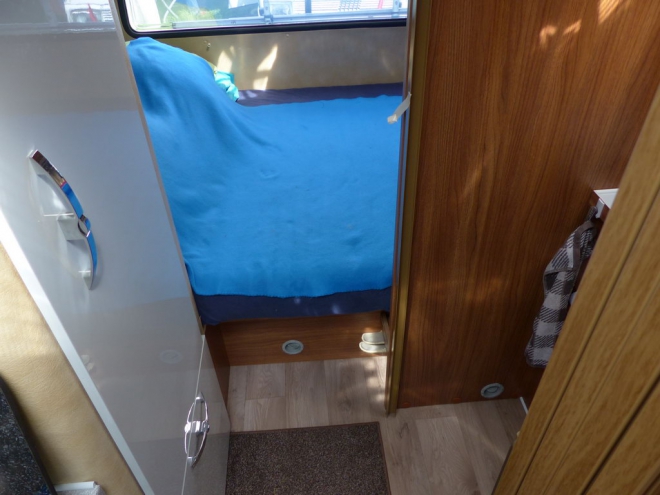
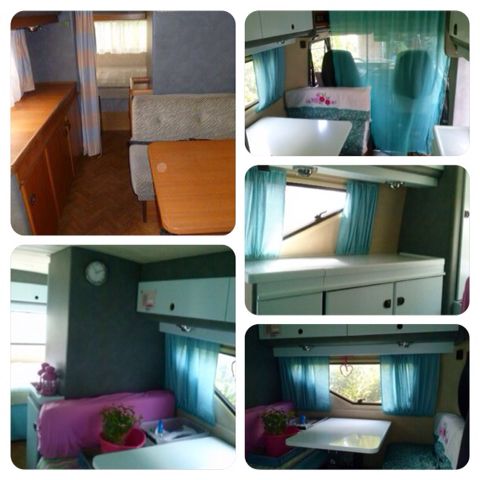
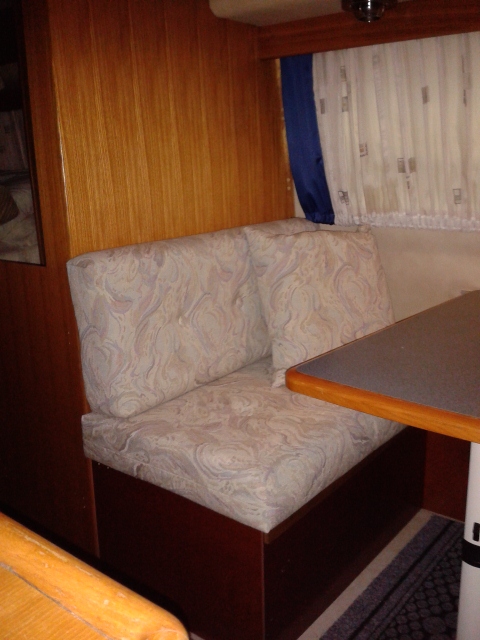
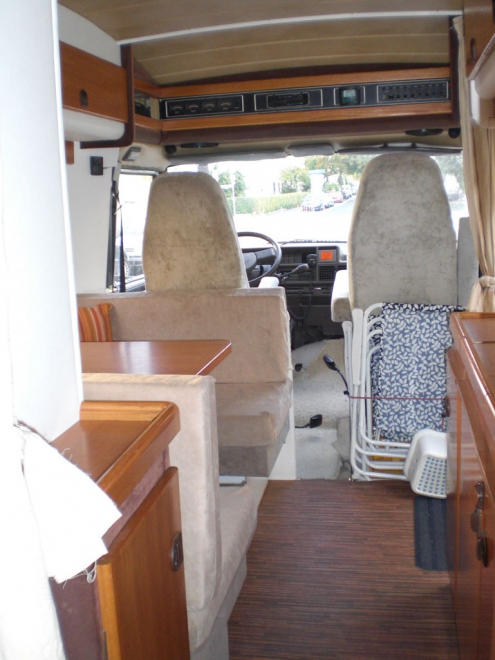
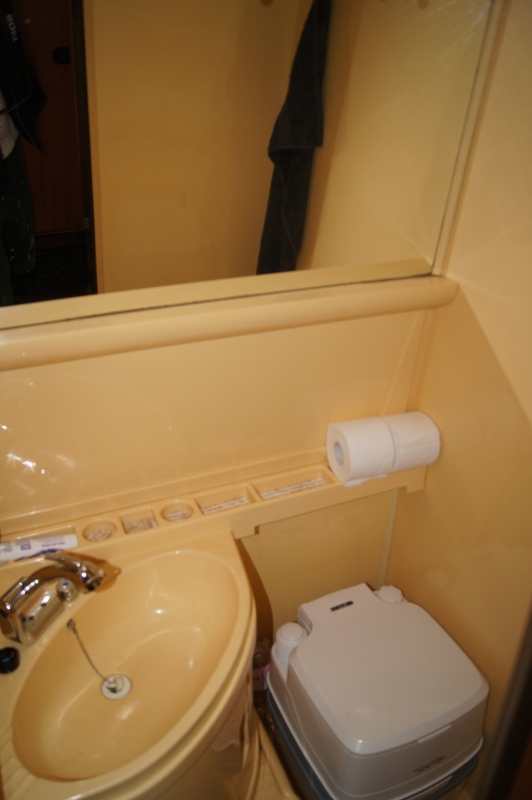
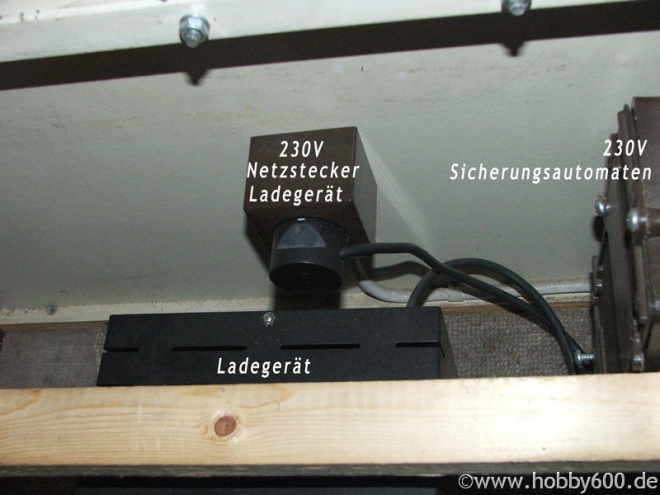
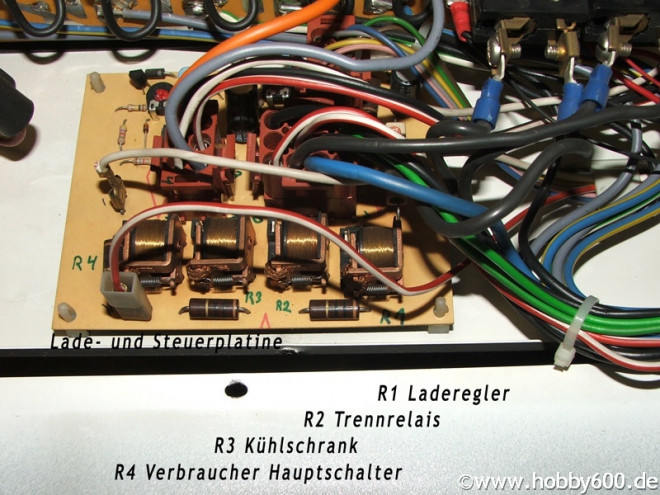
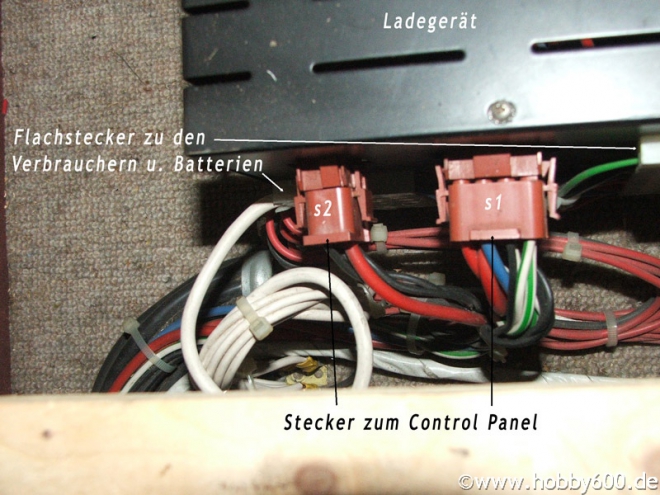
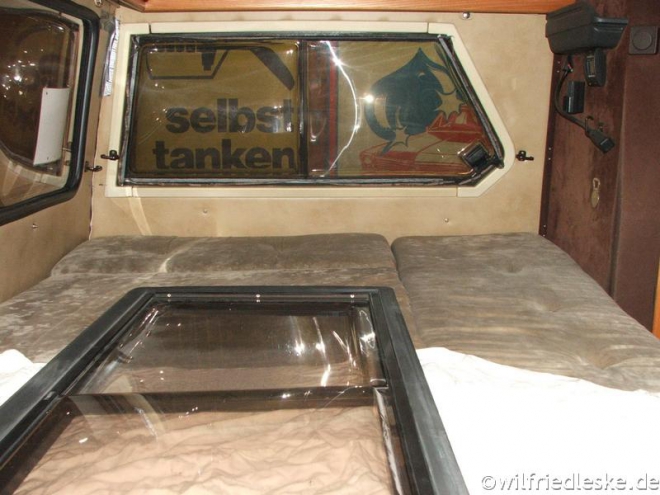
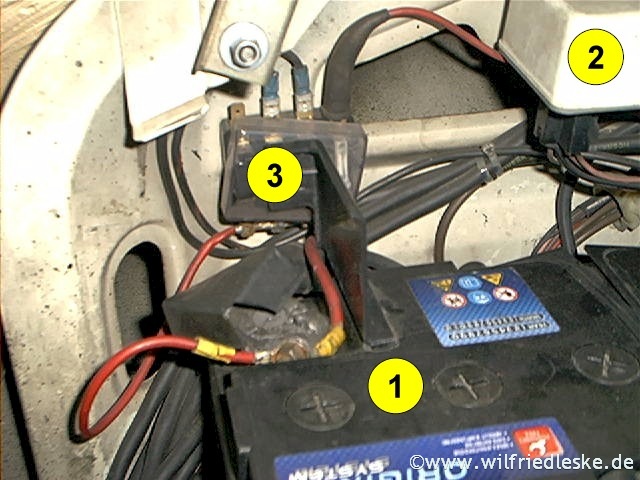
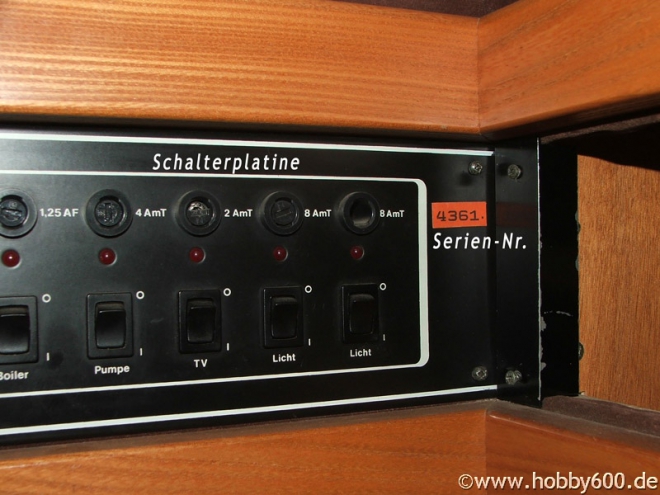
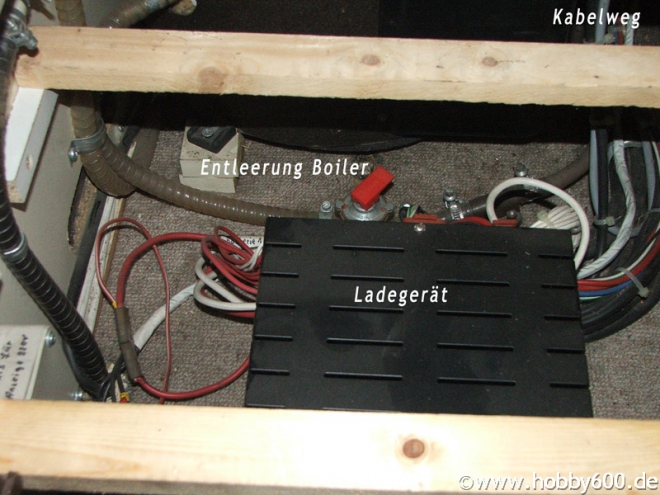
Clean up has started inside, and the water tank has been removed ready for an eventual three point belt - that at least was surprisingly straight forward to remove. I did a lot of wiring work in the past and put a separate switch panel on for added accessories so each had it's own fuse. Unfortunately after ten years I couldn't remember what switch powered what so this time I have now labeled them! I've seen a combined DCDC charger with combined MPPT device which I'm tempted to instal this time around, but everything works at the moment so not sure if that's worth it yet.
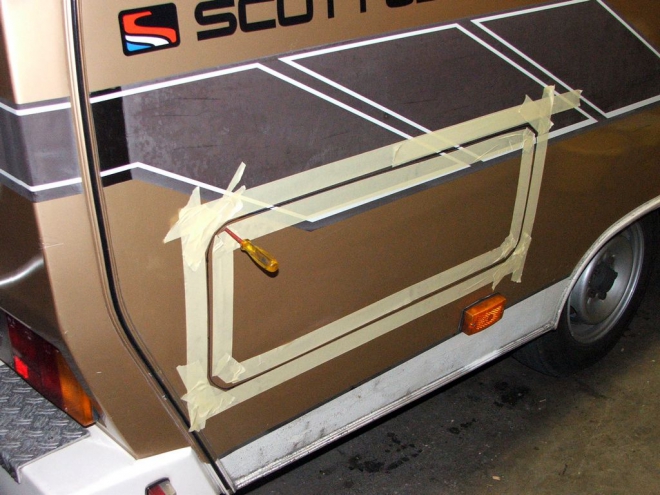
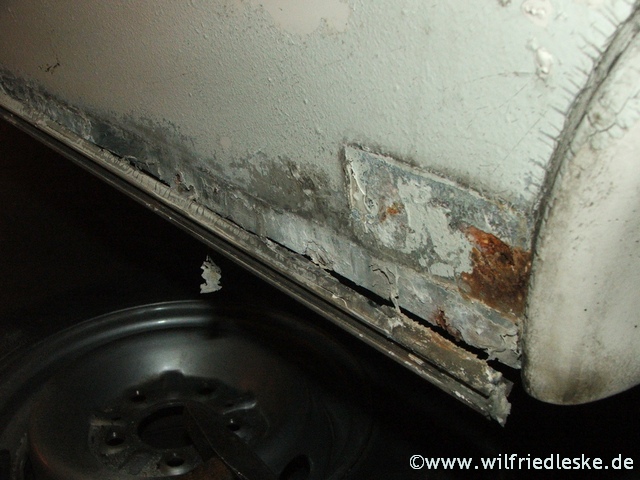
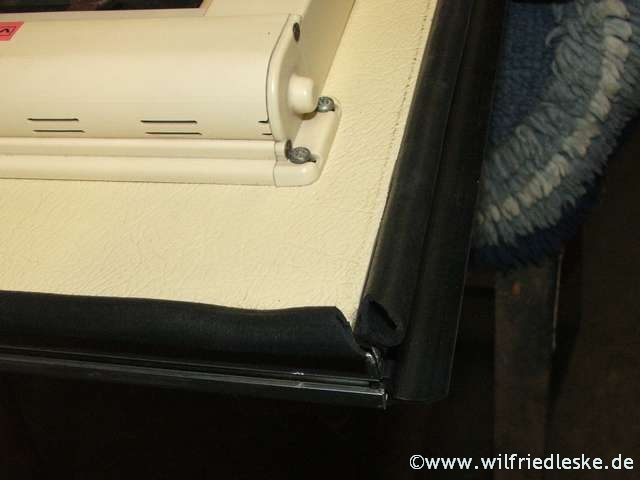
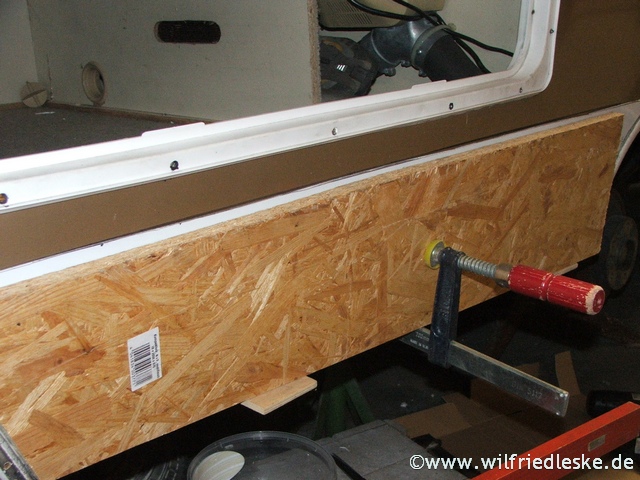
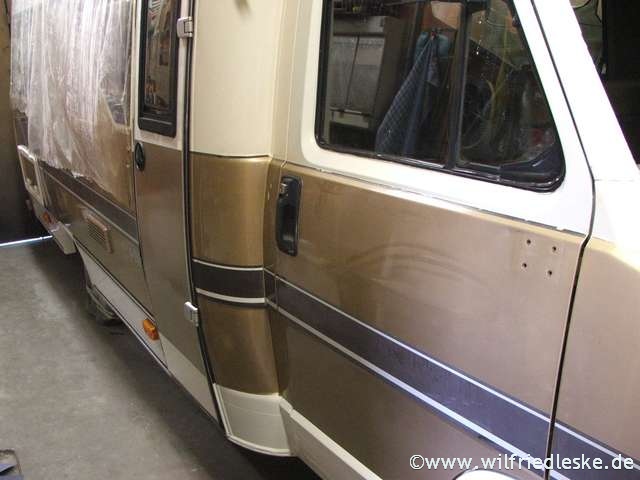
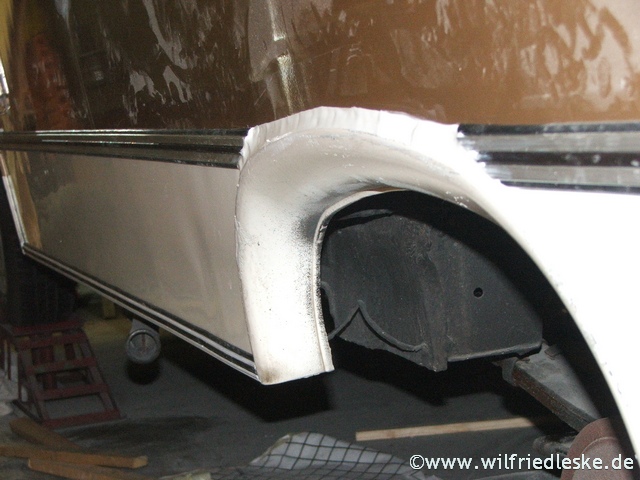
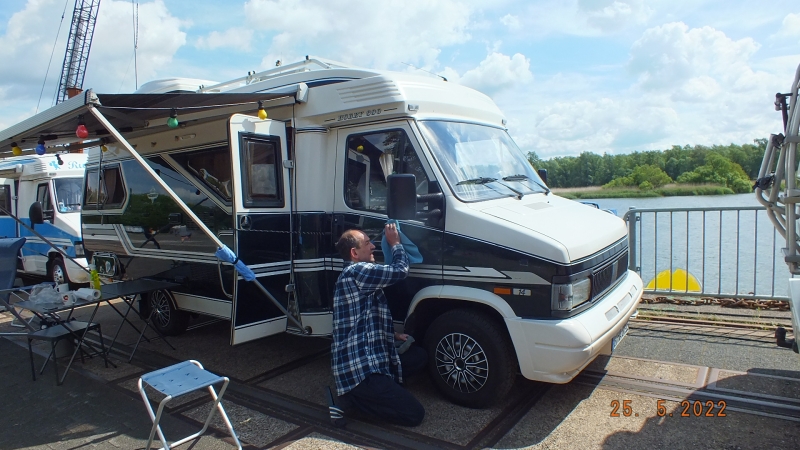
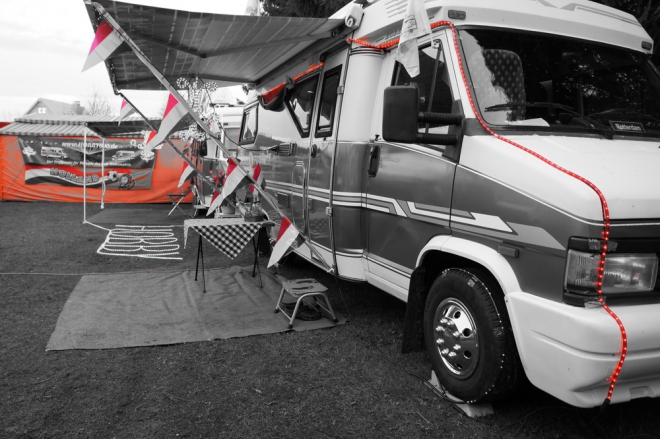
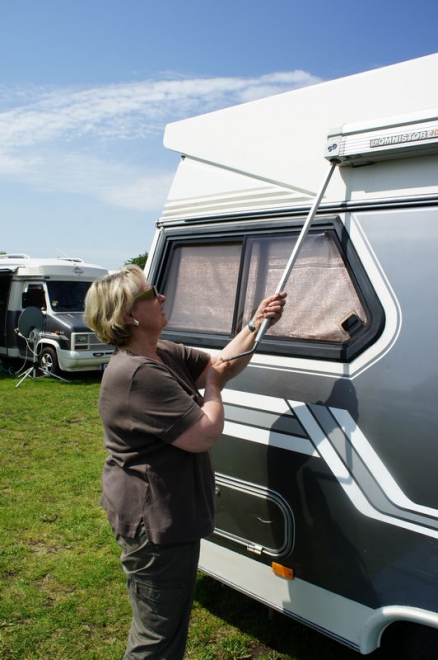
The outside has only had a first wash and the roof needs a good scrubbing. I used a scouring pad and with a lot of work it should clean ok. I found some scouring pad attachments to go on an orbital sander so I've ordered them; fingers crossed this will make that task a lot quicker to do!
That's about it for the moment, I have a full house renovation and a little guy to look after but will hopefully grab some time here or there to get this on the road again.


