


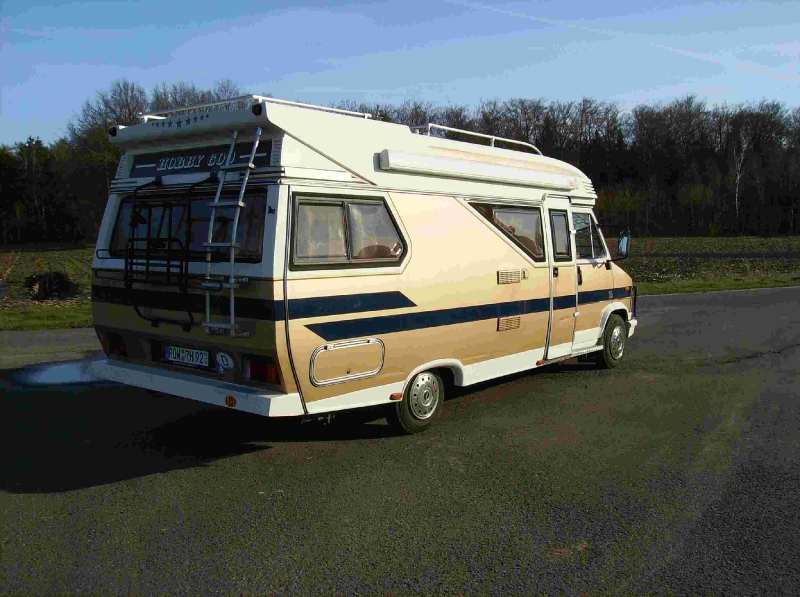
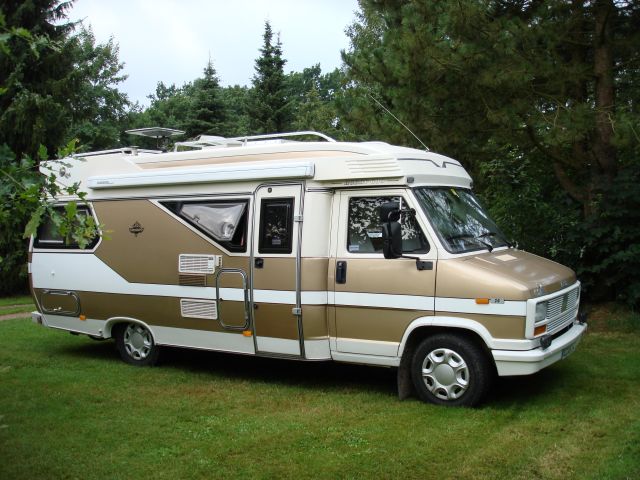
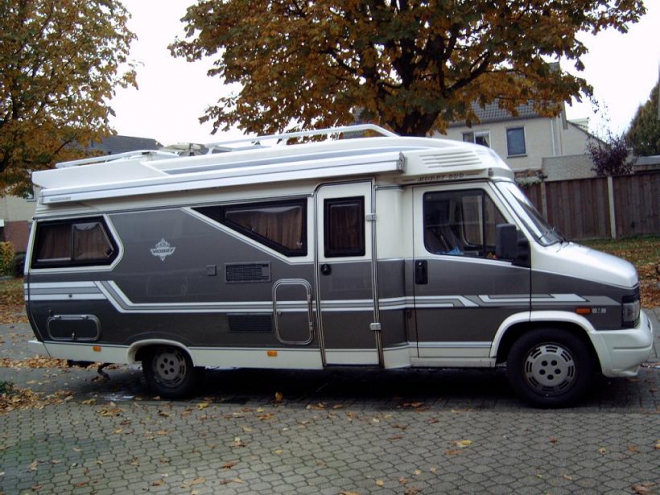
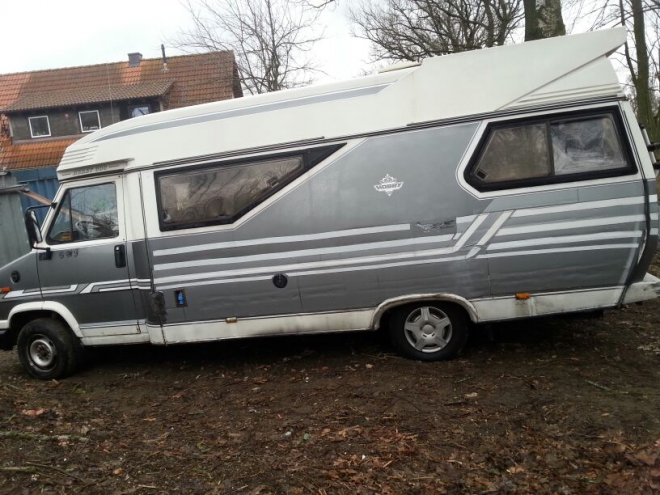
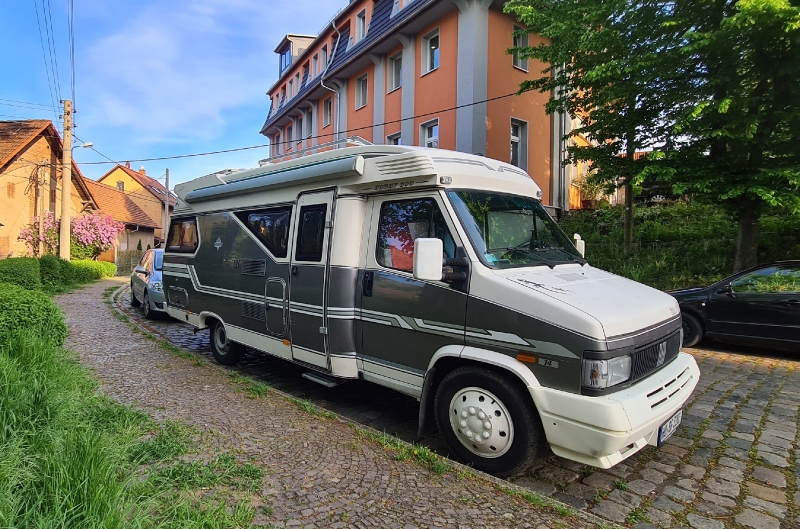
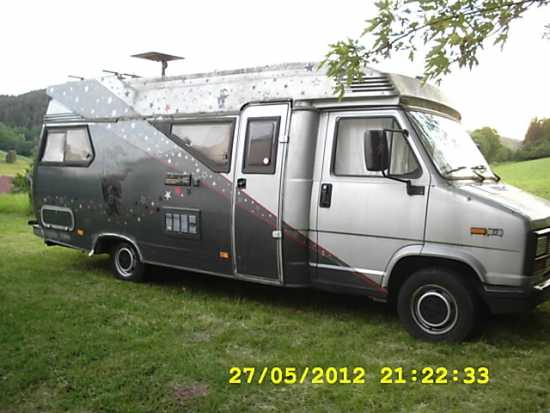
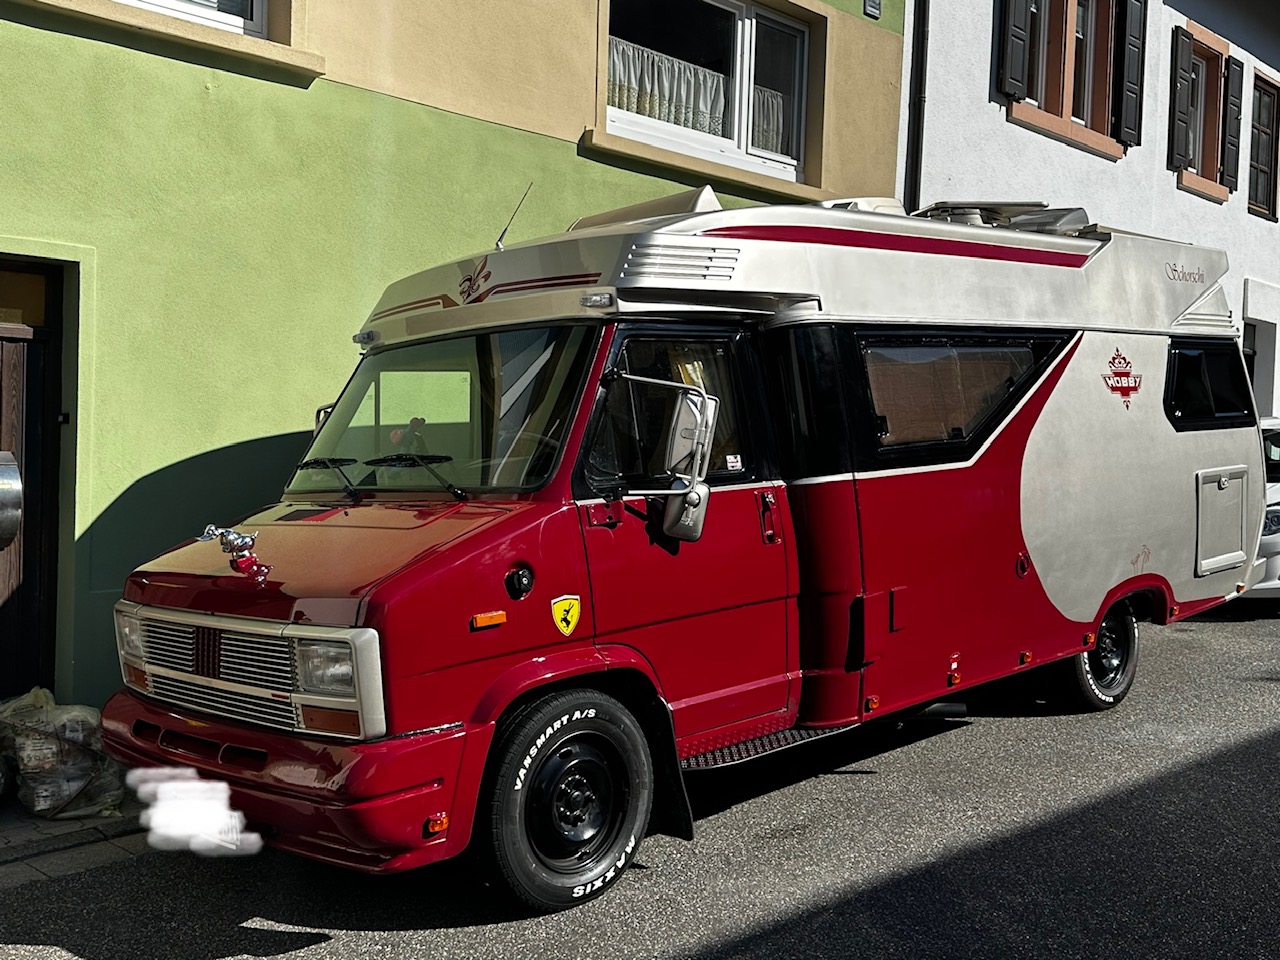
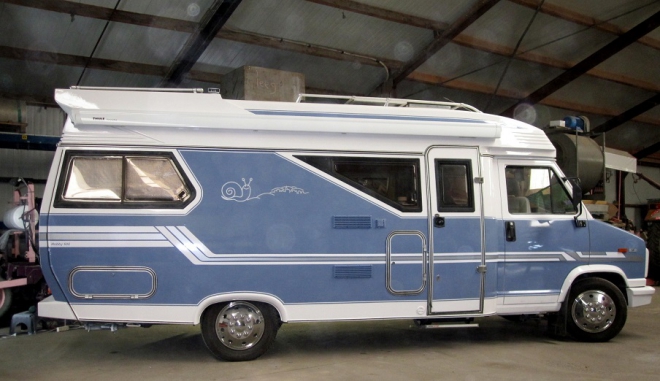
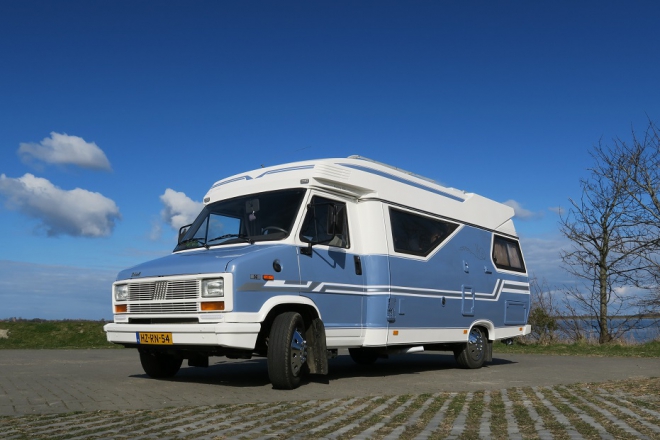
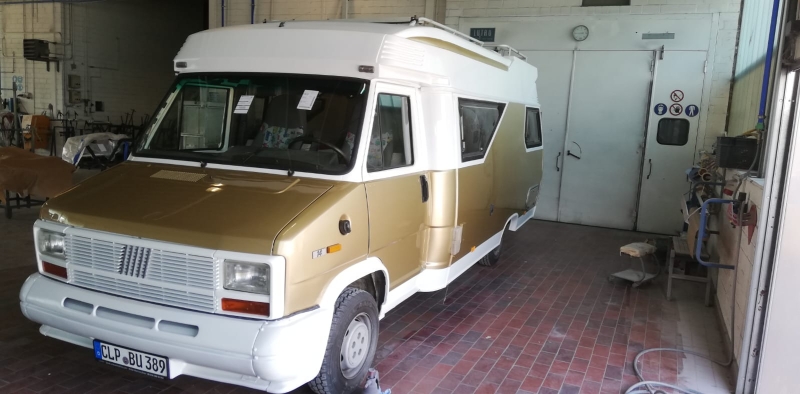
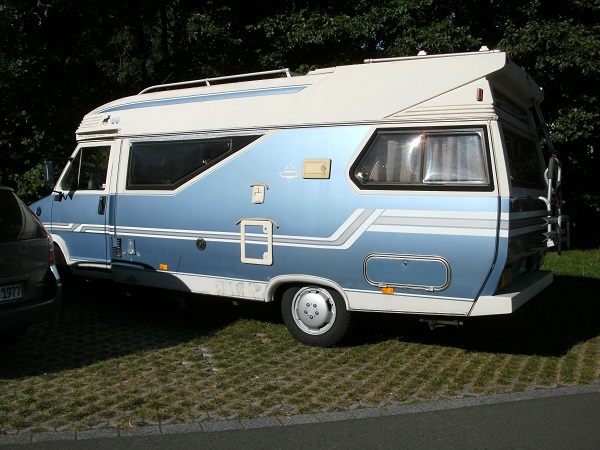
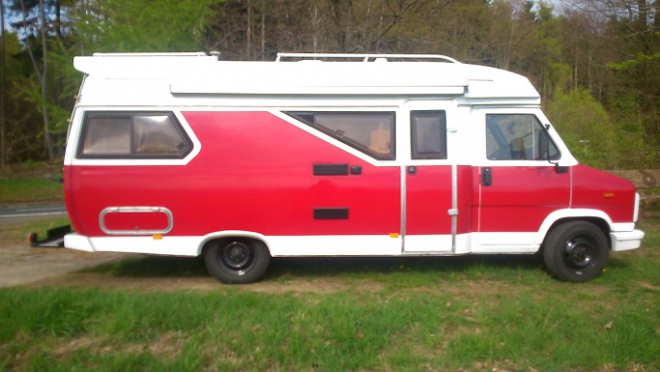
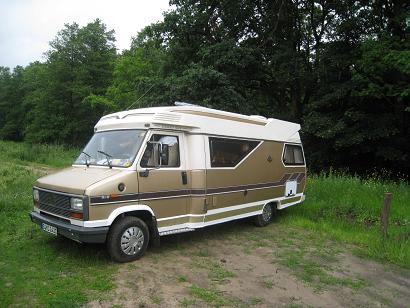
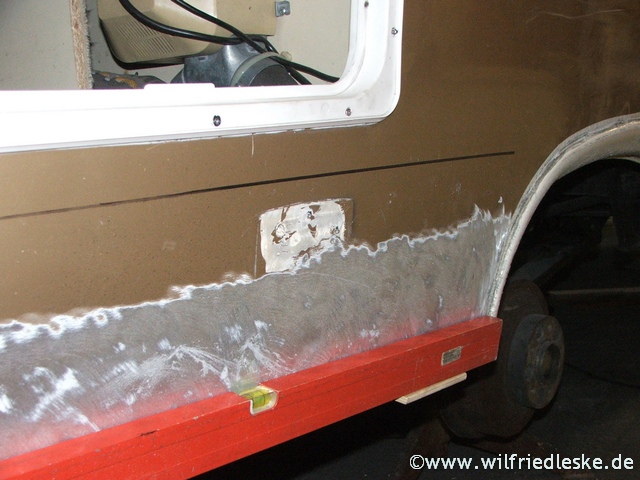
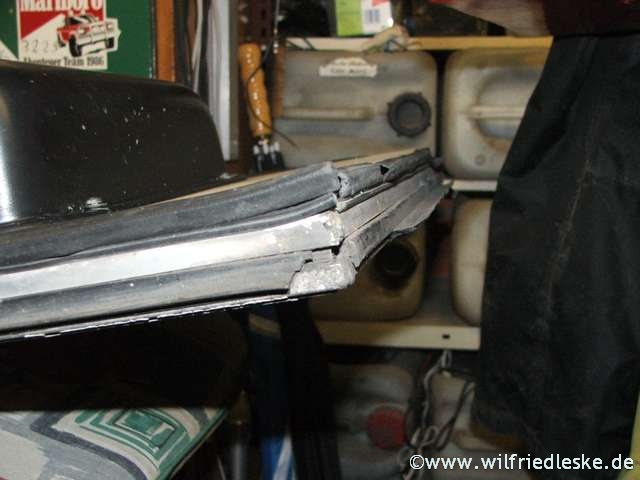
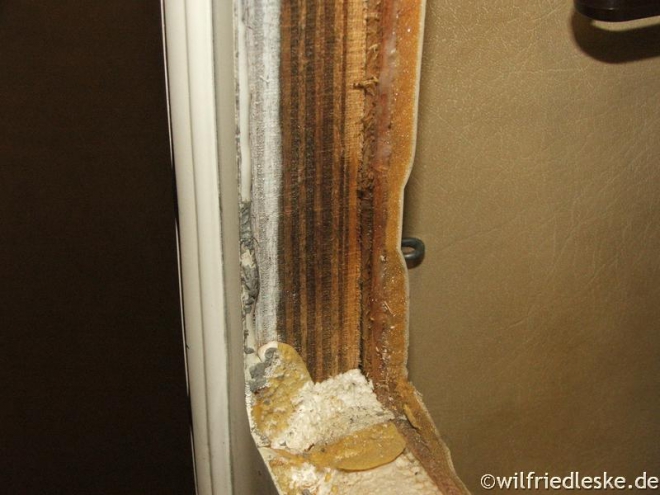
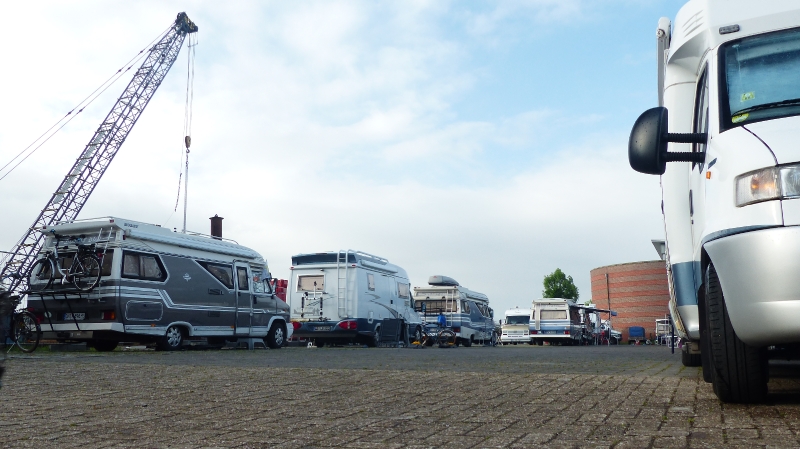
Starting on the rust....
- dsj1979
-
 Themenstarter
- Offline
- Routinier
-

- Beiträge: 109
- Thanks: 6
- dsj1979
-
Themenstarter
- Offline
- Routinier
-
- Beiträge: 109
- Thanks: 6
Re: Starting on the rust....
29 Dez. 2014 17:13
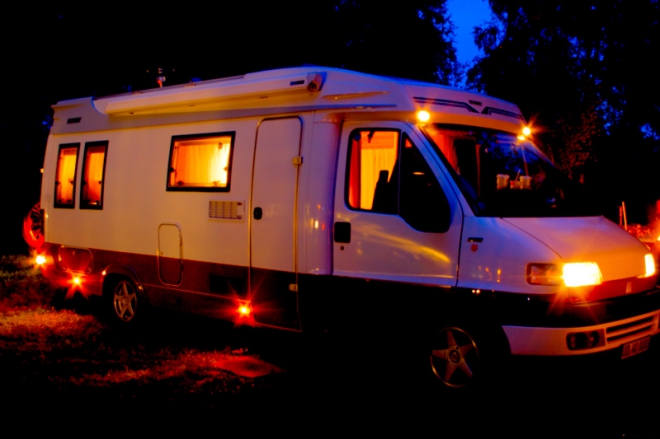
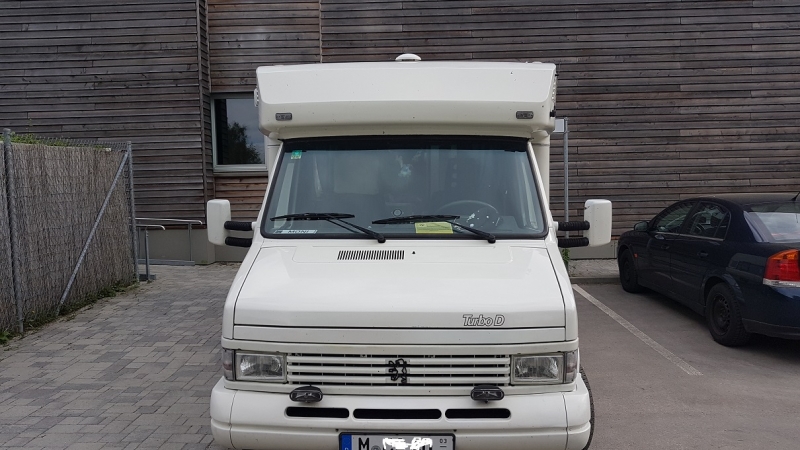
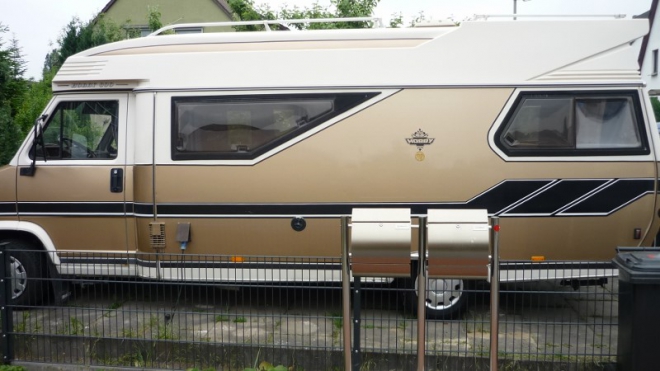
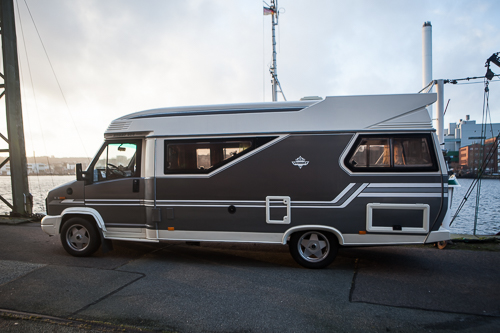
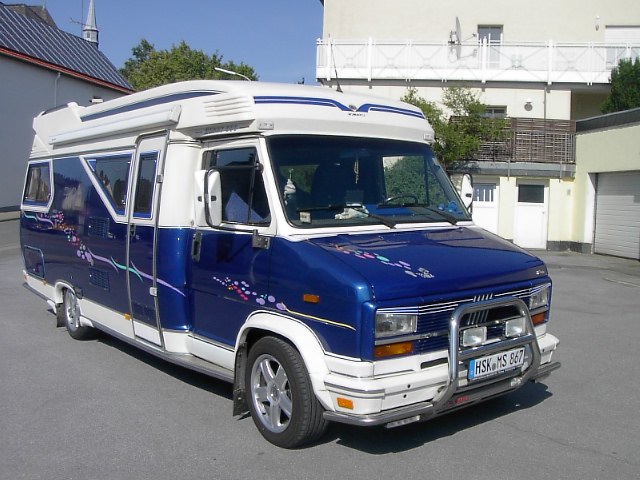
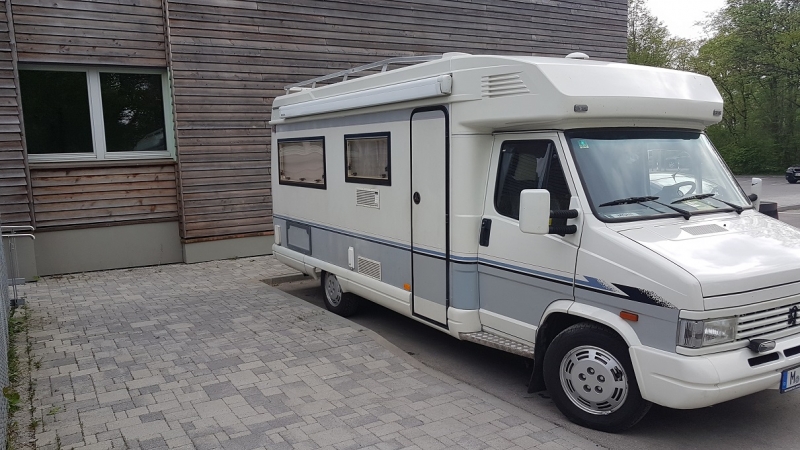
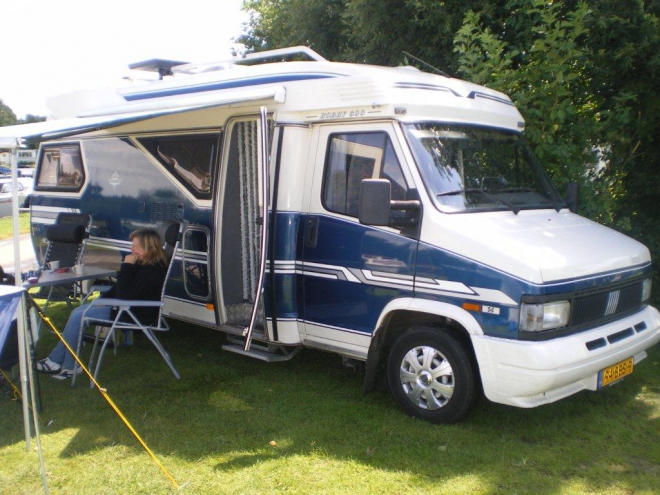
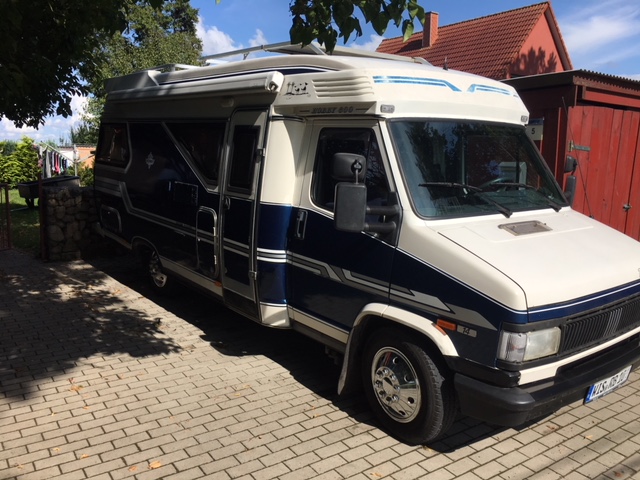
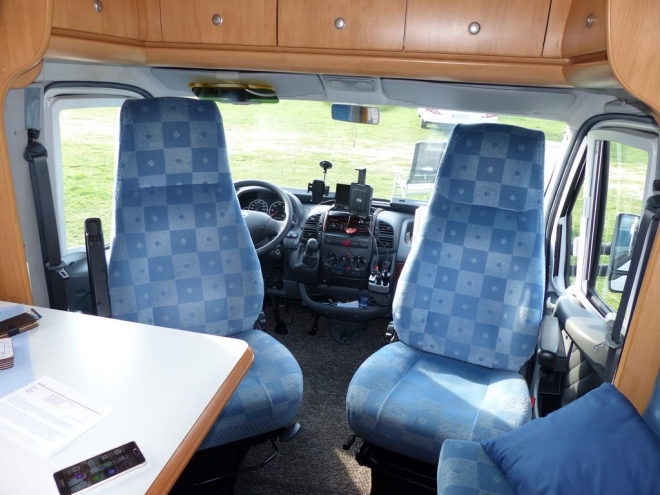
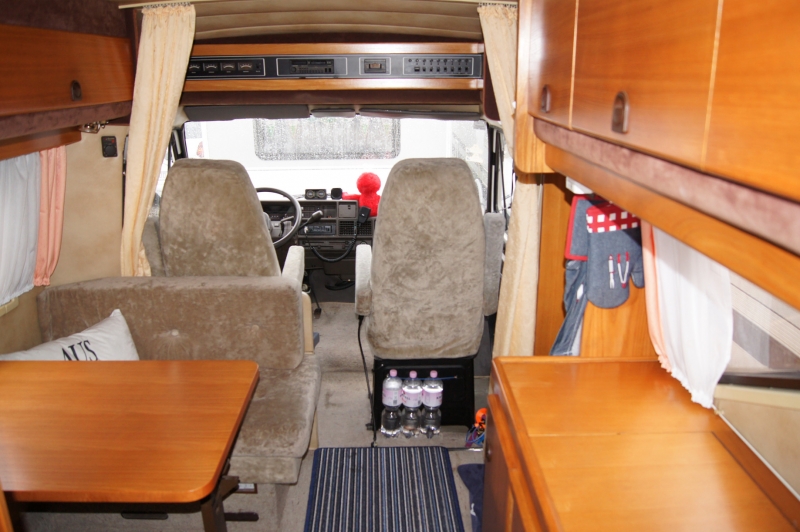
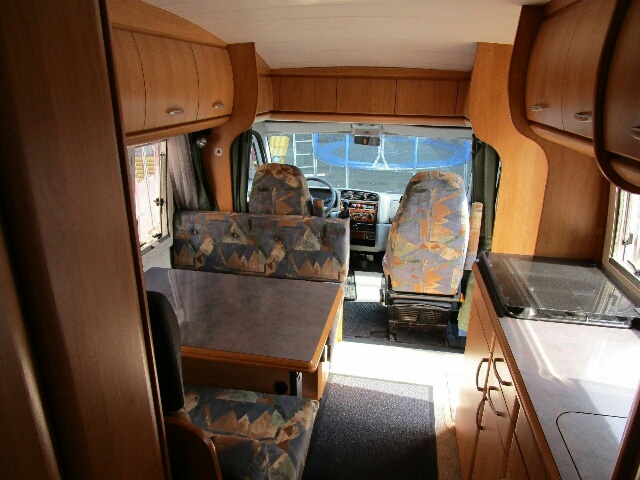
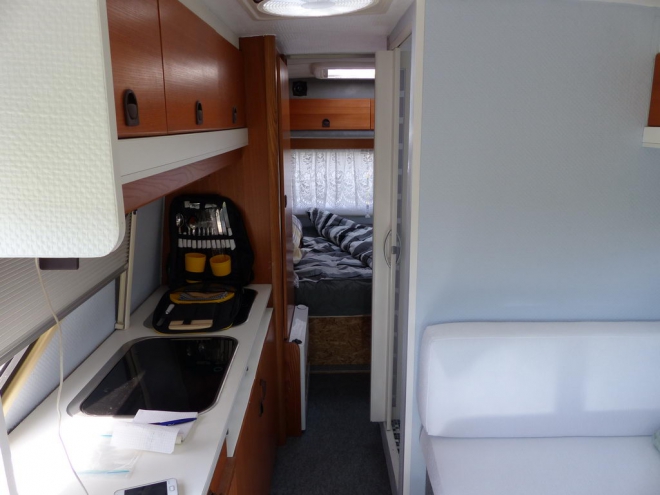
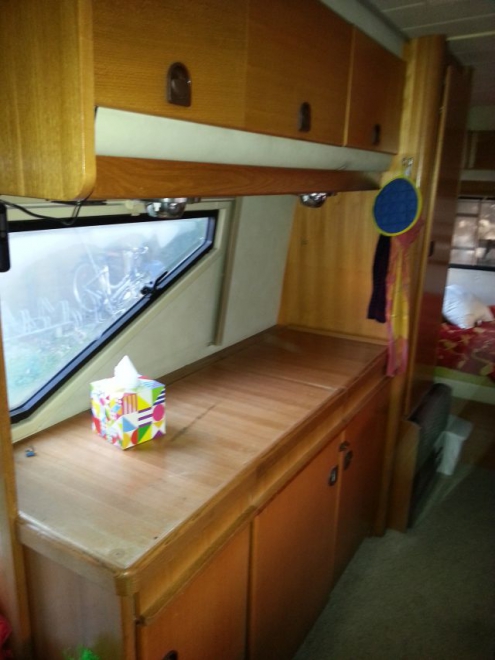
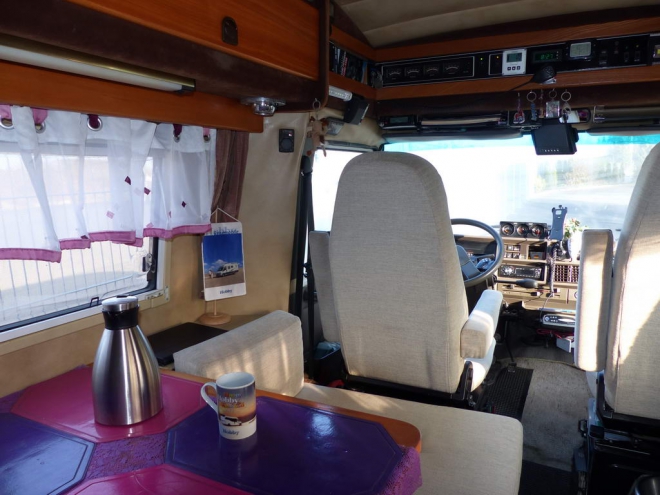
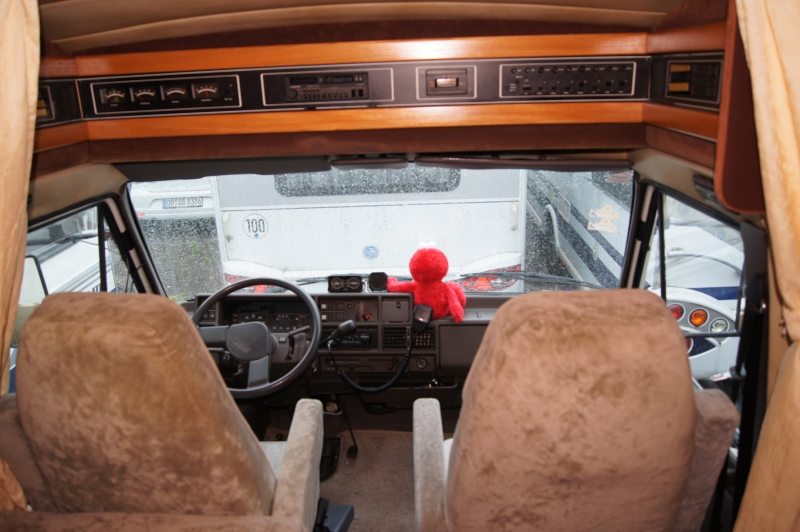
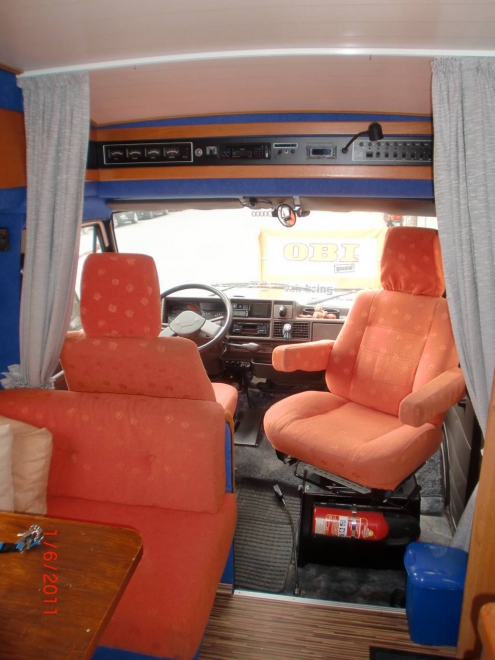
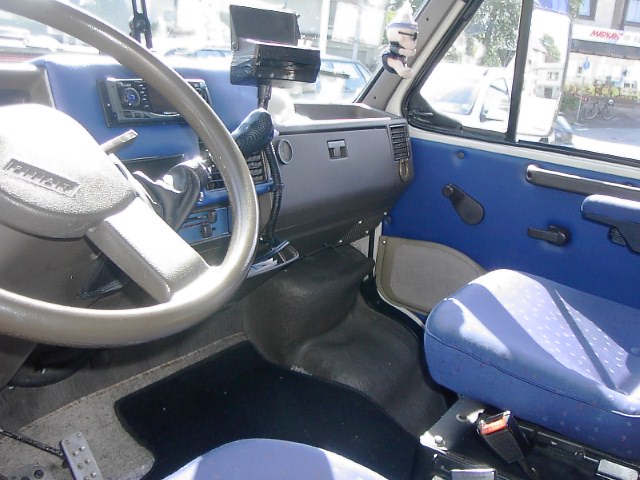
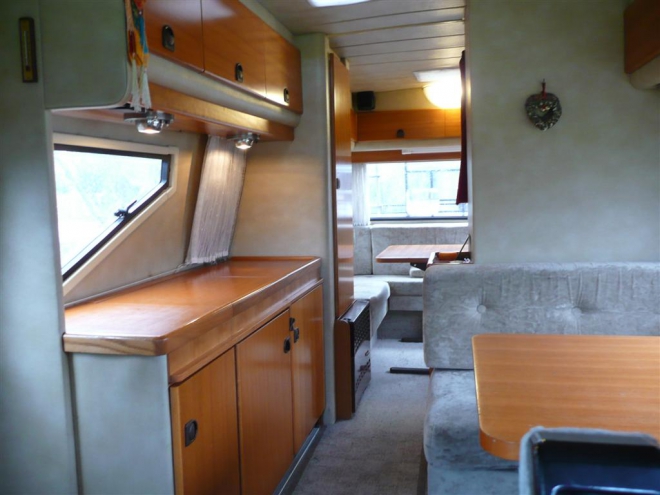
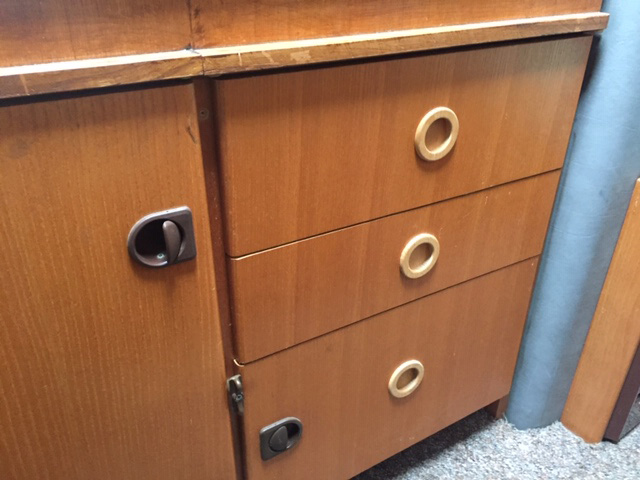
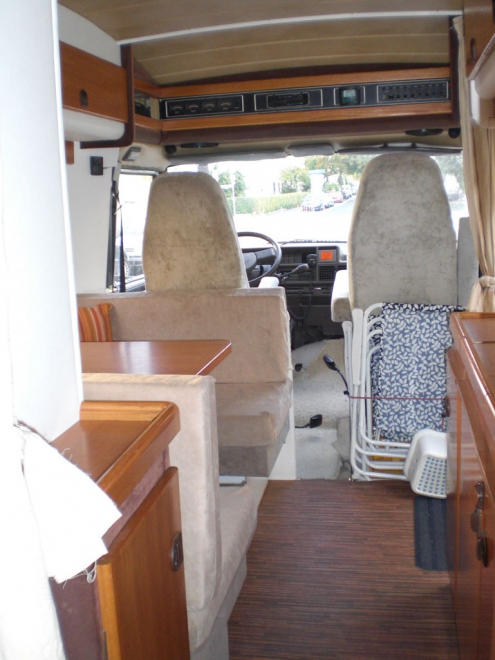
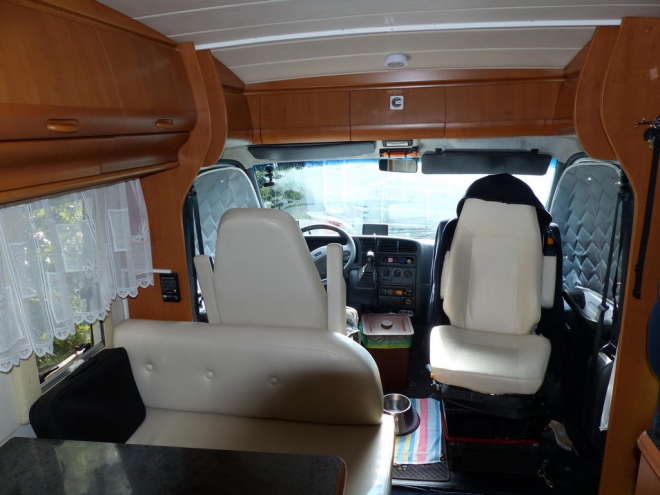
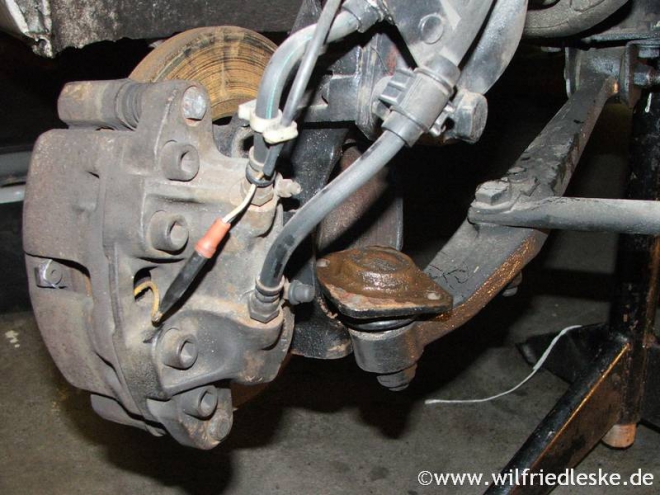
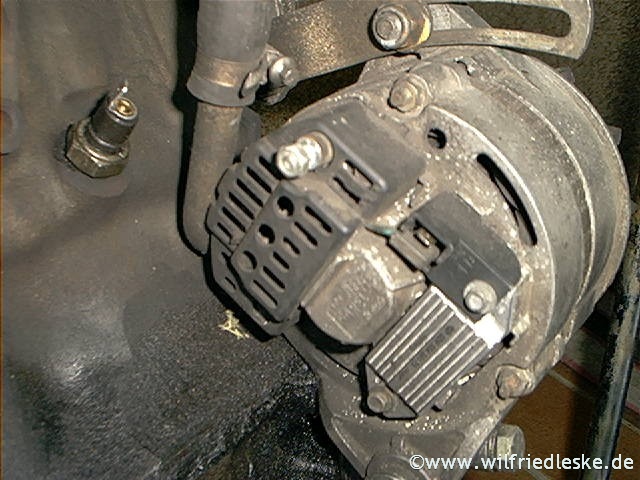
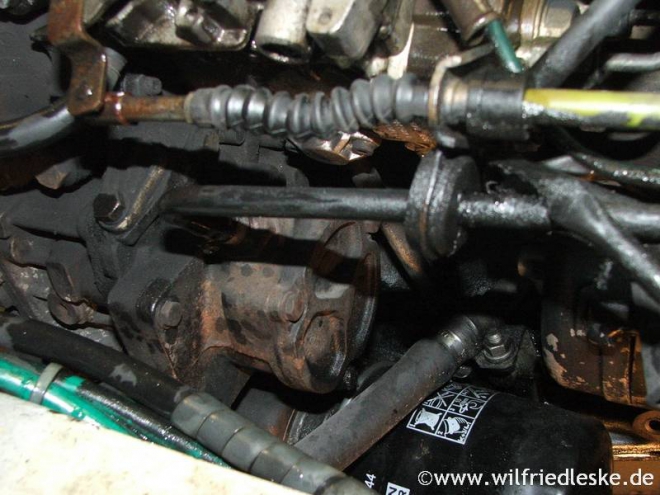
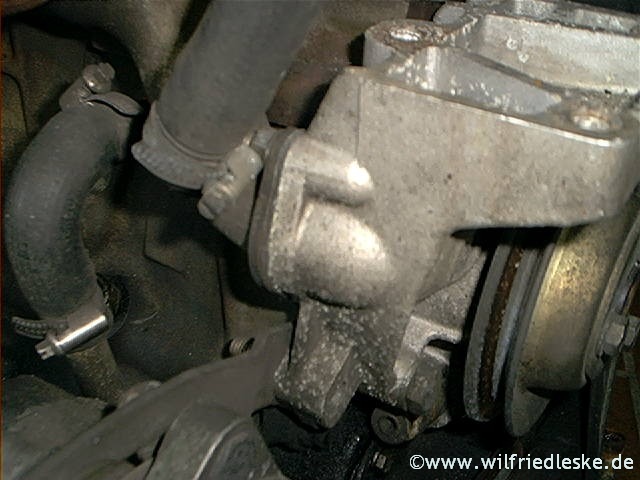
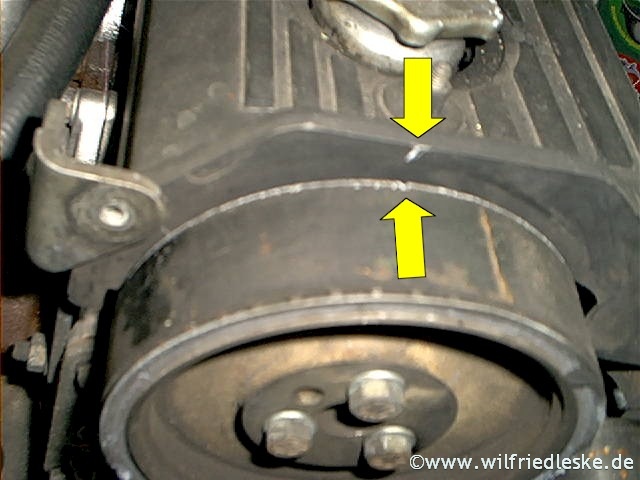
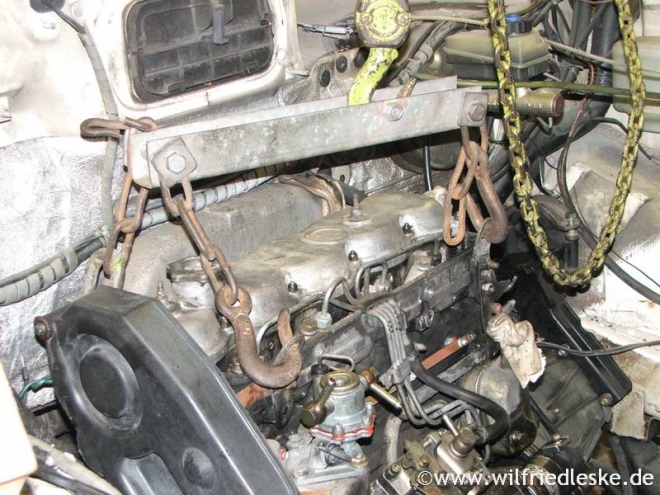
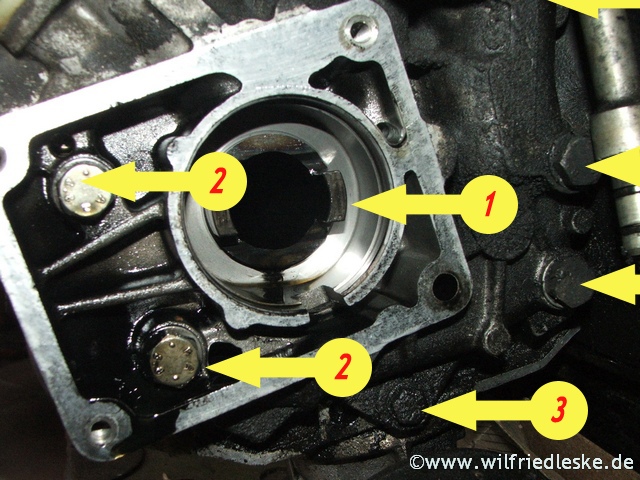
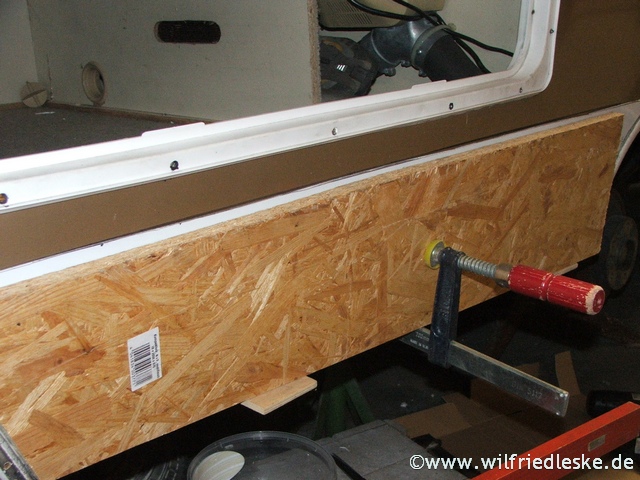
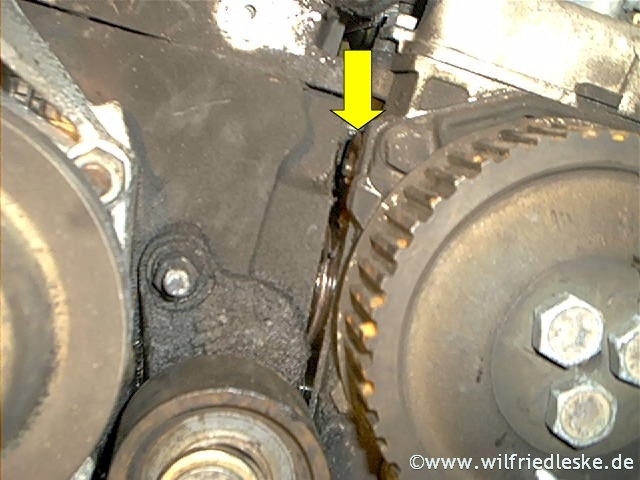
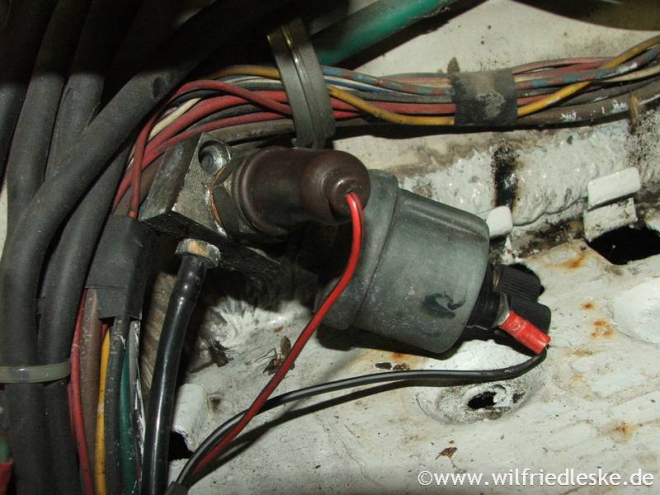
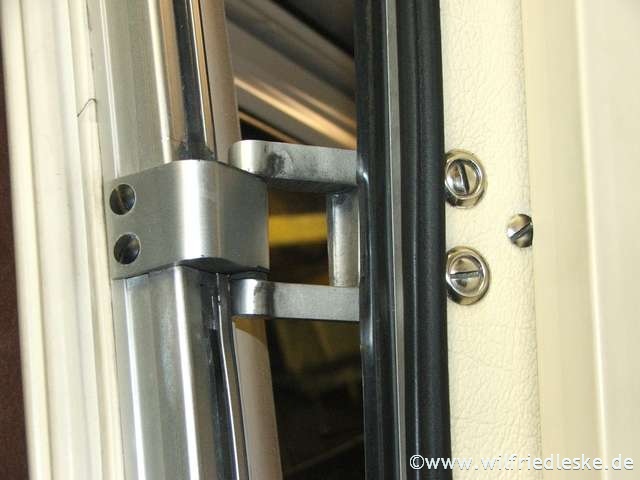
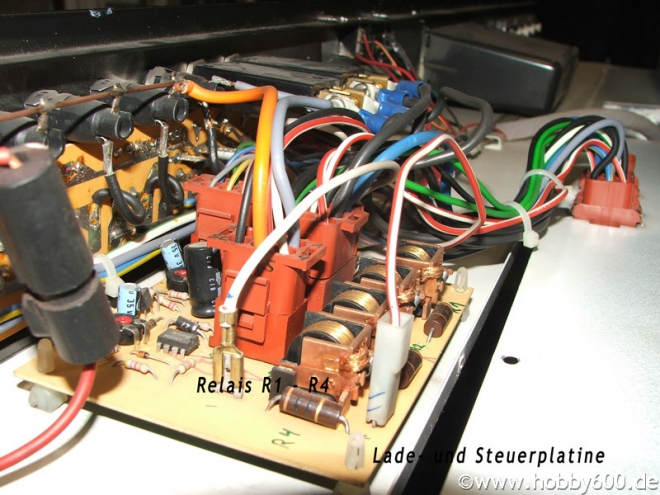
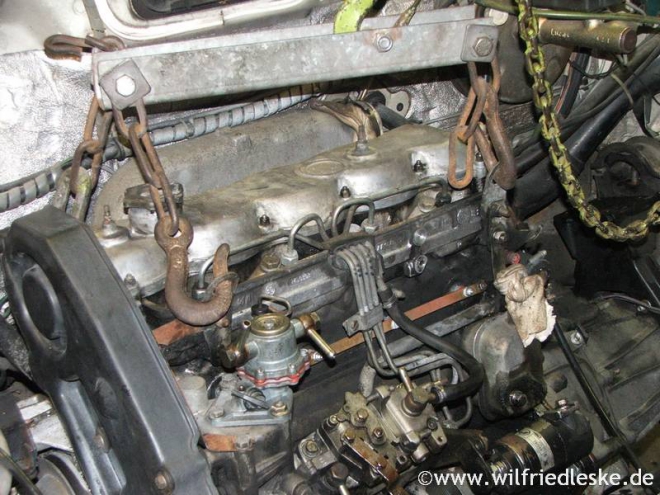
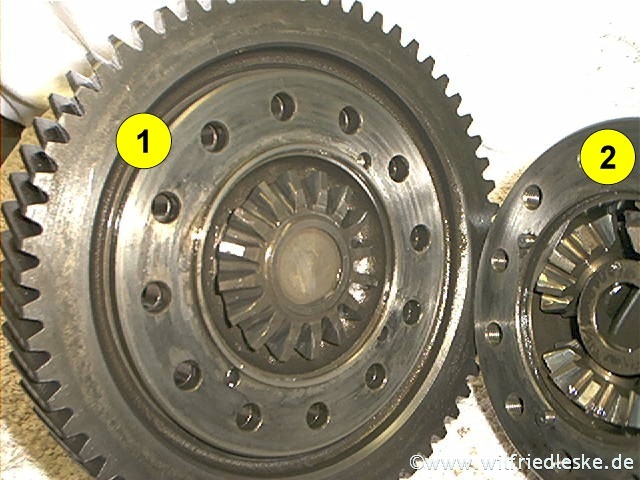
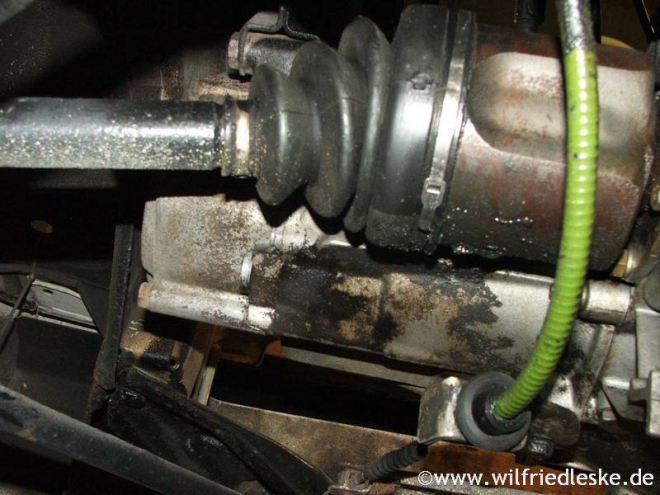
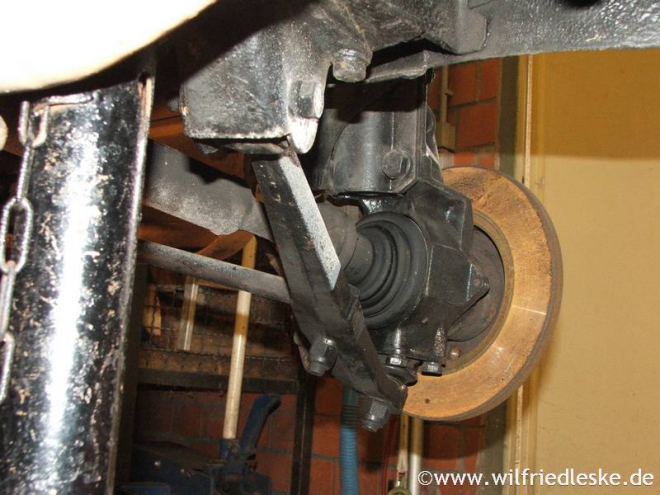
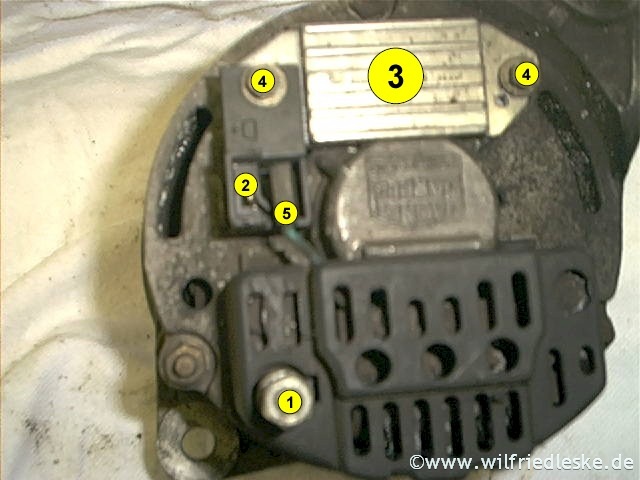
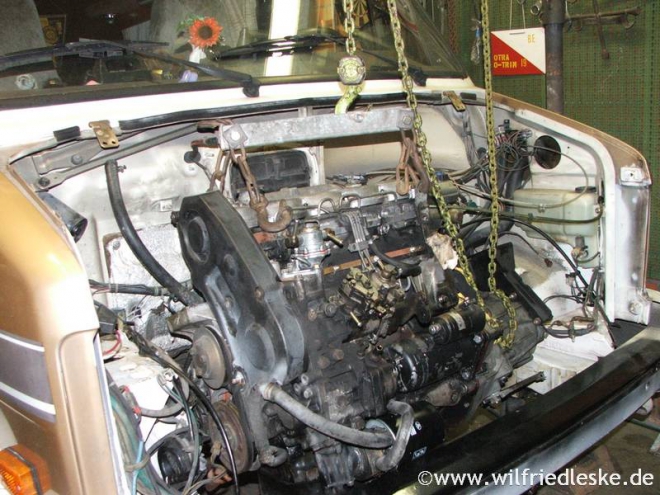
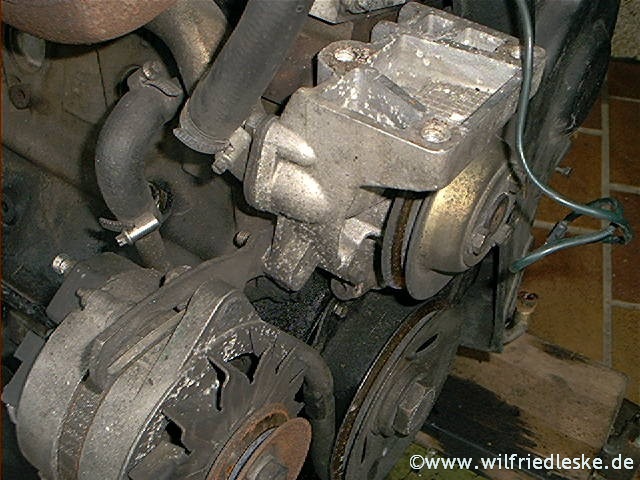
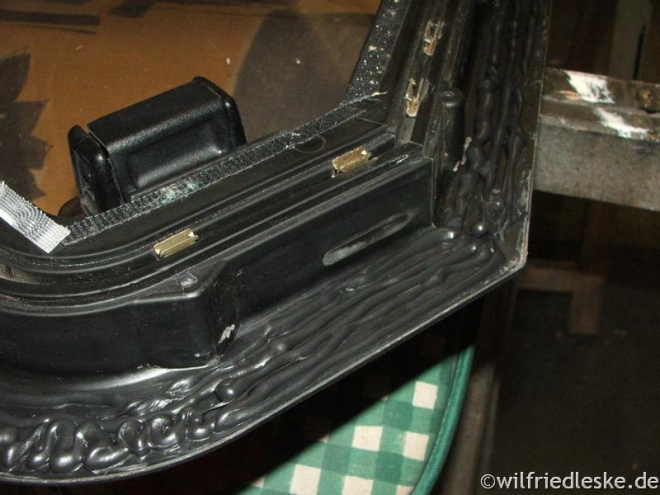
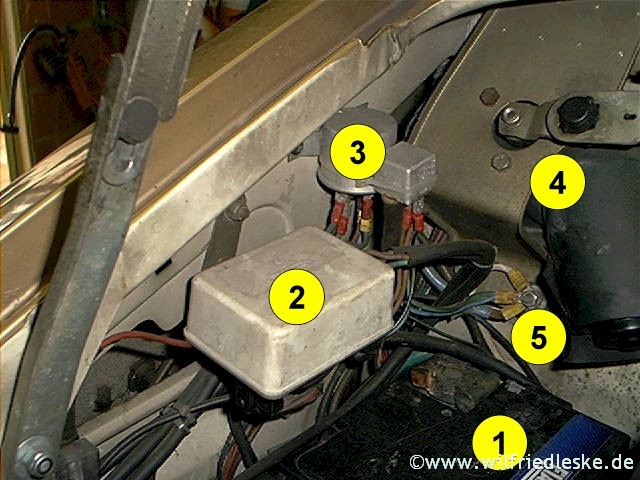
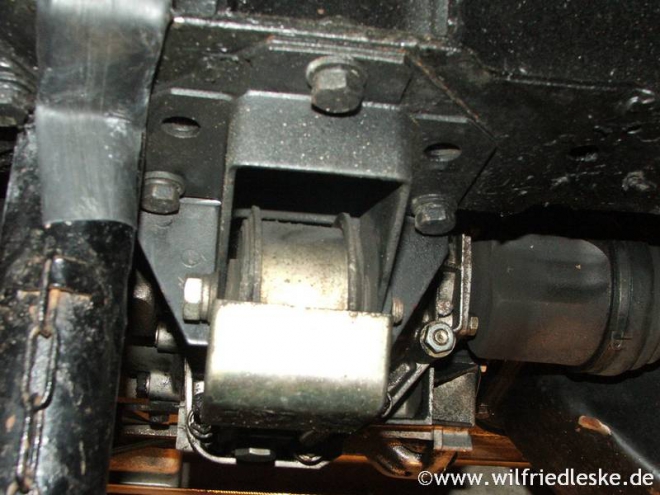
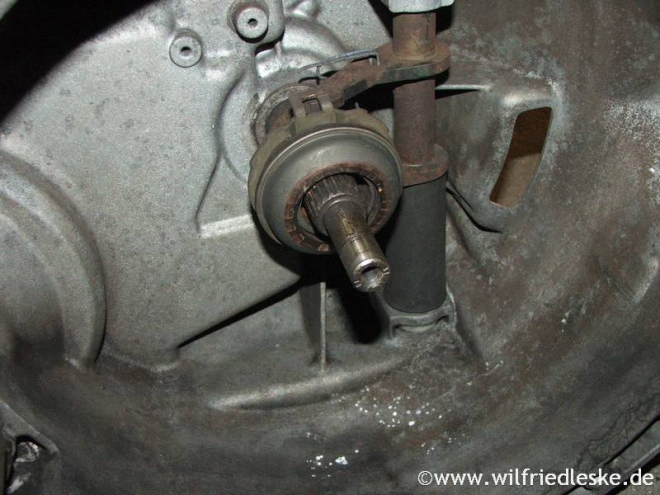
It's nearly done! Headlights are mounted. I adapted a bracket to fit the fuel filter. I'm slowly going over the electrics. Headlights wouldn't work but fiddling with the relays got them working. I've ordered some more relays now! There was lots of dodgy wiring under the bonnet, I've been putting things back to standard and fixing what's there which is much better. Looks like the fan relays aren't working which is why there was a lot of strange wiring for those. The horn wouldn't work, I tested various parts of the wire and found a corrosion break so that's fixed now. The dash is fixed in, carpets and sound deadening down. All in all seems to be going well...... ")
Antworten zu dsj1979
- dsj1979
-
Themenstarter
- Offline
- Routinier
-
- Beiträge: 109
- Thanks: 6


- dsj1979
-
Themenstarter
- Offline
- Routinier
-
- Beiträge: 109
- Thanks: 6


- dsj1979
-
Themenstarter
- Offline
- Routinier
-
- Beiträge: 109
- Thanks: 6
Re: Starting on the rust....
10 Jan. 2015 20:11
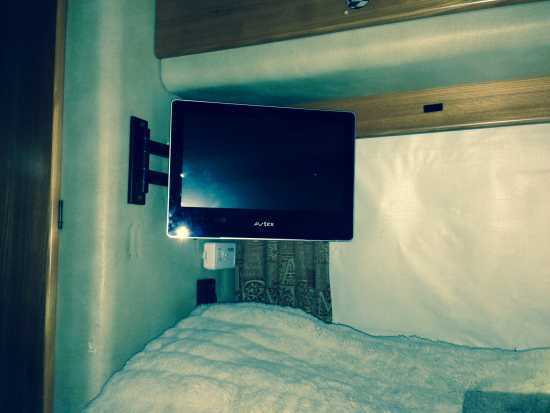
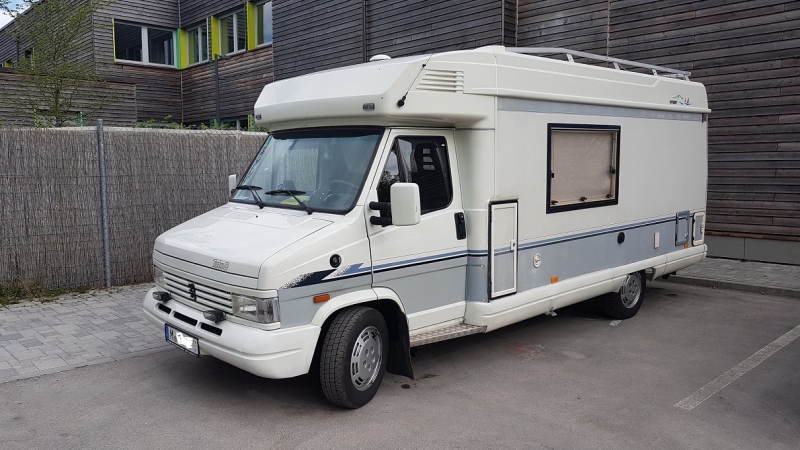
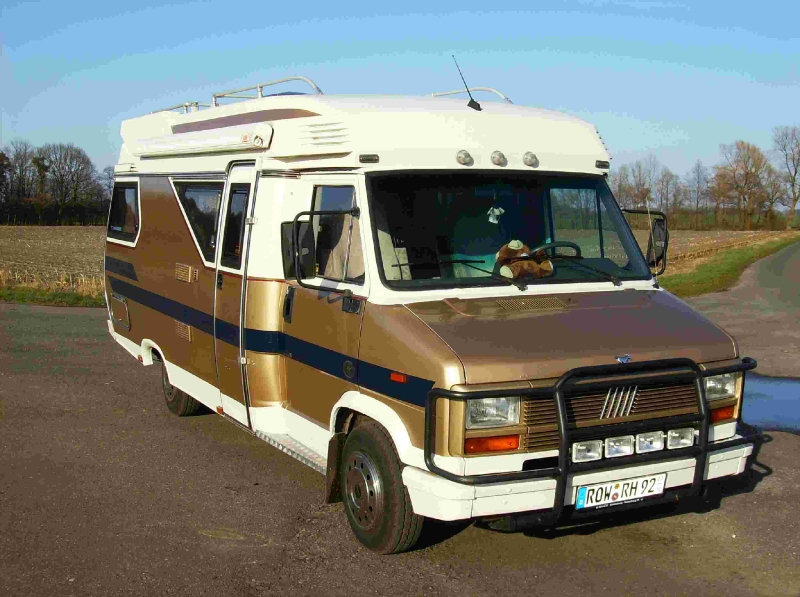
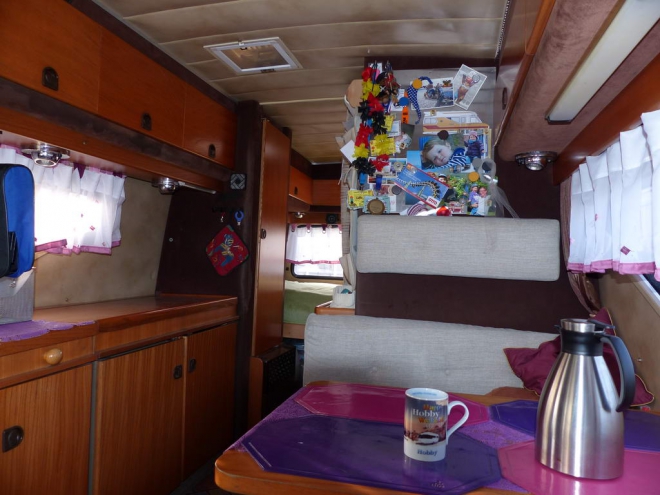
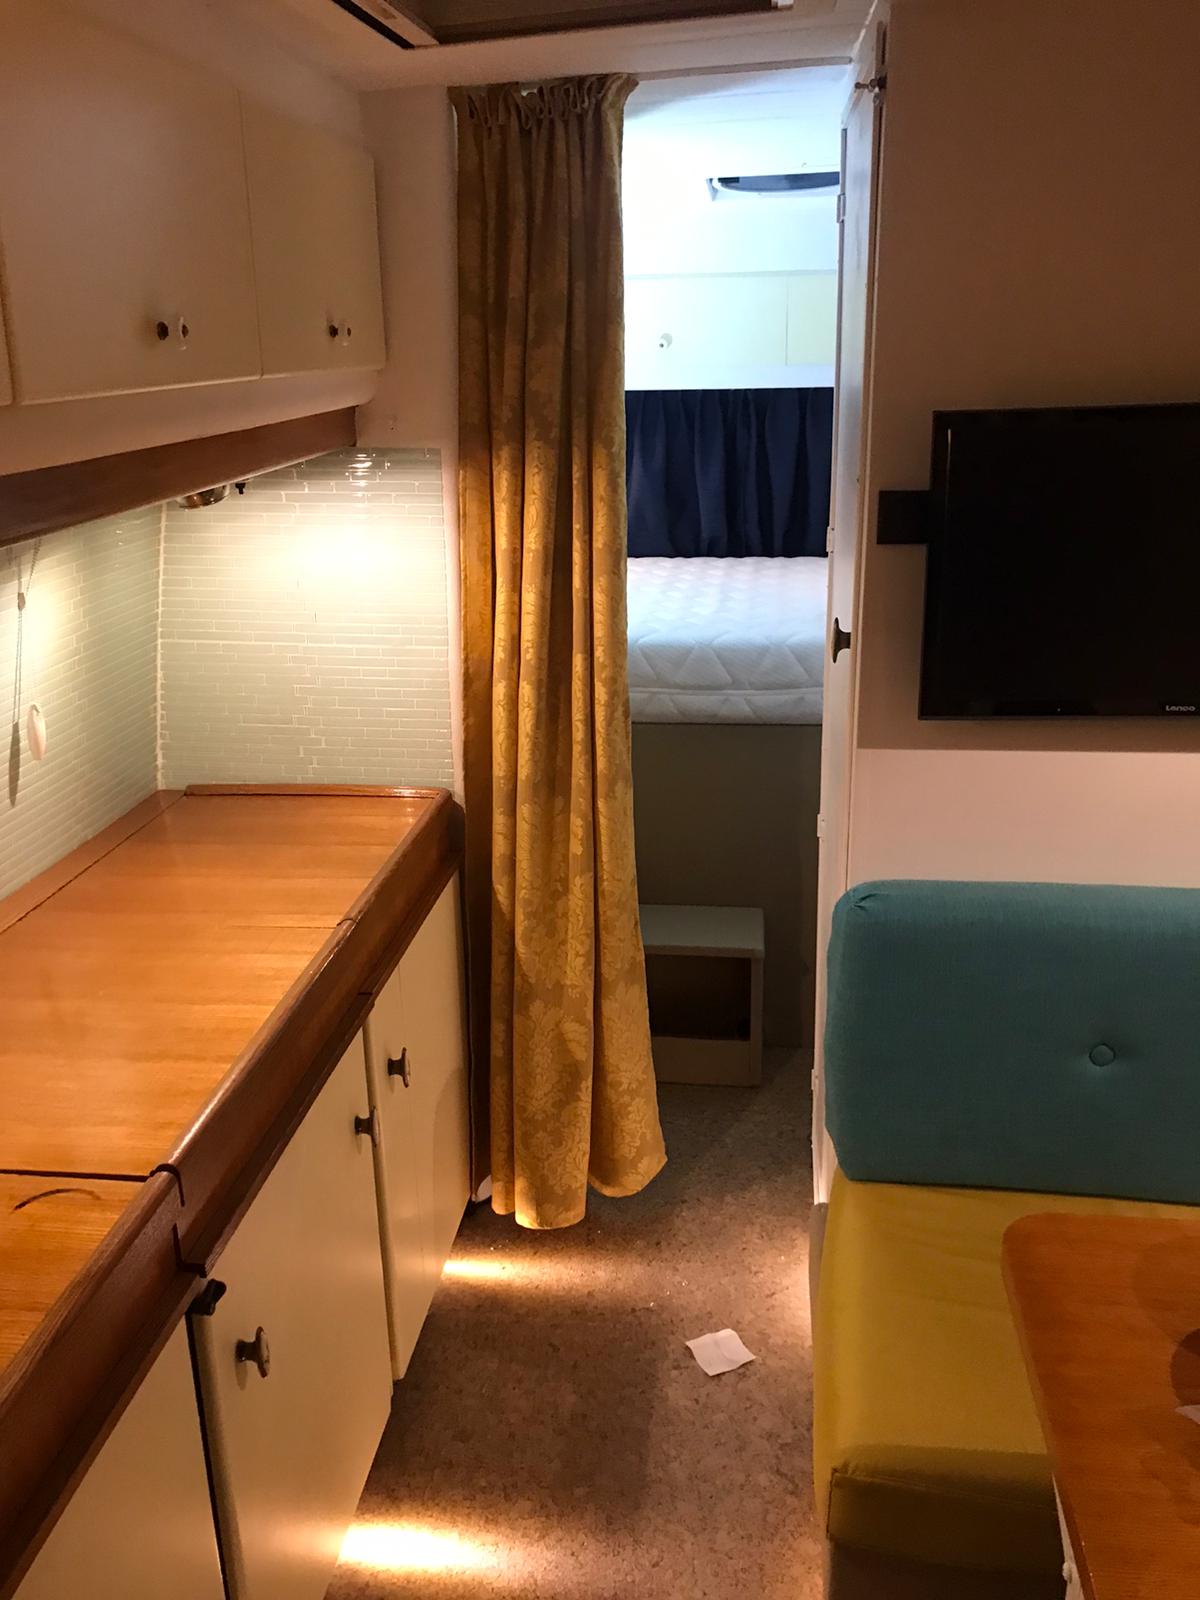
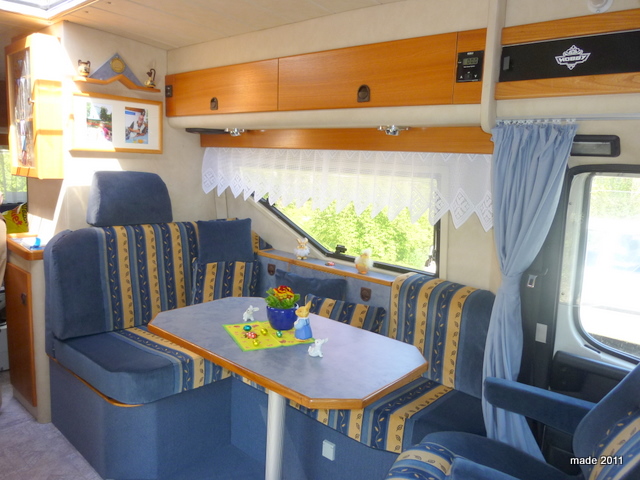
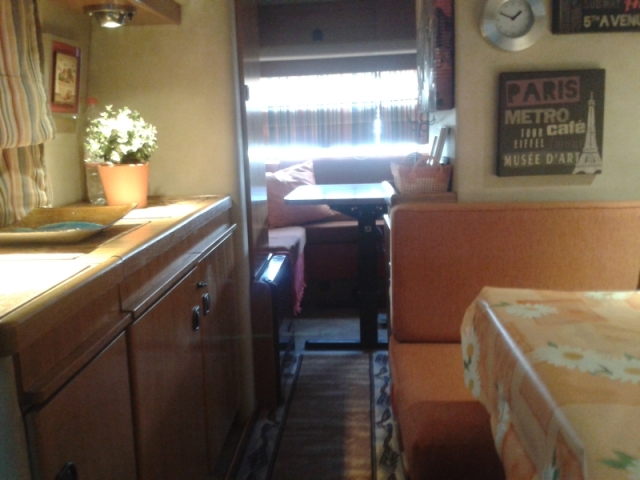
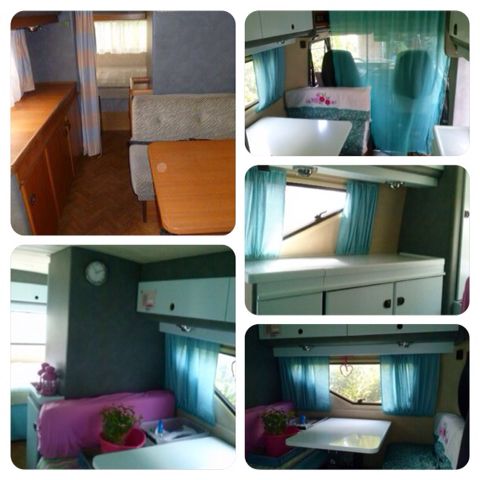
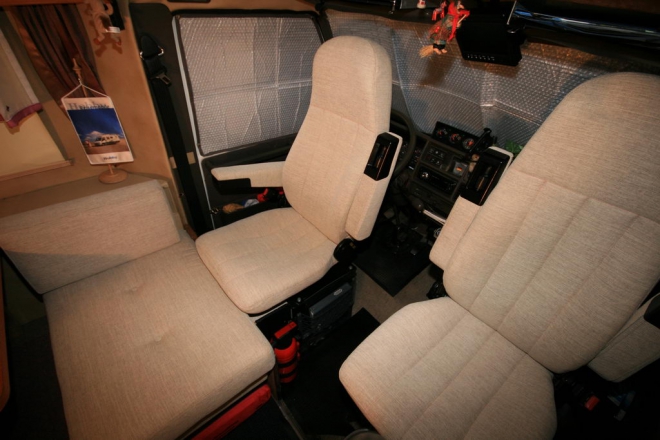
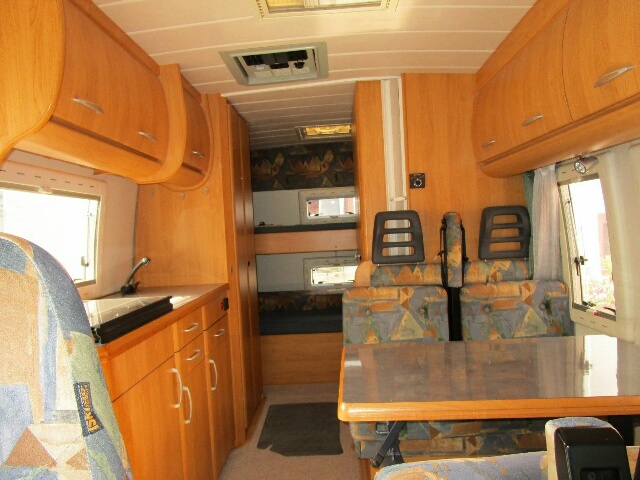
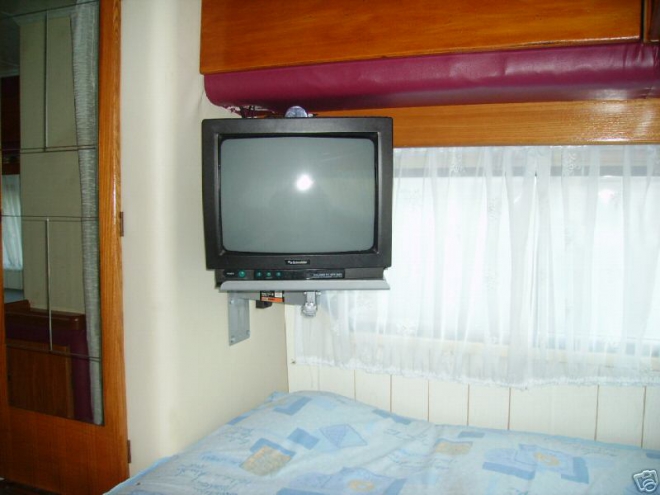
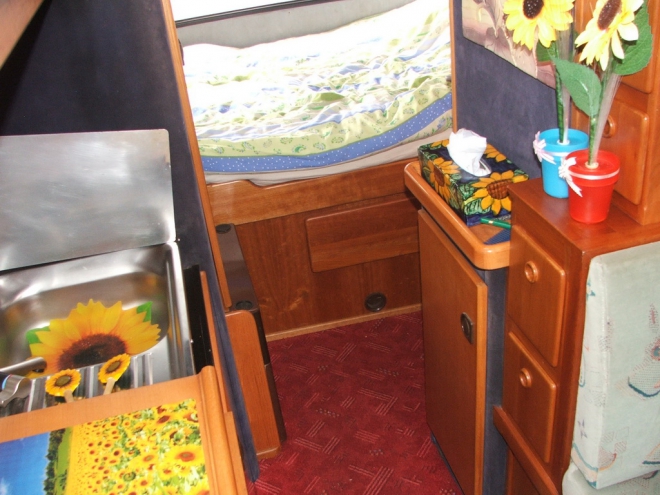
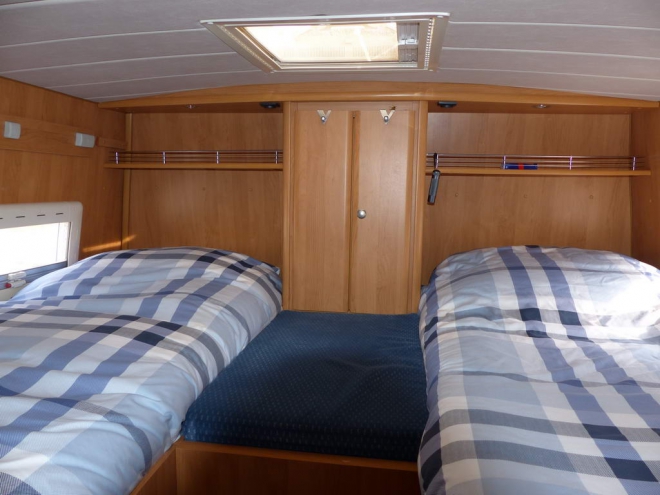
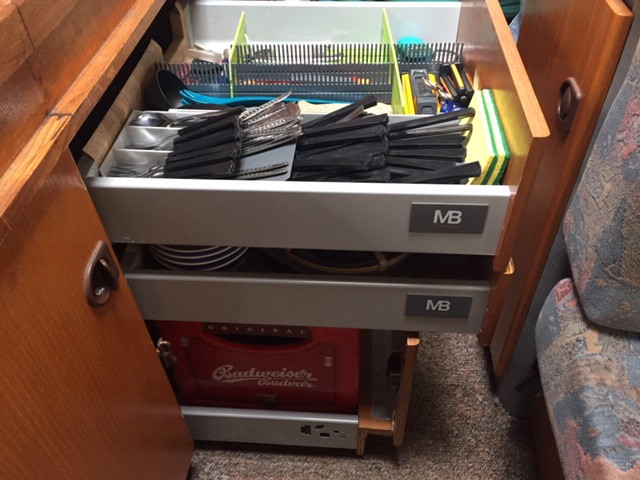
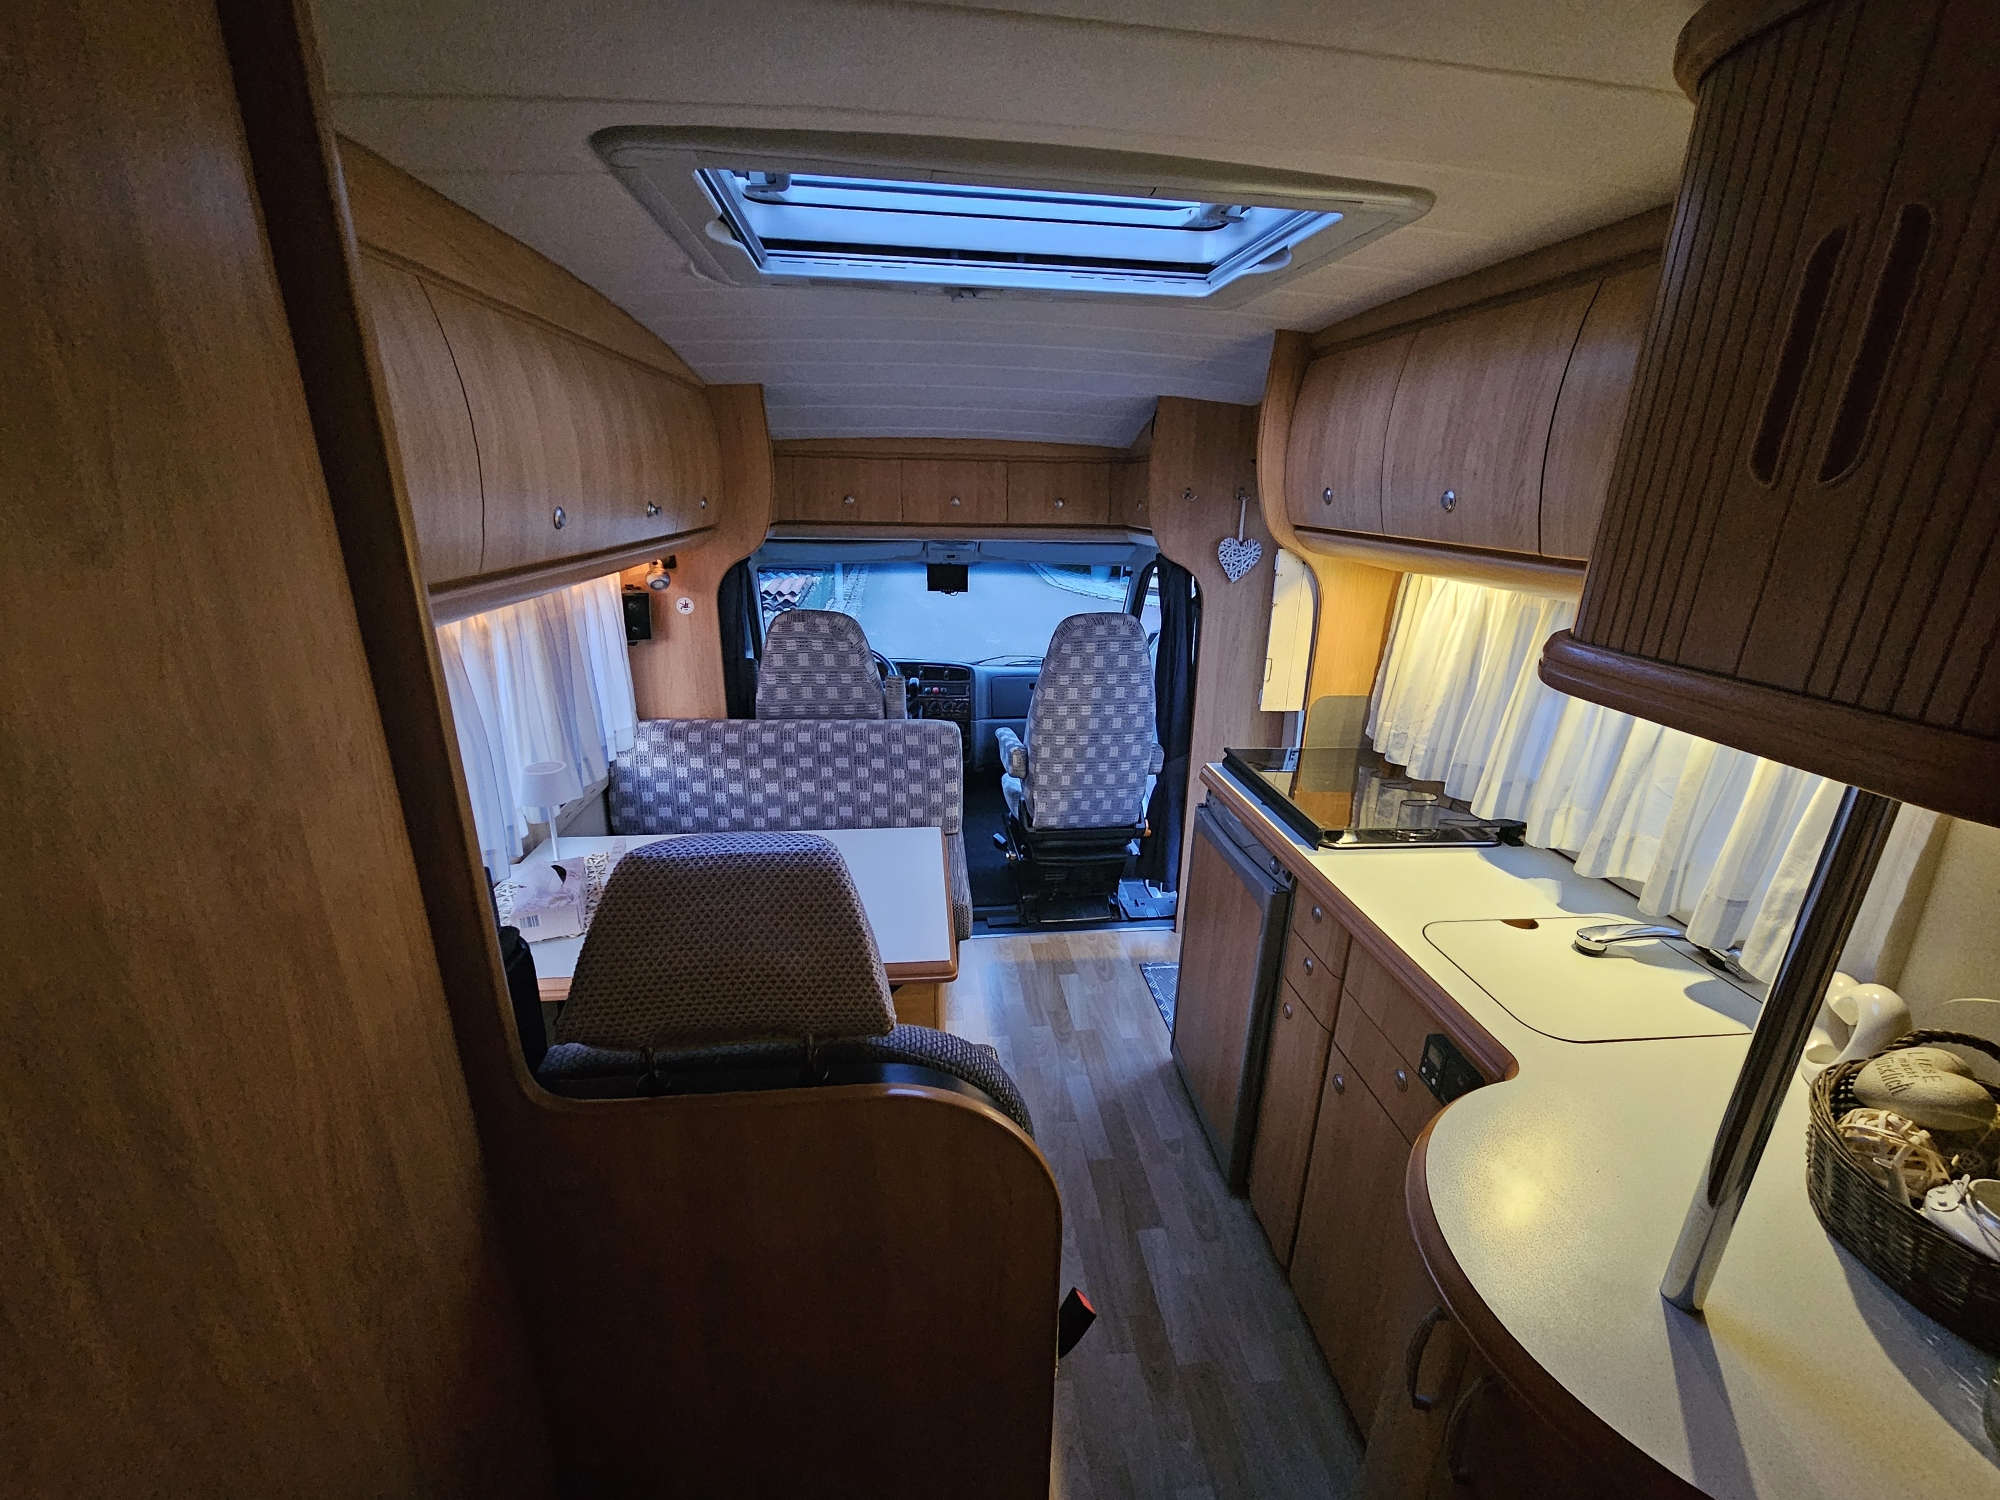
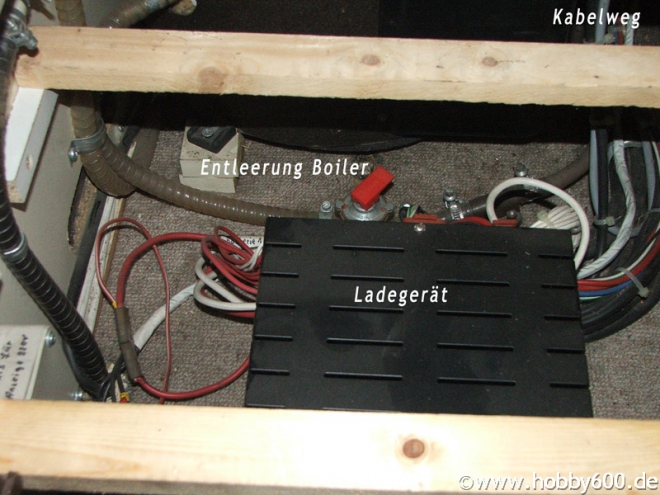
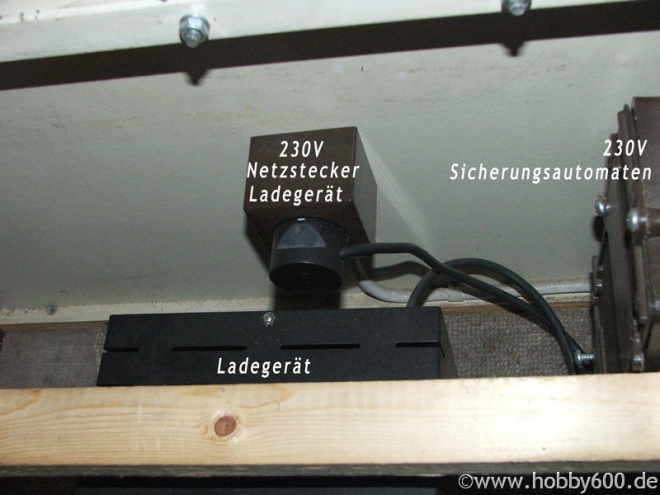
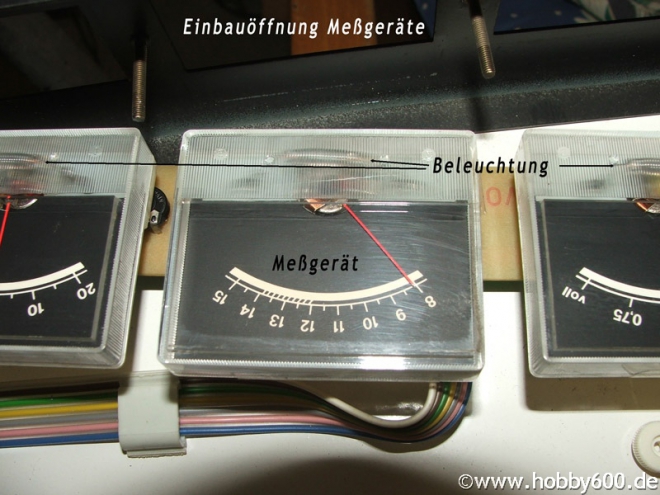
I had an older type heater and I bought a newer type case so modernise it a bit. A tv for the bedroom and lounge, both have satellite links for when I fit the satellite dish but they work brilliantly with the existing aerial. I turned the seat boxes around as they're much more usable that way. I also fitted a swivel device to the drivers seat. I cut the box down welded it back up and welded the handbrake in a lower position on the other side of the box due to moving it around. One picture shows a PS2 fitted for rainy days - they only run on 8.5v if memory serves correct. There's a picture of the electric fridge; the solar panels keeps it running 24/7.
Antworten zu dsj1979
- dsj1979
-
Themenstarter
- Offline
- Routinier
-
- Beiträge: 109
- Thanks: 6
Re: Starting on the rust....
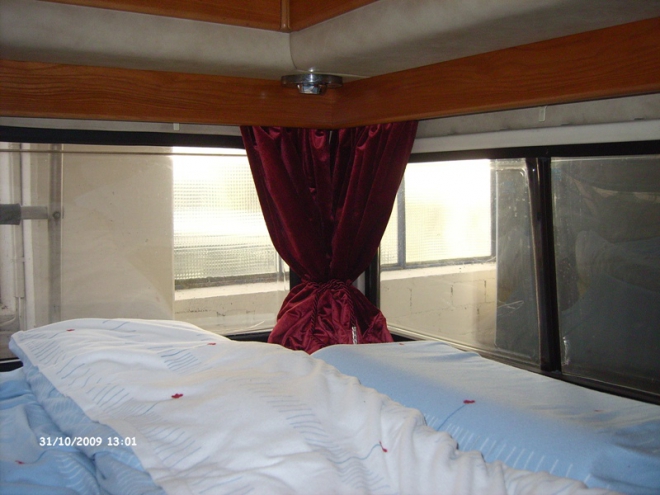
10 Jan. 2015 20:17
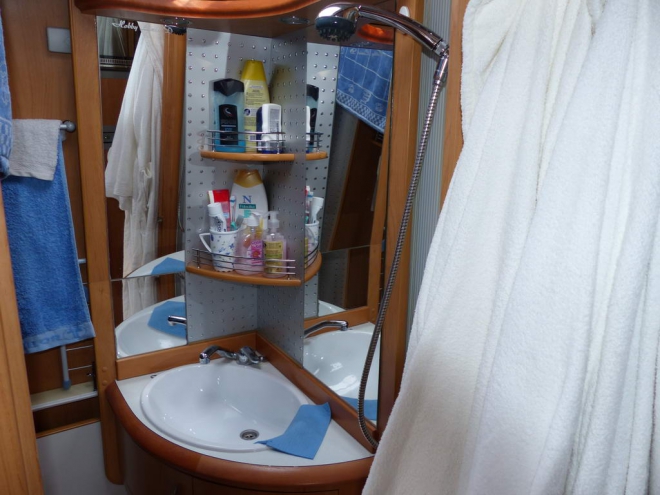
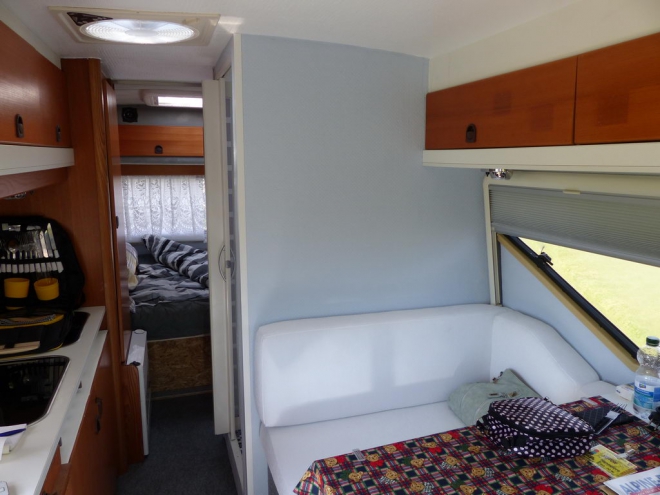
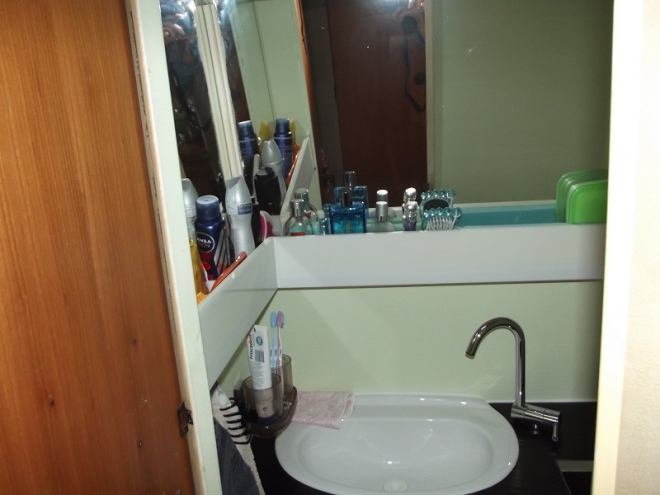
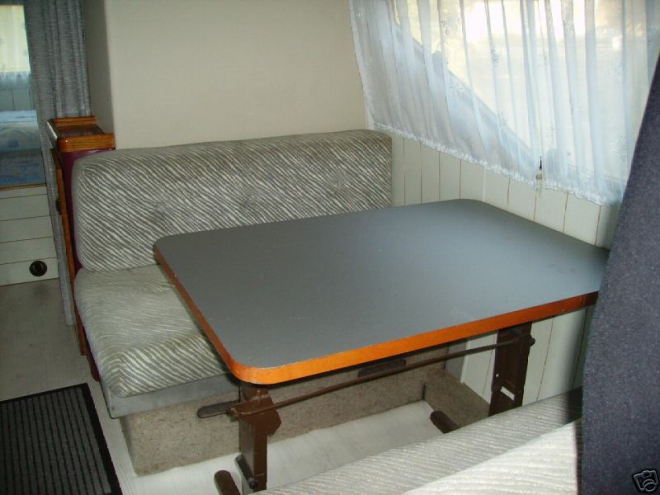
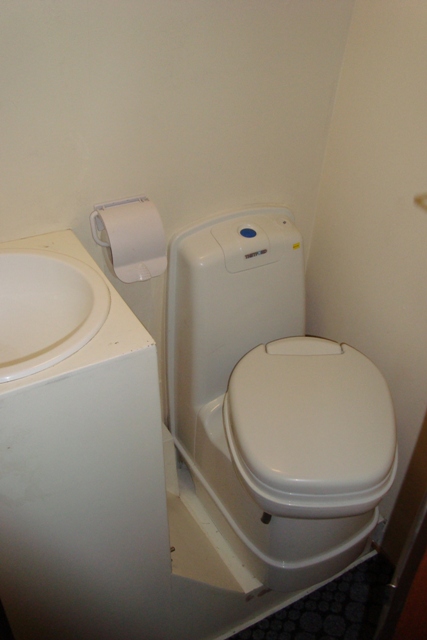
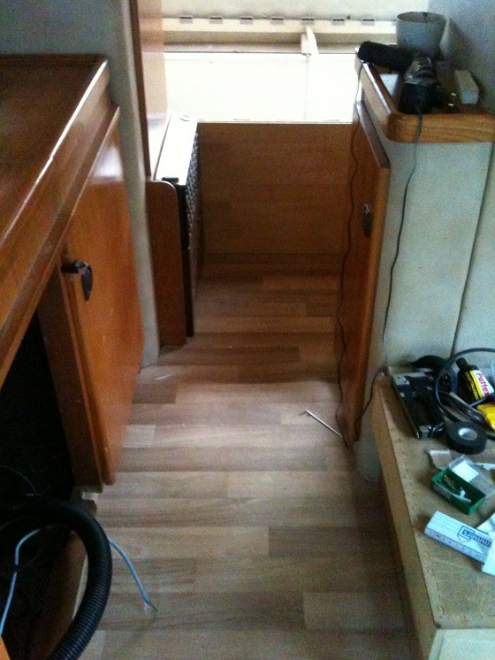
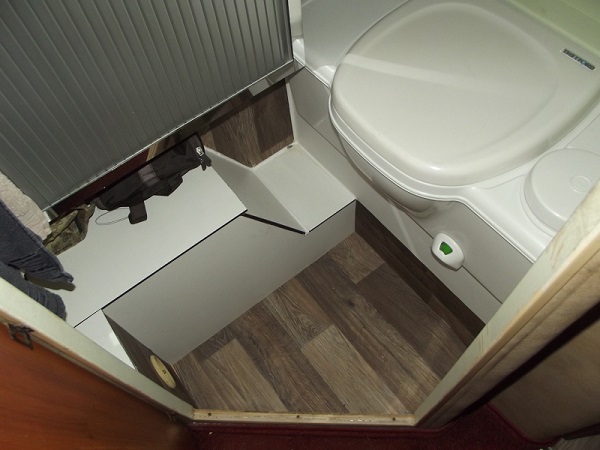
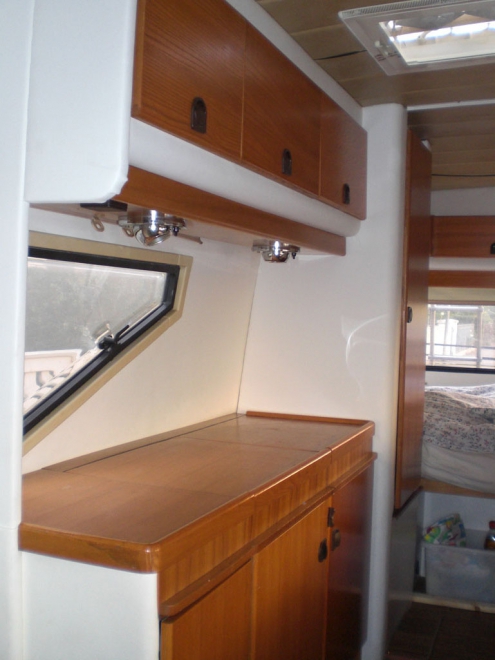
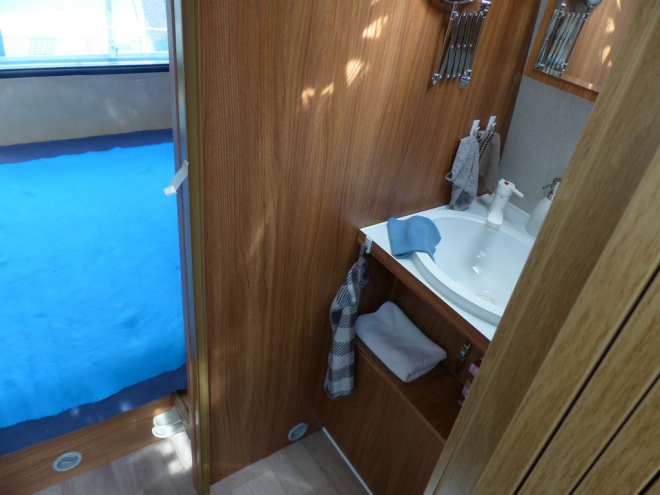
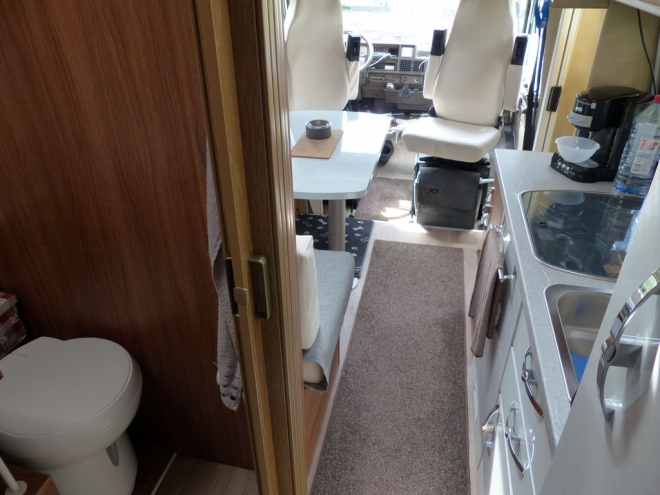
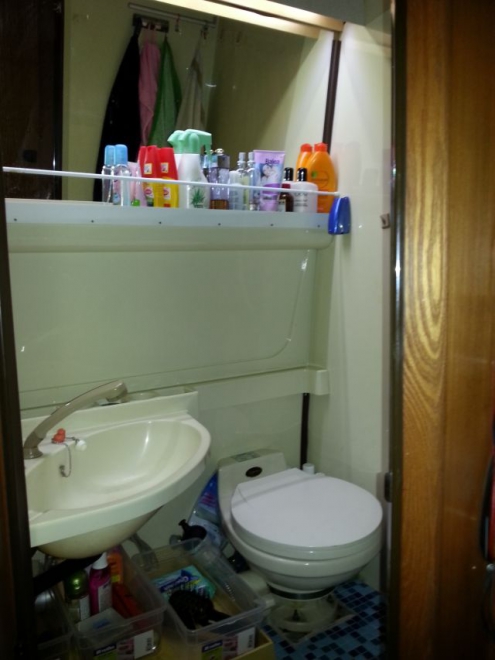
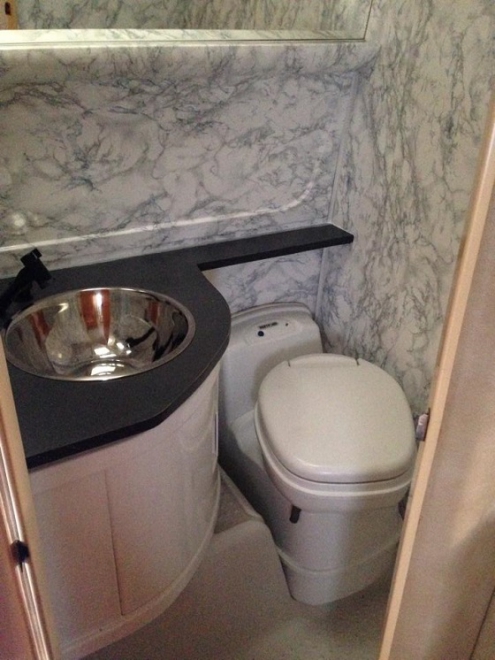
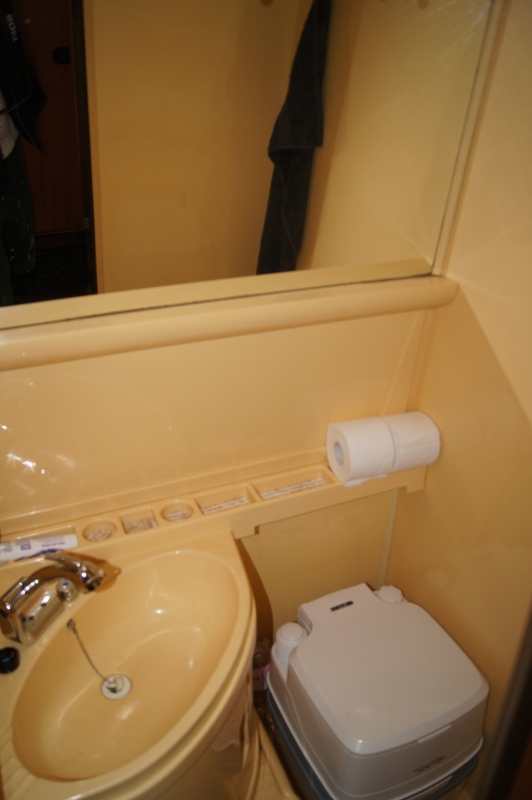
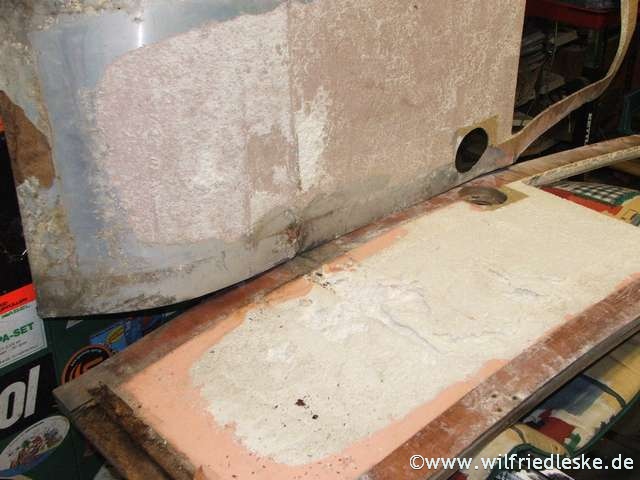
The next big job is the bathroom. It's stripped out at the moment. The tray was cracked and broken, I have used fibreglass to fix it all back together. I have a swivel toilet to fit which will involve cutting into the side of the van twice; 1 for the cassette 2 for the cistern filler.
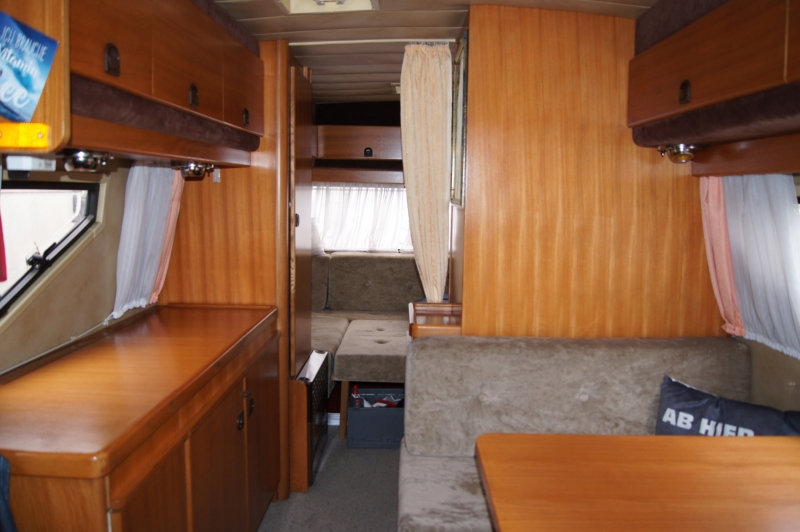
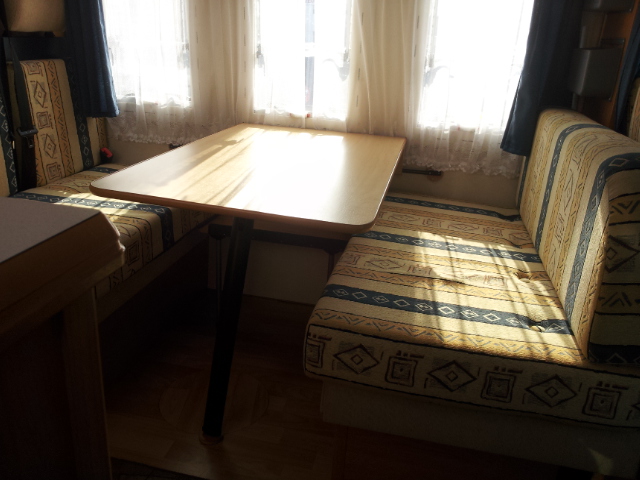
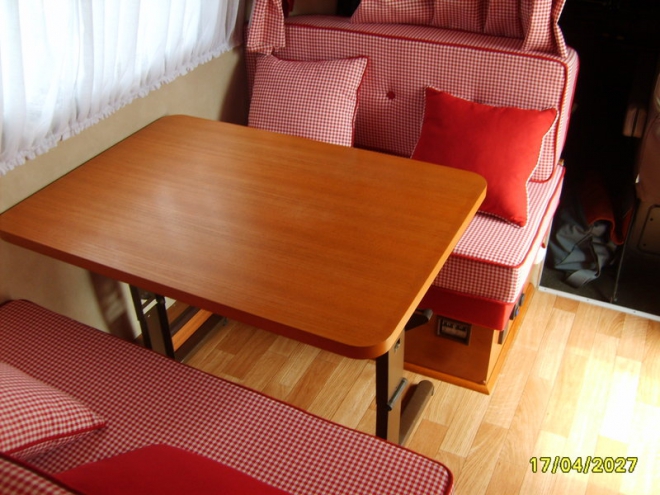
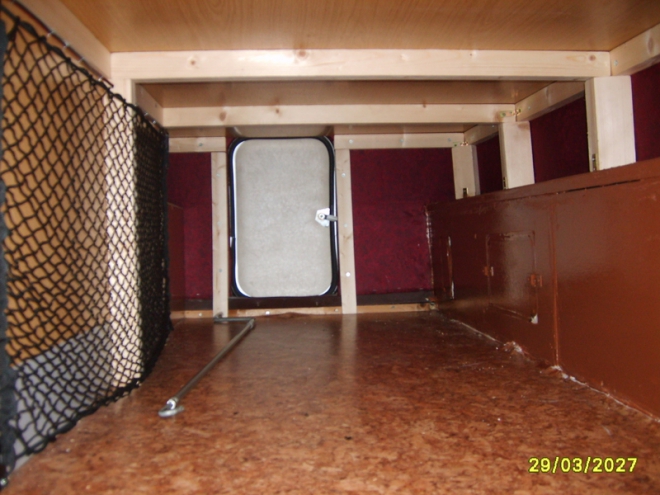
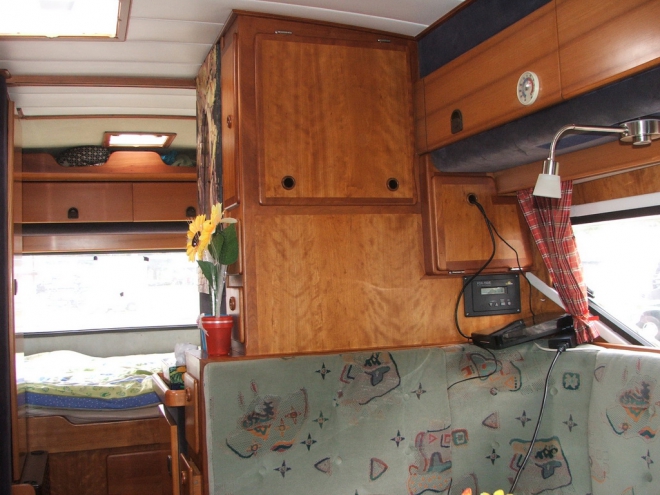
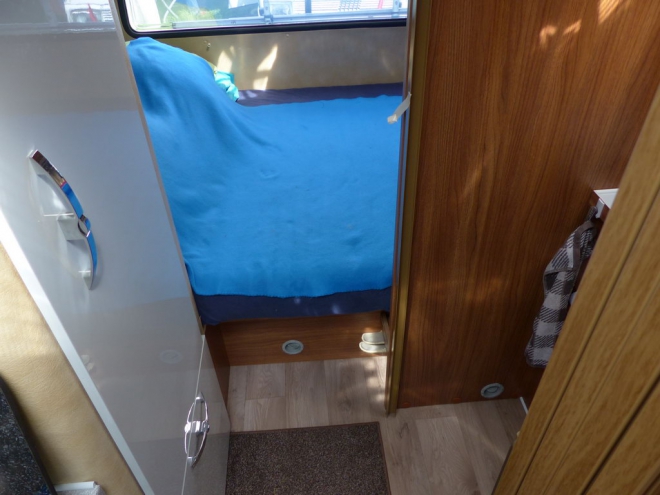
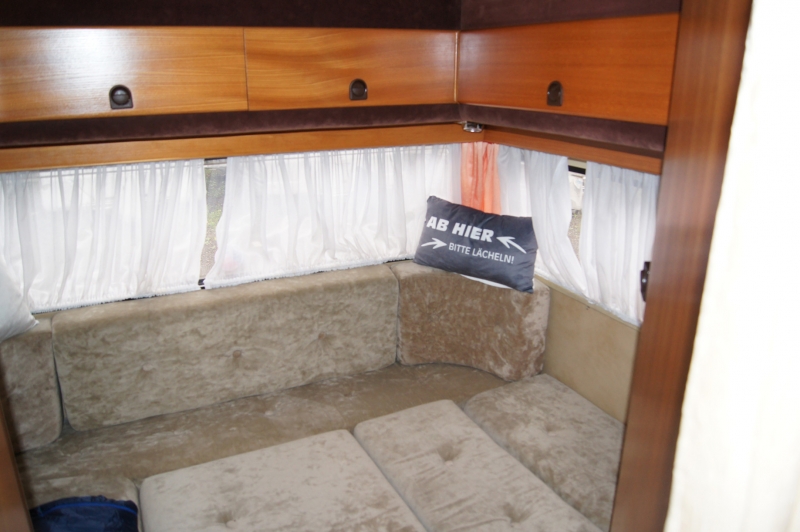
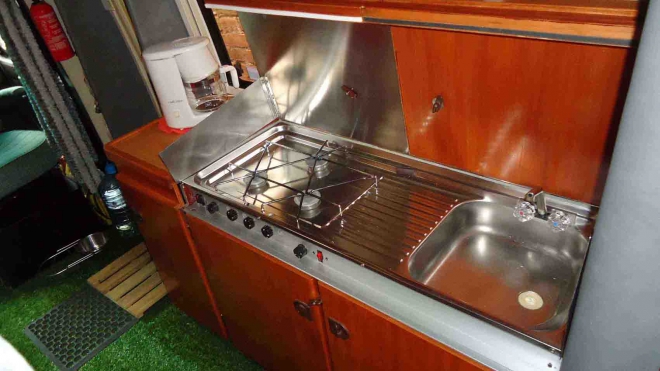
I have lots more jobs to do afterwards; redo the kitchen area to fit an oven, new grill and sink etc. I also want to raise the bed slightly and fit a lift device like others have done. Once these major bits are one I can then put new vinyl on the walls and ceiling and do something with the doors.
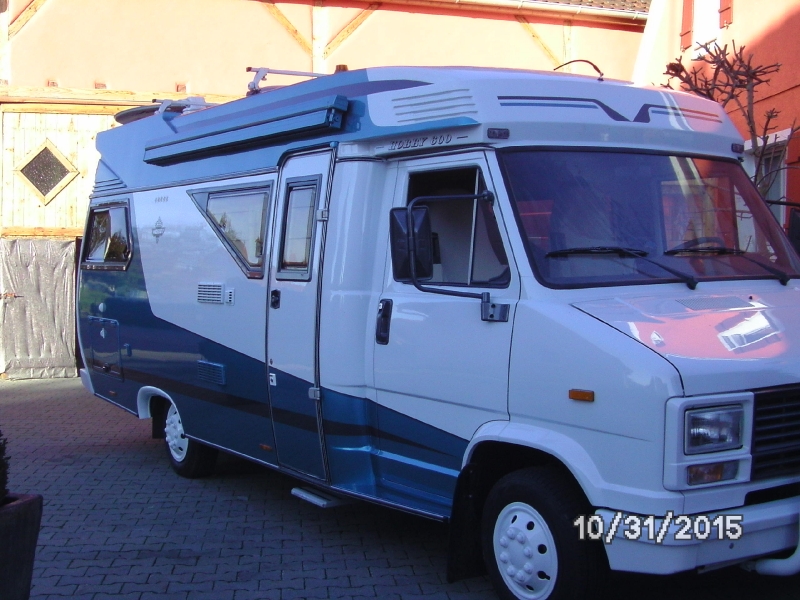
When the summer comes I will finish painting the cab. It doesn't look great at the moment but it's at least solid and all back together!
I have lots more jobs to do afterwards; redo the kitchen area to fit an oven, new grill and sink etc. I also want to raise the bed slightly and fit a lift device like others have done. Once these major bits are one I can then put new vinyl on the walls and ceiling and do something with the doors.
When the summer comes I will finish painting the cab. It doesn't look great at the moment but it's at least solid and all back together!
Antworten zu dsj1979
- dsj1979
-
Themenstarter
- Offline
- Routinier
-
- Beiträge: 109
- Thanks: 6
Re: Starting on the rust....
10 Jan. 2015 20:22
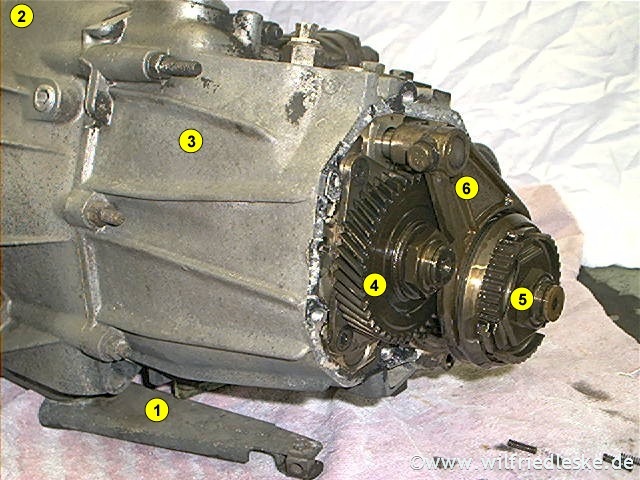
One annoying thing happened the other day. I had problems with the electrics, suddenly lights, glow plugs etc. weren't working yet other bits were. I took apart all sorts of things and then realised the ignition switch had broken, it was only allowing the electrics to work on the first click, not the second click. I have fitted a new ignition switch and all is working now. Nightmare though!
Antworten zu dsj1979
- saviemeke
-
- Offline
- Routinier
-
- Beiträge: 295
- Thanks: 84
- alter_hollaender
-

- Offline
- Unterstützer
-

- Hobby 600-Umbau
- Beiträge: 618
- Thanks: 616
- dsj1979
-
Themenstarter
- Offline
- Routinier
-
- Beiträge: 109
- Thanks: 6
Re: Starting on the rust....
12 Jan. 2015 19:56 - 12 Jan. 2015 19:56
Thank you!
I love looking at pictures of what people have done, thought I would post a few more myself. Not great pictures as it's dark but gives you an idea!
I cut down the drivers seat box as seen before. I didn't post a picture from the other side. I cut the section out that slopes in and made it straight. The reasoning for this, although the current batteries fit, i measured some other batteries which were a bit too bit to fit in. My making the box a touch bigger it means these bigger batteries will fit... just as well as I have just ordered them!
Letzte Änderung: 12 Jan. 2015 19:56 von dsj1979.
Antworten zu dsj1979
- dsj1979
-
Themenstarter
- Offline
- Routinier
-
- Beiträge: 109
- Thanks: 6
Re: Starting on the rust....
12 Jan. 2015 20:07 - 12 Jan. 2015 20:09
I've fitted a rear view camera as well. One points down for parking, the other points to the rear for normal driving. The monitors are in a rear view mirror. Pictures with it switched on and off.


Letzte Änderung: 12 Jan. 2015 20:09 von dsj1979.
Antworten zu dsj1979
- dsj1979
-
Themenstarter
- Offline
- Routinier
-
- Beiträge: 109
- Thanks: 6
Re: Starting on the rust....
12 Jan. 2015 20:15 - 12 Jan. 2015 20:16
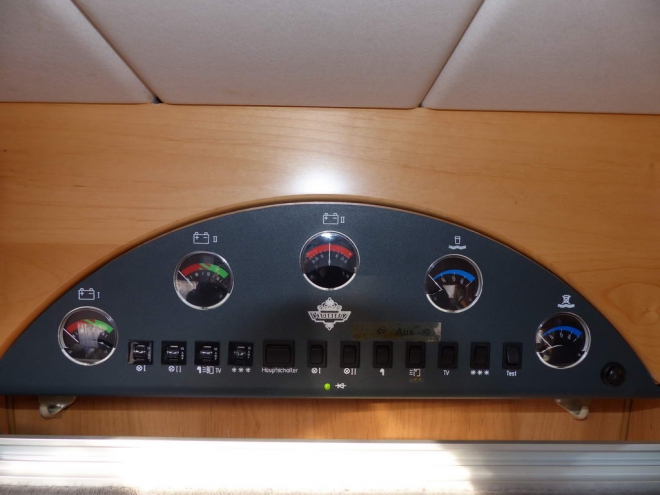
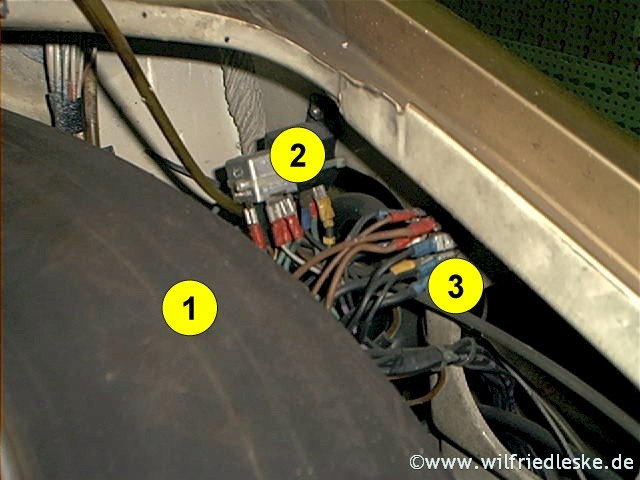
I also fitted an LPG system. This was so my wife can have the heating on without me moaning about using the gas. It's a lot cheaper to run and, it saves two bottles worth of space. By saving the space in the kitchen I will have room to fit an oven!
For the filler, I cut the hole but then used fibreglass to ensure the hole was waterproof. That was no water should run into the insulation. That's the blue tinge you can see on the outside.

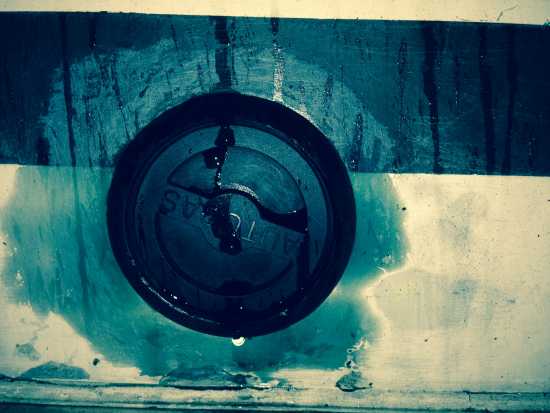


For the filler, I cut the hole but then used fibreglass to ensure the hole was waterproof. That was no water should run into the insulation. That's the blue tinge you can see on the outside.
Letzte Änderung: 12 Jan. 2015 20:16 von dsj1979.
Antworten zu dsj1979
- Lollo_C
-

- Offline
- Administrator
-

- Hobby 600_Umbau
- Beiträge: 6159
- Thanks: 3000
Re: Starting on the rust....
13 Jan. 2015 07:39
Hallo Daniel,
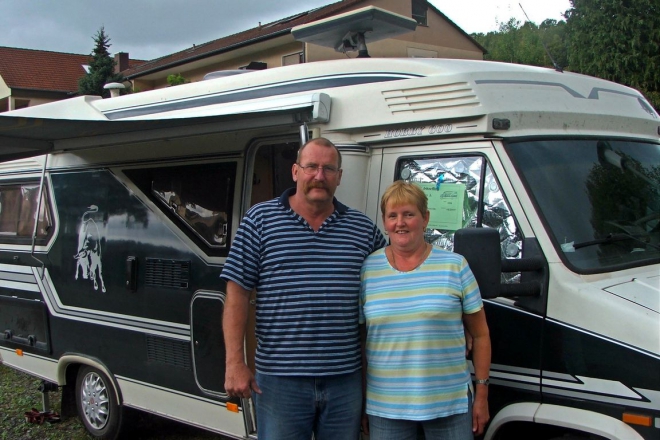
zunächst meinen Herzlichen Glückwunsch zu Deinem Projekt. Auf den Bildern sieht es gut aus. So eine Totalsanierung ist schon ein größerer Akt. Dabei lohnt es sich dann aber auch, sofort seine eigenen Vorstellungen zu verwirklichen. Ich denke, Deine Frau ist sehr stolz auf Dich!
Vielen Dank aber auch, dass Du uns durch Deine Bilder und Informationen an Deinem Projekt teilhaben lässt. Das ist nicht selbstverständlich. Ich wünsche Dir weiterhin viel Erfolg und würde mich freuen, wenn wir mal Gelegenheit bekommen und uns Euren Hobby 600 in Natura (live) angucken können.
Mit freundlichen Grüßen und Glückauf
Wilfried
Ich komme aus der alten Schule. Daher antworte ich nicht auf Fragen, die ohne Anrede und Gruß gestellt werden!
Wilfried
Ich komme aus der alten Schule. Daher antworte ich nicht auf Fragen, die ohne Anrede und Gruß gestellt werden!
Antworten zu Lollo_C
- dsj1979
-
Themenstarter
- Offline
- Routinier
-
- Beiträge: 109
- Thanks: 6
Re: Starting on the rust....
14 Jan. 2015 19:10
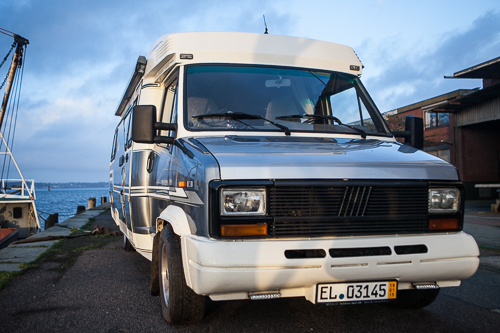
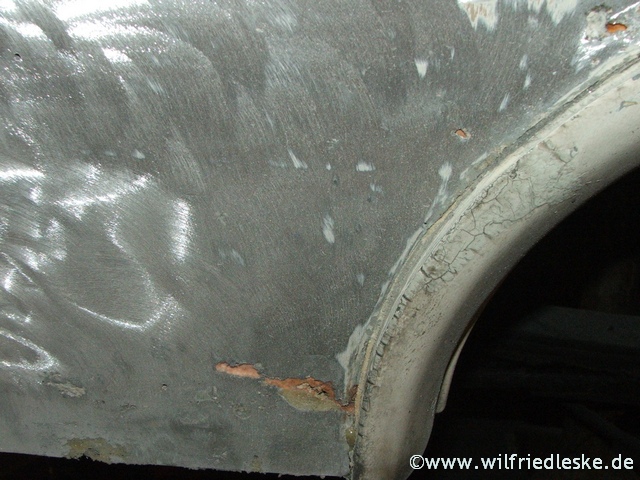
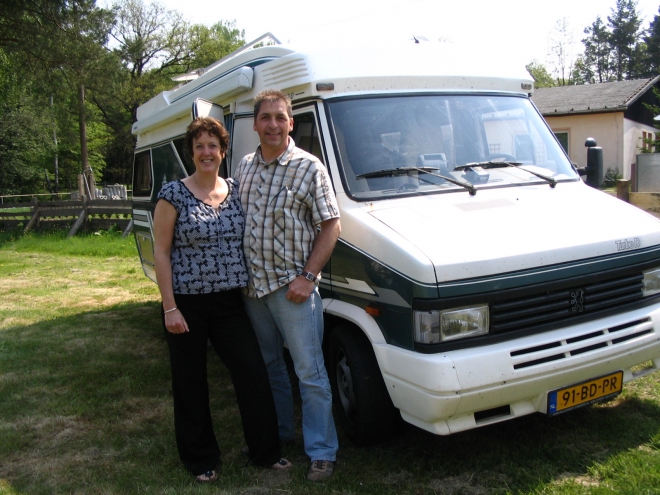
Thank you. On the outside it still looks a mess; the outside of the doors and bonnet needs to be sprayed but it's solid. Hopefully if I get time I would like to do the whole motorhome in the summer. I'm slowly upgrading the inside or at least wiring and bits and pieces. I'm looking forward to all of that being completed as then I can re vinyl the walls.
Thankfully at least things are working and it's usable. It drives really nicely and the soundproofing seems to have made a difference. I have the MOT on Friday and as long as it passes will be going away this weekend!
Thankfully at least things are working and it's usable. It drives really nicely and the soundproofing seems to have made a difference. I have the MOT on Friday and as long as it passes will be going away this weekend!
Antworten zu dsj1979
Ladezeit der Seite: 0.465 Sekunden


