


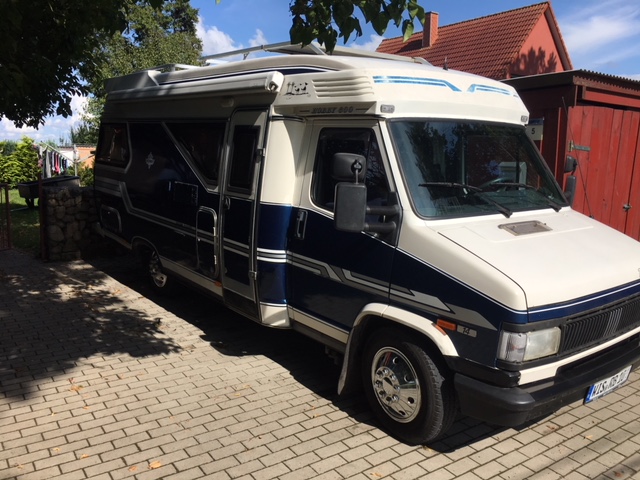
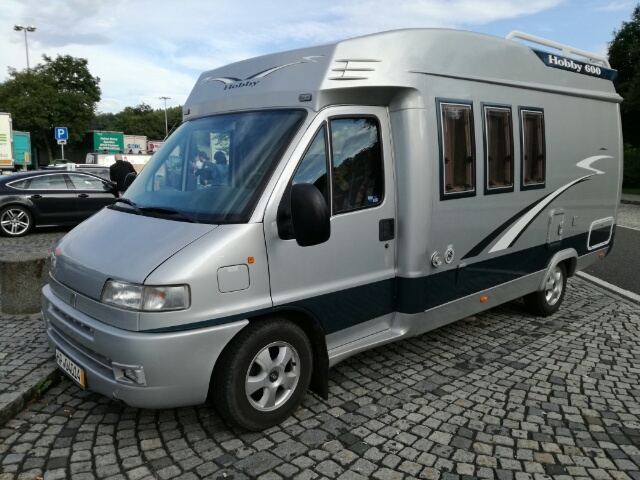
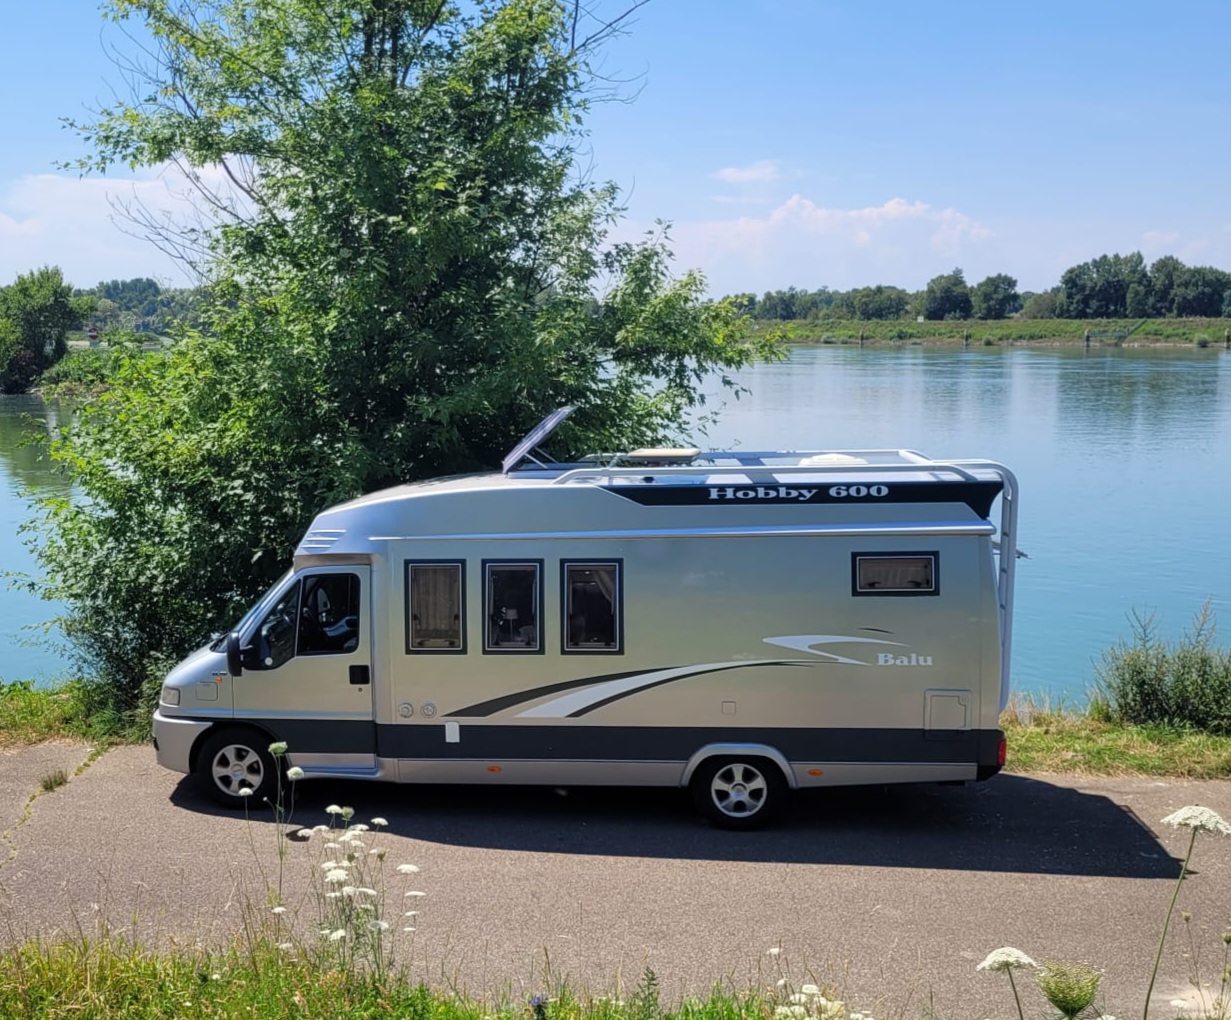
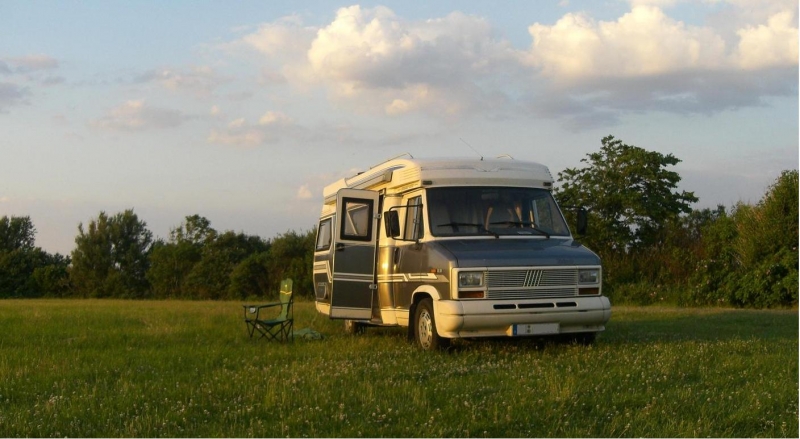
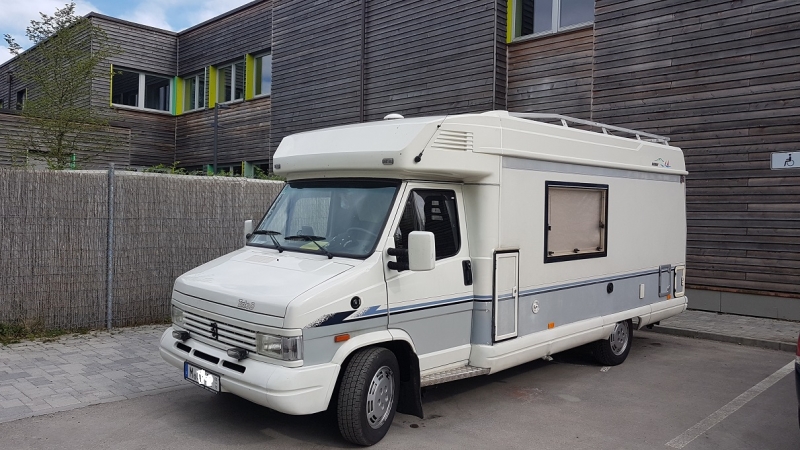
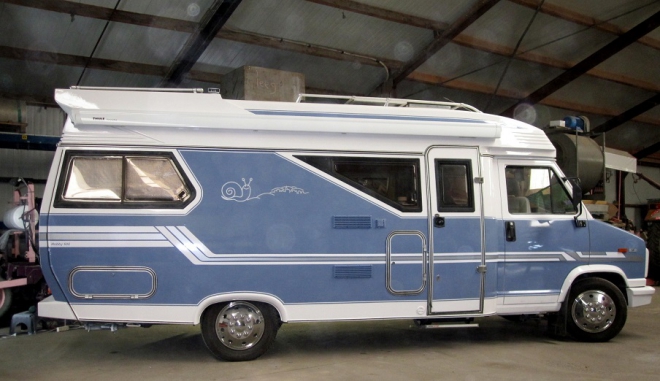
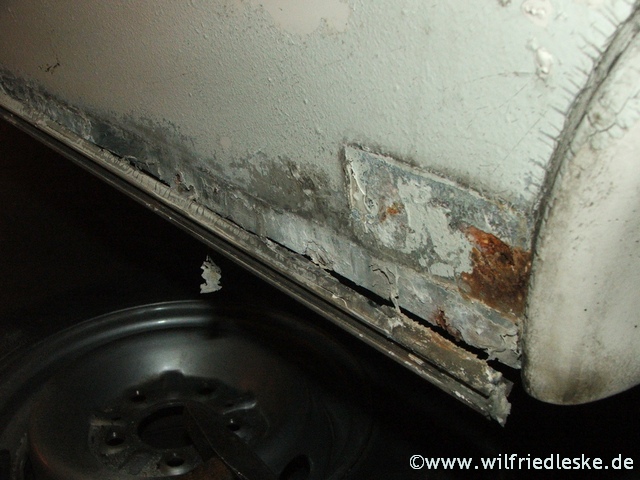
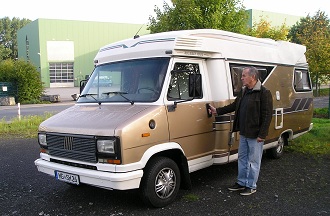
Starting on the rust....
- Jaap Geuzinge
-

- Offline
- Routinier
-

- Beiträge: 19
- Thanks: 10
- dsj1979
-
 Themenstarter
- Offline
- Routinier
-
- Beiträge: 109
- Thanks: 6
Re: Starting on the rust....
13 Dez. 2014 19:00
Well... time for an update! I wanted to have it ready to go away in September but other things came up and when I knew it wouldn't be ready so slowed down a bit... I also wondered if it would ever get back together, wondered dear god what have I done and considered a box of matches and a can of petrol... but I can now see an end in sight. I've been able to spend a bit of time on it over the past couple of weeks and now see an end in sight. Hopefully it won't be too much longer before it's running and I can use it! ")
Antworten zu dsj1979
- dsj1979
-
Themenstarter
- Offline
- Routinier
-
- Beiträge: 109
- Thanks: 6
- dsj1979
-
Themenstarter
- Offline
- Routinier
-
- Beiträge: 109
- Thanks: 6
Re: Starting on the rust....
13 Dez. 2014 19:10
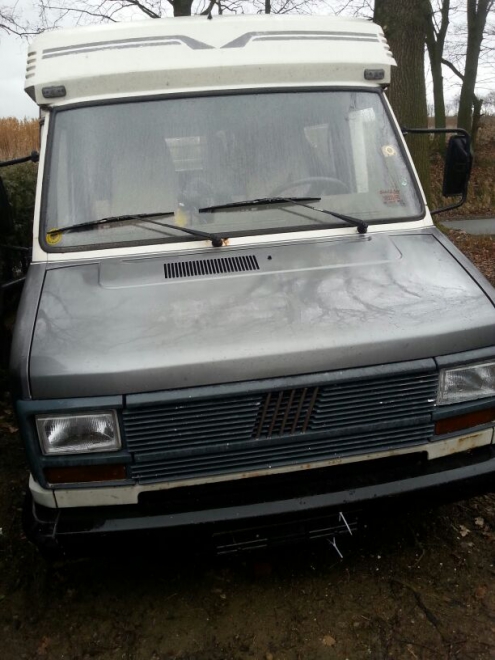
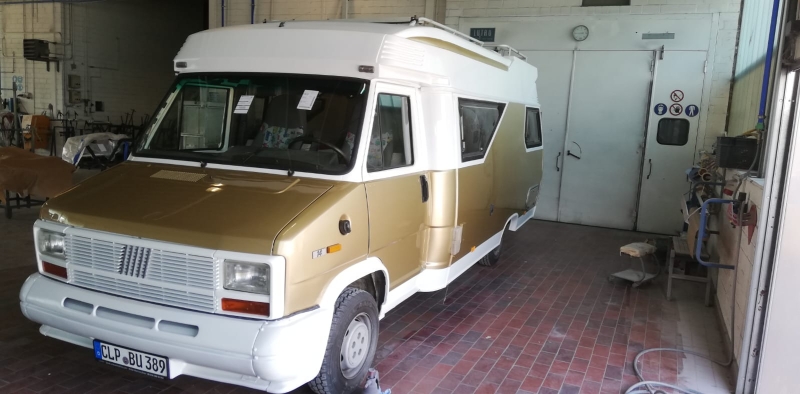
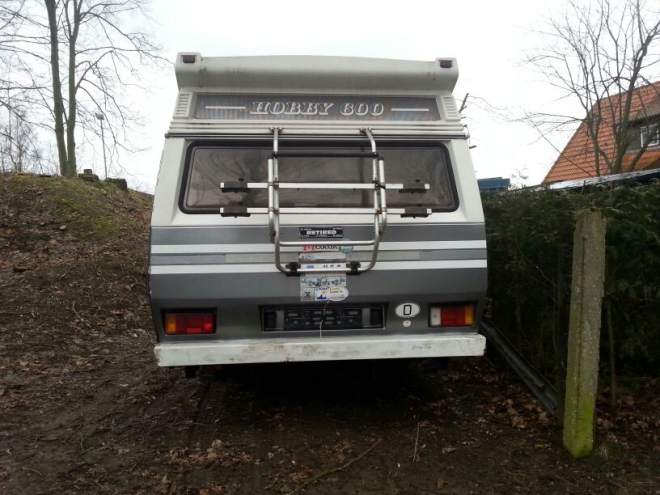
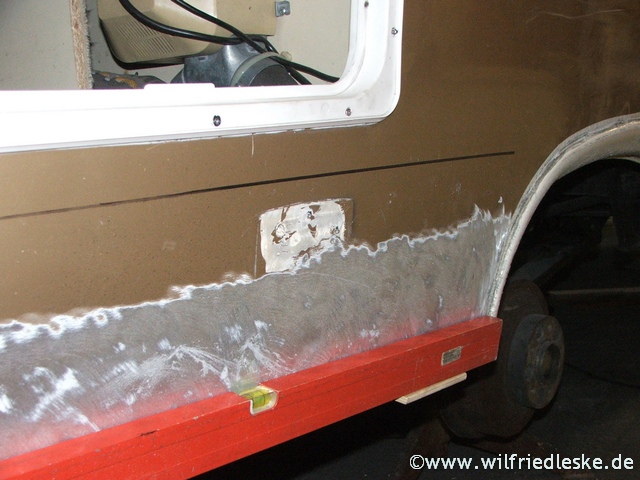
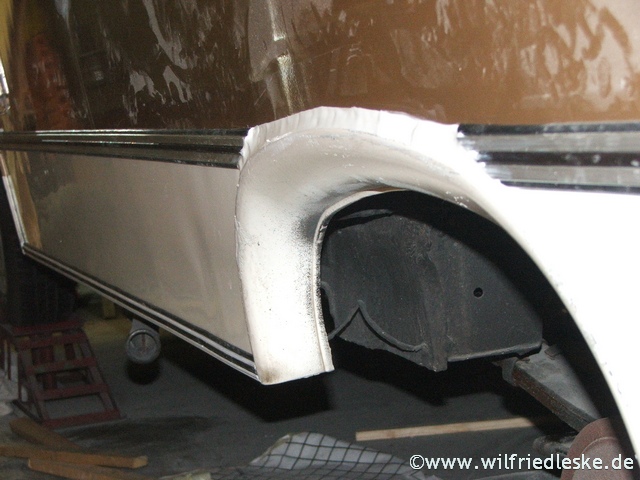
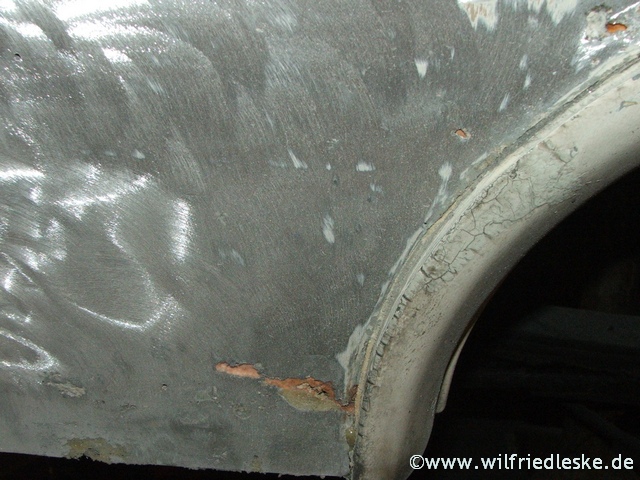
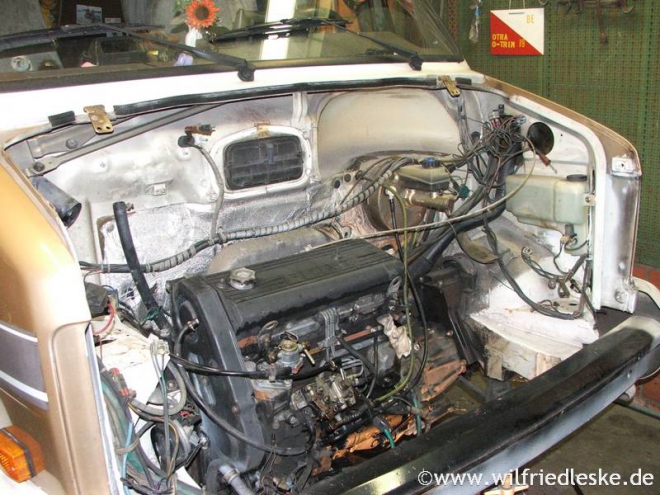
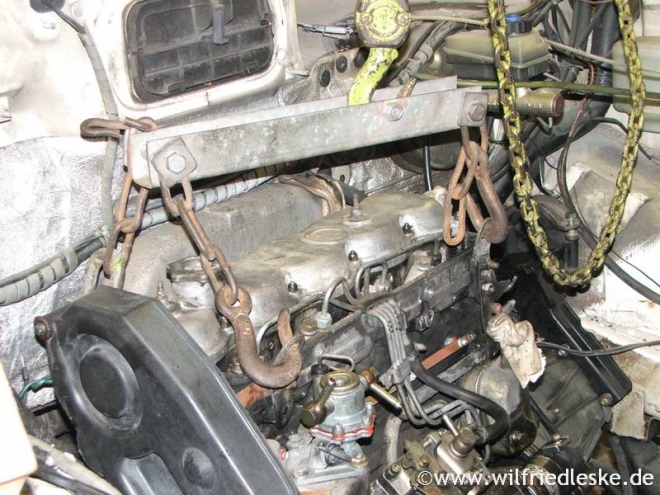
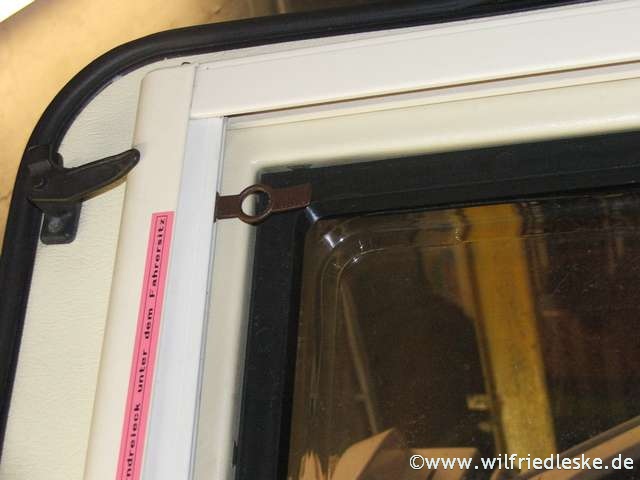
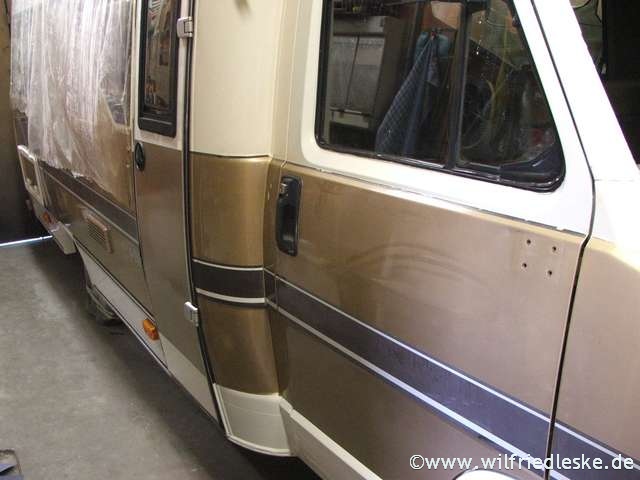
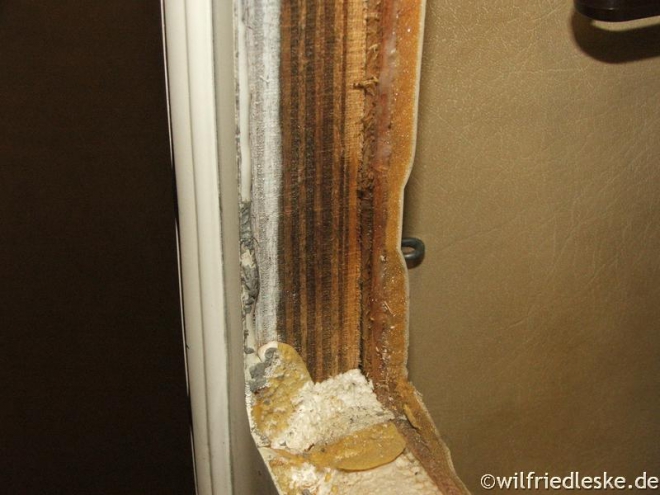
It's not a perfect paint job but it's fine at the moment. The shuts, engine bay etc. are ok. I need to paint the outside of the doors so next year when the weather is better I'll spray the outside again. It's at least watertight so I'm happy! I have made sure it won't rust again! I waxoiled the arches, sills, front panel, engine bay.... I have also coated the arches and front crossmember with underseal on top. It should be protected now! I wonder why I went to so much effort in some parts of the engine bay, now I've sprayed waxoil it looks all mucky now. But no rust!
I wonder why I went to so much effort in some parts of the engine bay, now I've sprayed waxoil it looks all mucky now. But no rust! Antworten zu dsj1979
- dsj1979
-
Themenstarter
- Offline
- Routinier
-
- Beiträge: 109
- Thanks: 6
Re: Starting on the rust....
13 Dez. 2014 19:14
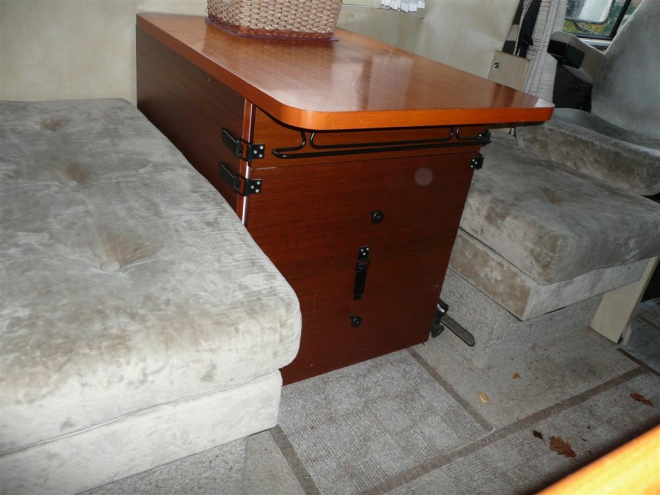
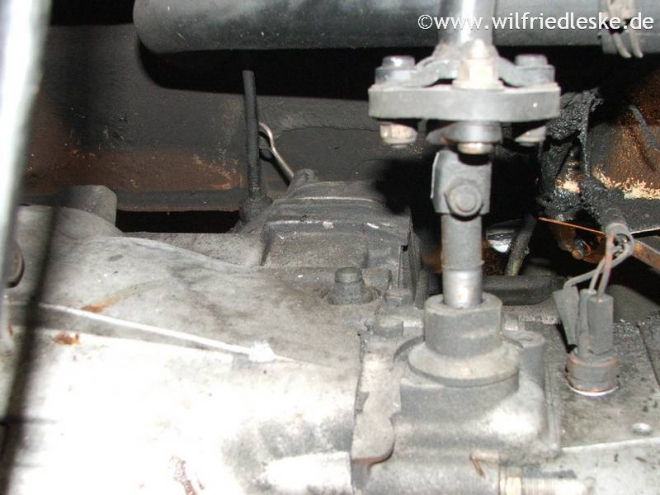
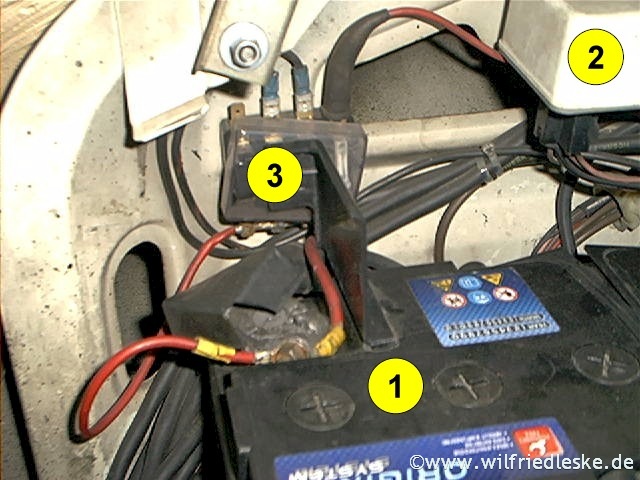
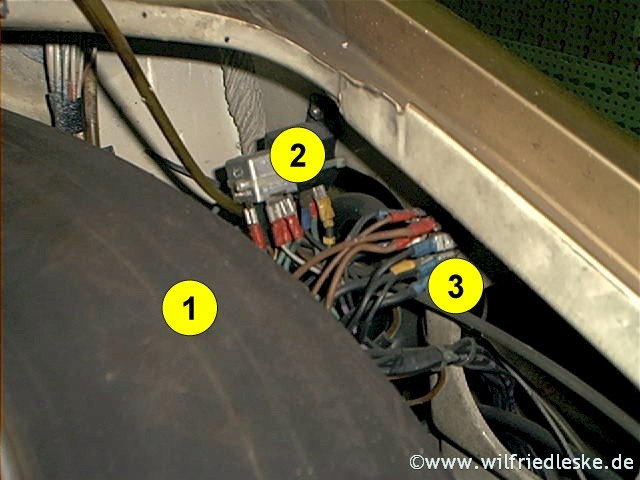
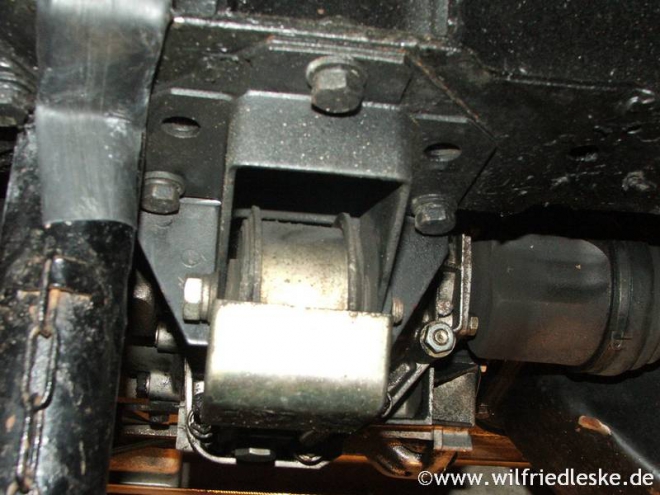
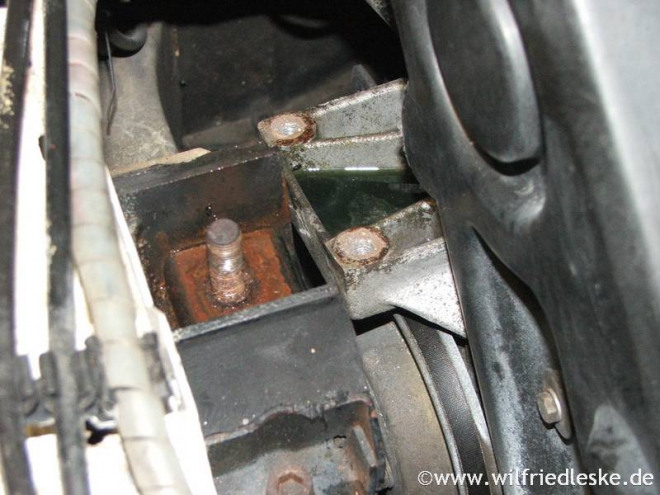
I decided not to weld the battery tray in place. I trial fitted it and it will bolt in place, I've just painted it and the air filter box etc. Once they dry I can fit them! At least being bolt in I can keep an eye on it and make sure it won't rust under there... though with all the waxoil it's unlikely!
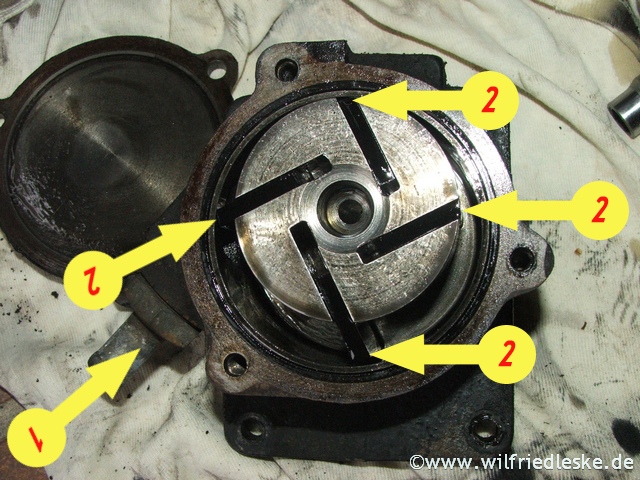
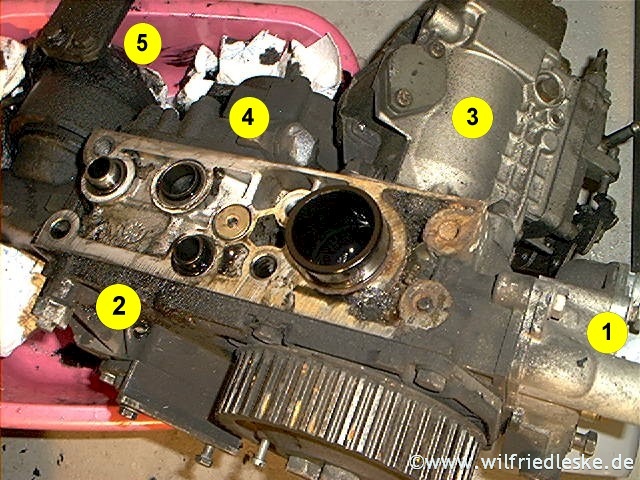
One question, where does the fuel filter fit to? I've been putting little bits and pieces back together today and and struggling to see where. Unless it's to the battery tray?
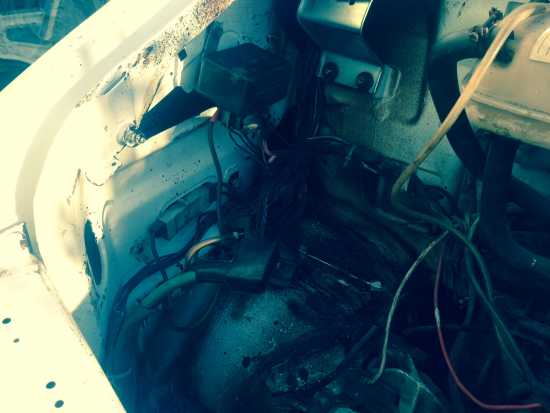
At least being bolt in I can keep an eye on it and make sure it won't rust under there... though with all the waxoil it's unlikely!One question, where does the fuel filter fit to? I've been putting little bits and pieces back together today and and struggling to see where. Unless it's to the battery tray?
Antworten zu dsj1979
- dsj1979
-
Themenstarter
- Offline
- Routinier
-
- Beiträge: 109
- Thanks: 6
Re: Starting on the rust....
13 Dez. 2014 19:22 - 13 Dez. 2014 19:24
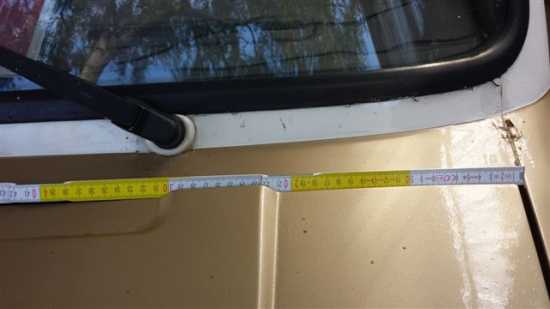
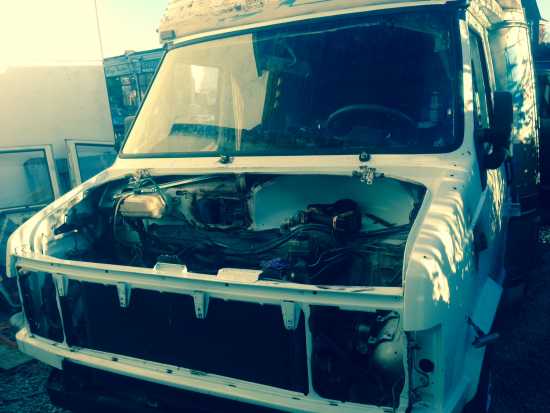
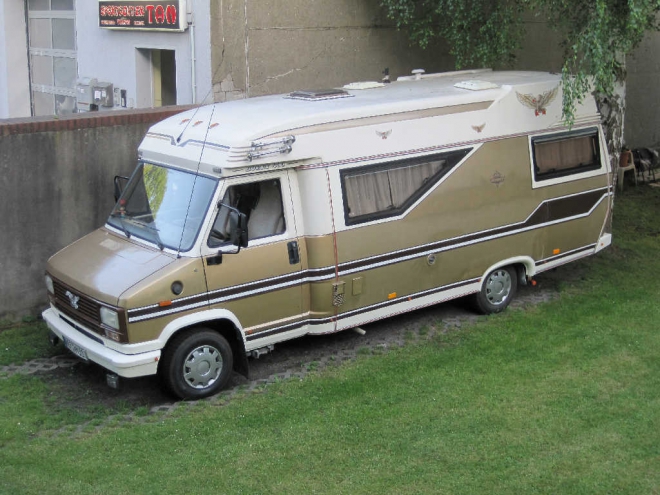
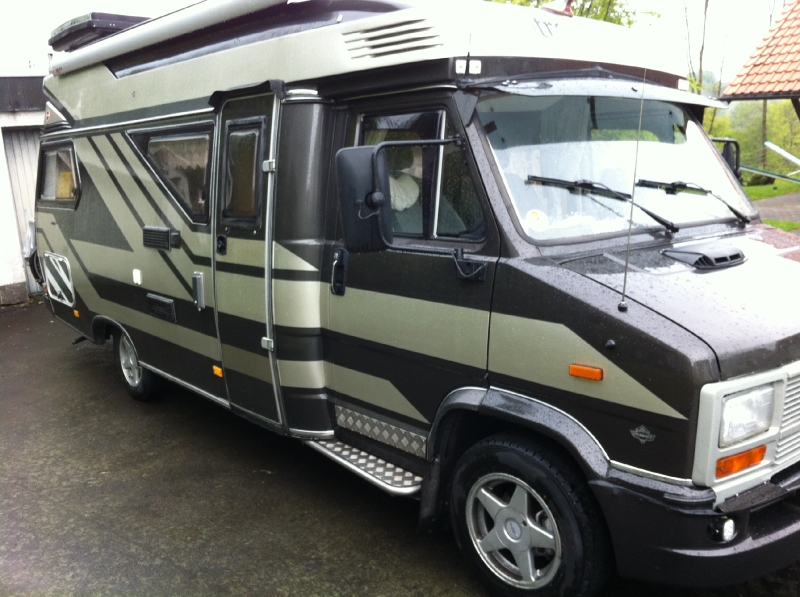
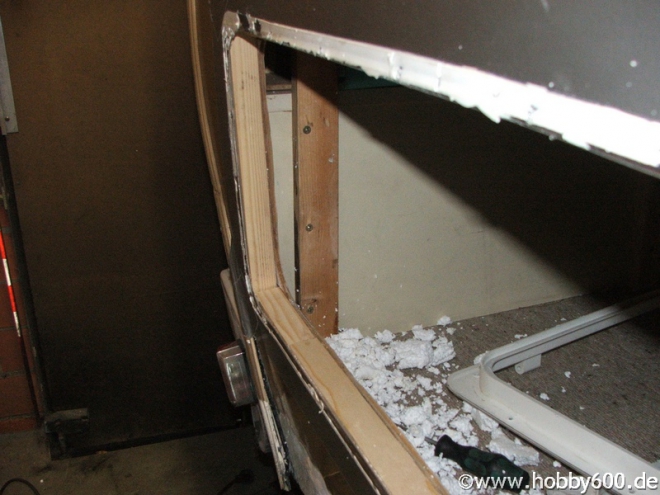
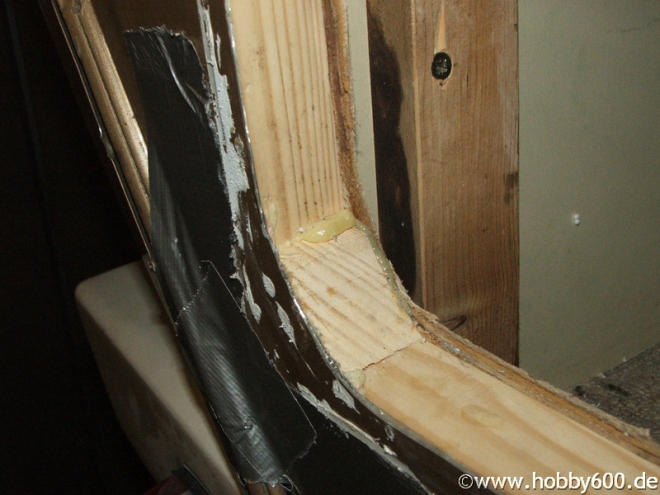
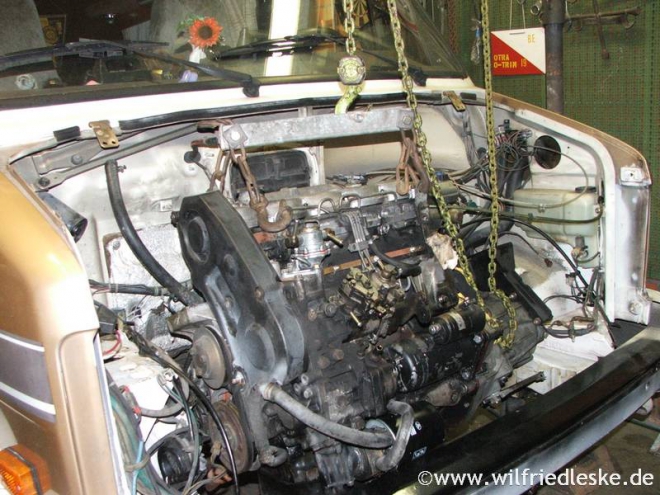
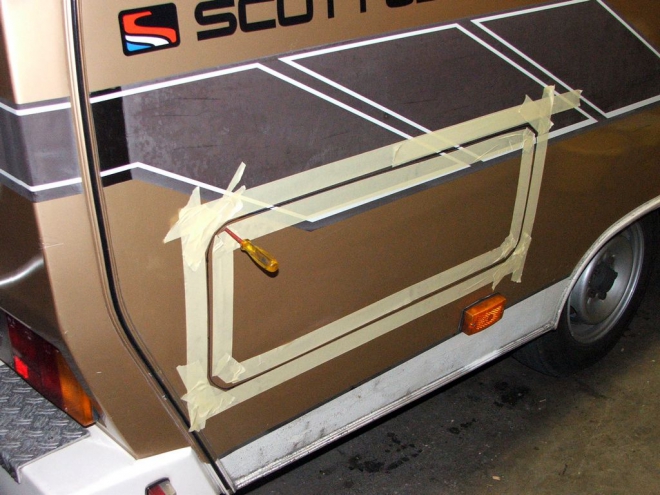
I've had a bit of a problem this side. I have fitted the fuel pipe but unfortunately the mk2 wings are different with how the fuel filler sits so the pipe must also be different. It's fitted but sticks out so I either need to cut and weld the pipe, or I need to try and find a mk2 pipe - which is the preferred option. To clarify this was a mk1 model but now has the mk2 front, wings and doors.
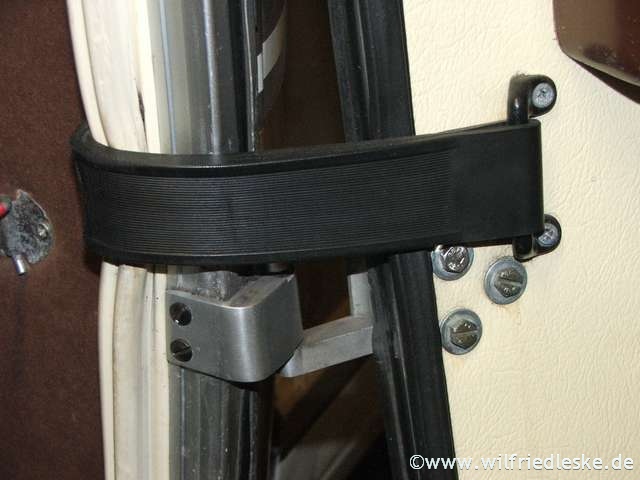
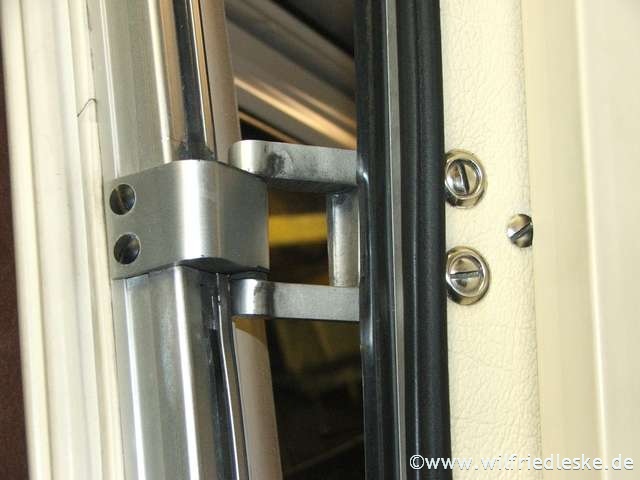
The doors were a nightmare to fit. The mk2 handles are slightly different to the mk1, it has a shallower dish for the fingers. The latches, handles all look the same but are slightly different. Also in between the hinges there is a gap I need to fill in on the a post. I thought the doors were a straight swap but there are differences that are or will cause lots of work!
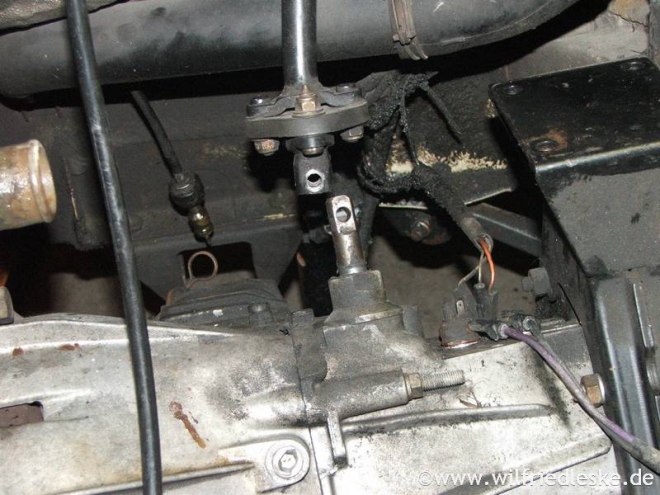
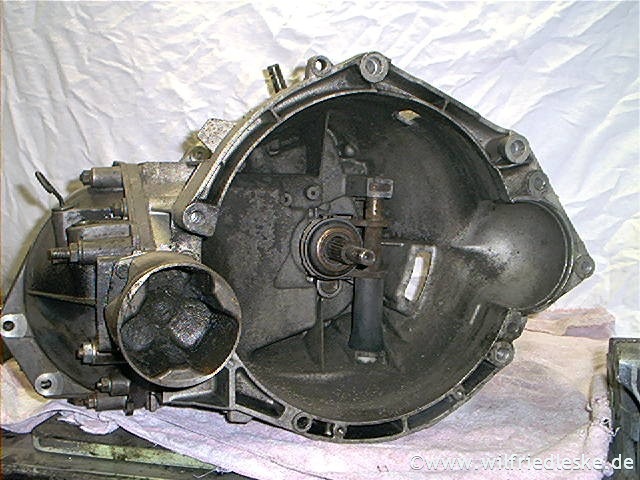
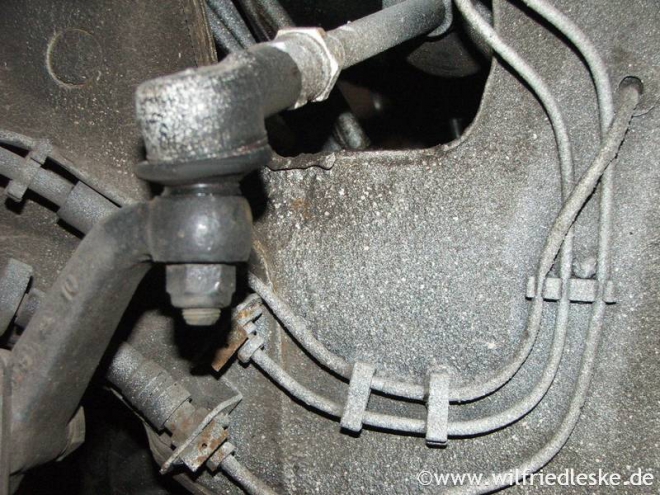
Another question, the engine wiring by the arch, should this run in between the inner and outer wing?
The doors were a nightmare to fit. The mk2 handles are slightly different to the mk1, it has a shallower dish for the fingers. The latches, handles all look the same but are slightly different. Also in between the hinges there is a gap I need to fill in on the a post. I thought the doors were a straight swap but there are differences that are or will cause lots of work!
Another question, the engine wiring by the arch, should this run in between the inner and outer wing?
Letzte Änderung: 13 Dez. 2014 19:24 von dsj1979.
Antworten zu dsj1979
- dsj1979
-
Themenstarter
- Offline
- Routinier
-
- Beiträge: 109
- Thanks: 6
Re: Starting on the rust....
13 Dez. 2014 19:30 - 13 Dez. 2014 19:31
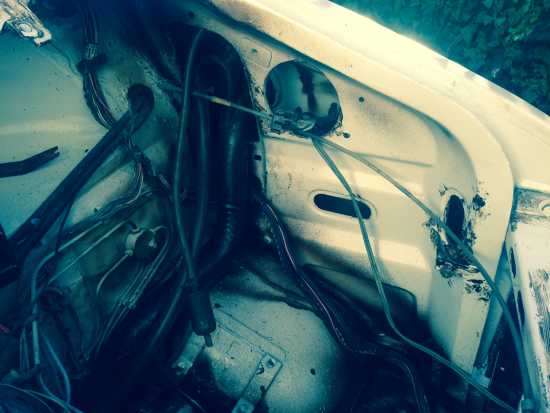
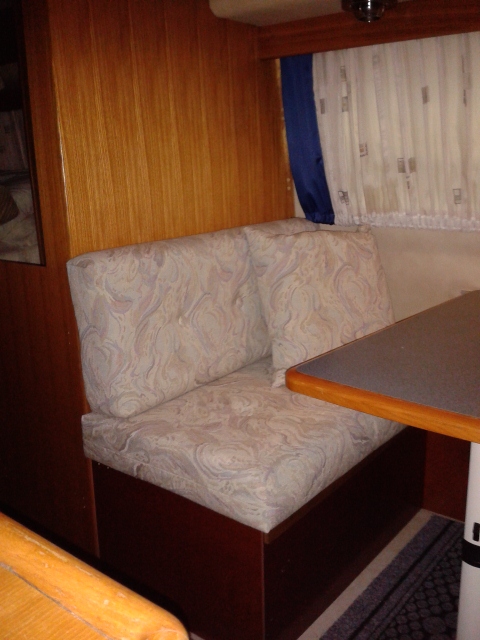
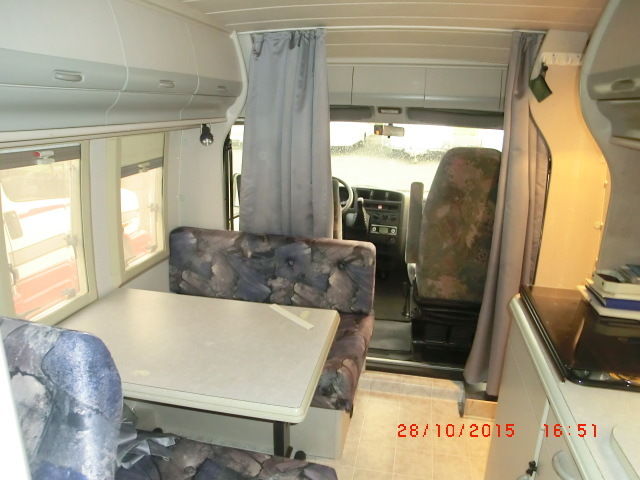
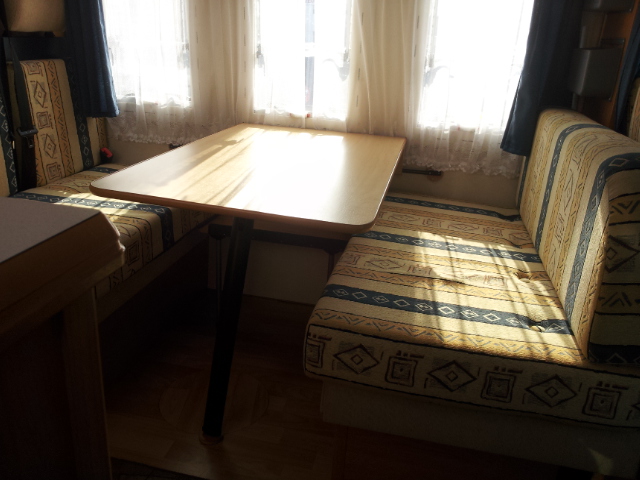
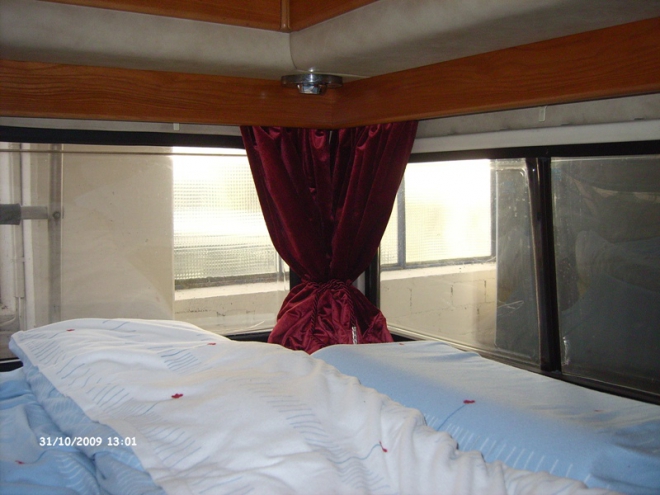
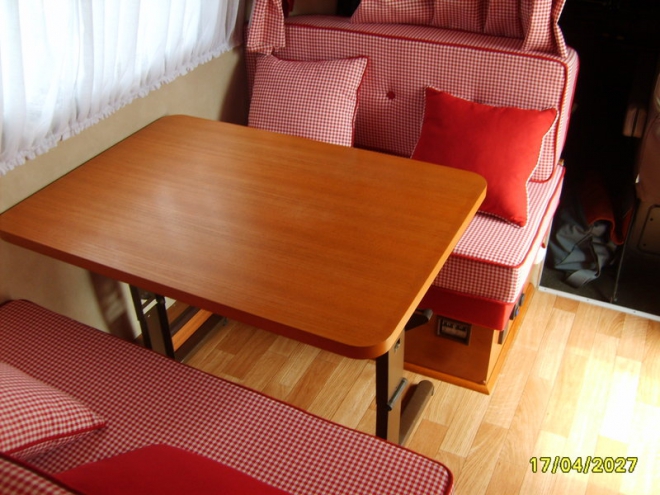
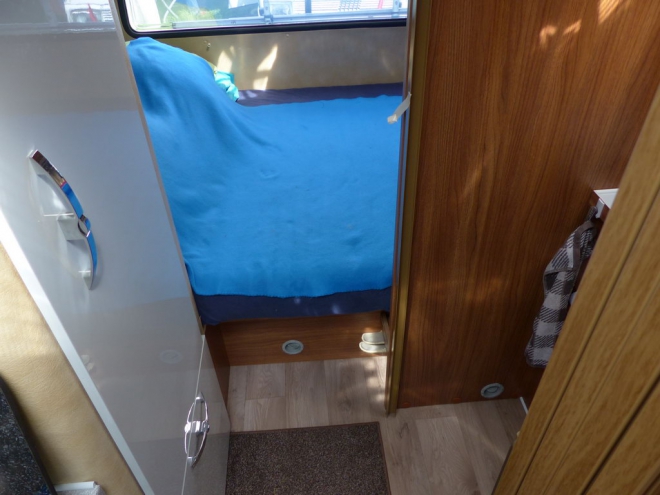
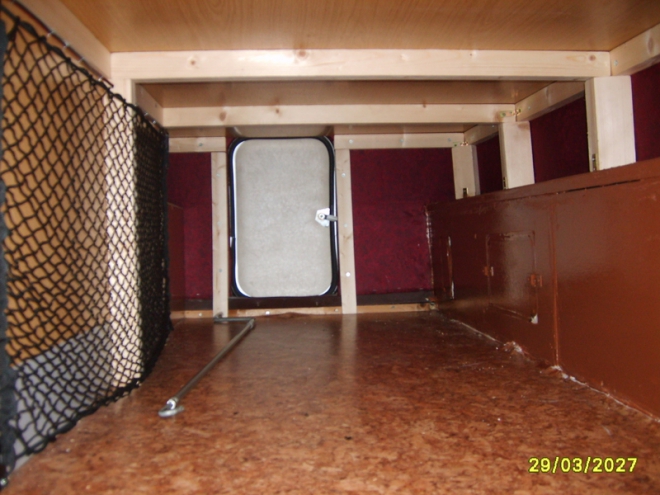
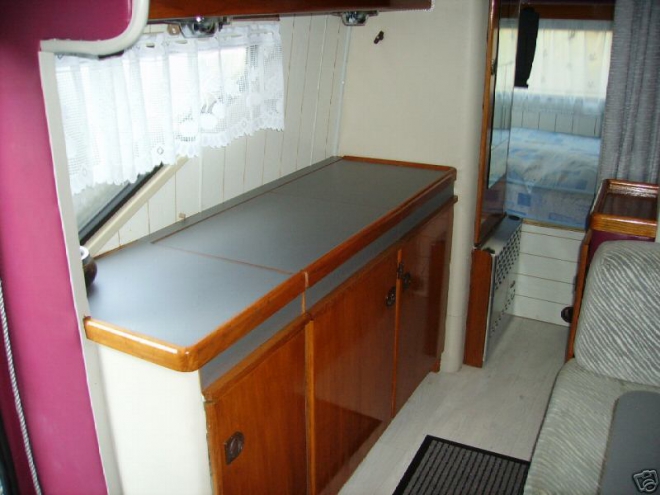
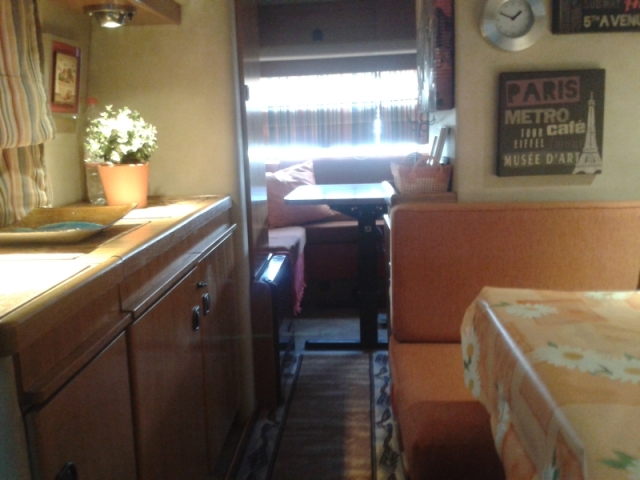
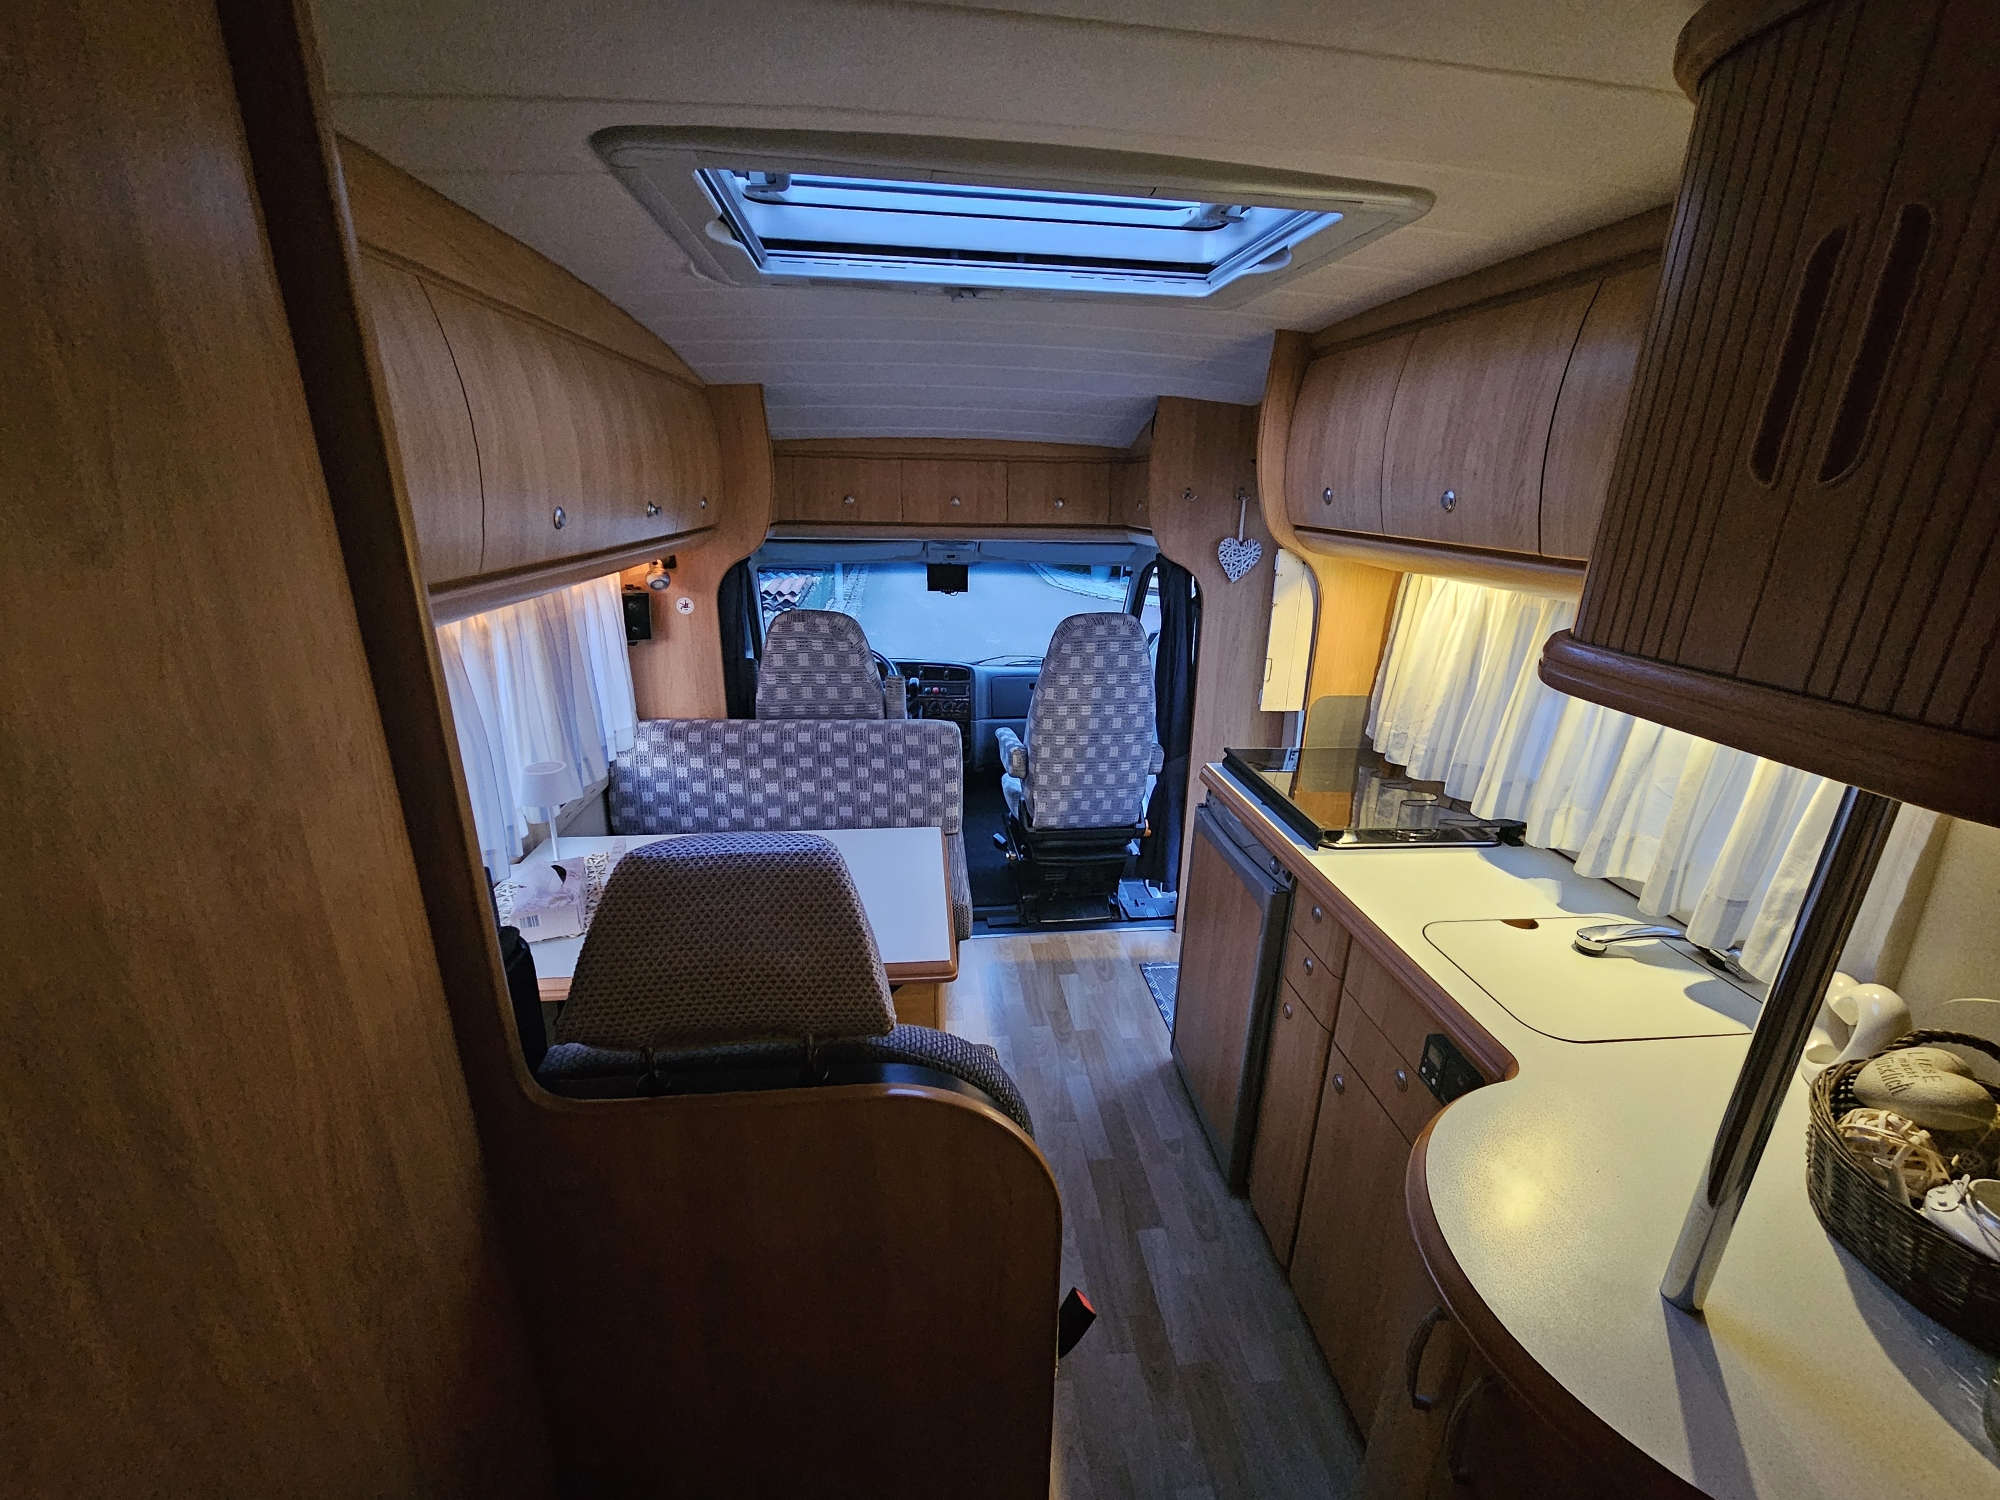
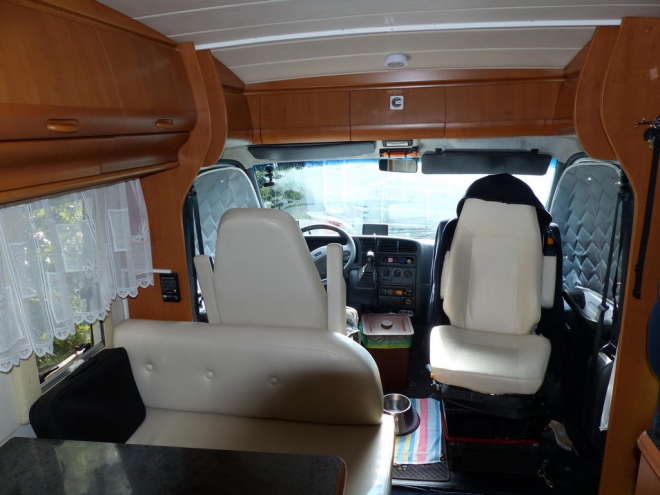
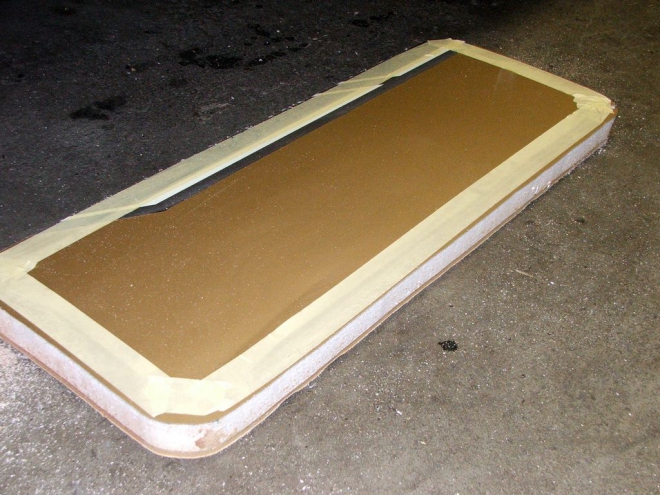
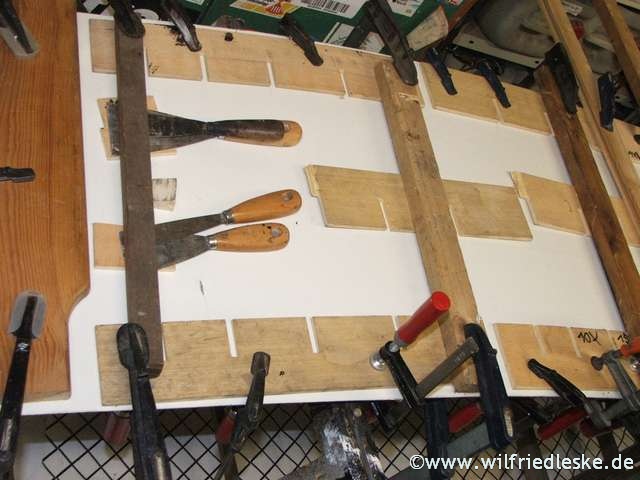
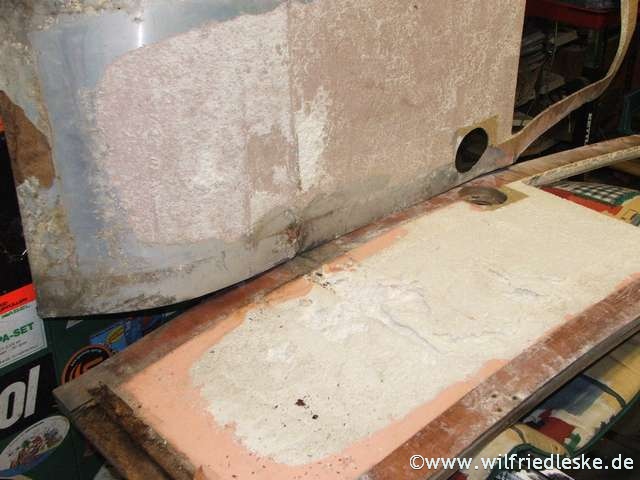
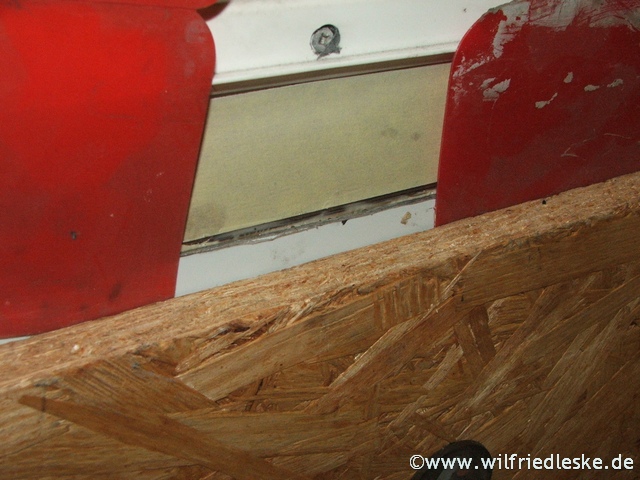
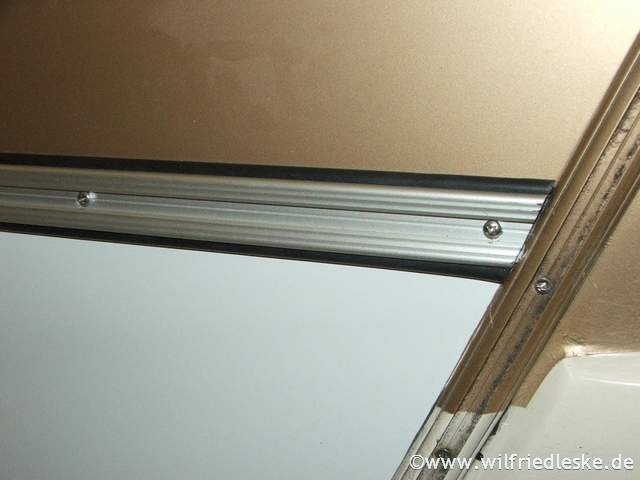
While everything was apart I decided to add a bit more soundproofing. I have fitted closed cell foam soundproofing and sprayed a truck bed liner on top. I am also going to fit some bitumen tape on top. Plus the existing liners and carpet will go on top. Hopefully it will make it a bit quieter.
It's difficult to see but whilst I was doing the welding I cut into the footwell arch and have given myself a footrest. My foot was always uncomfortable as the wheel arch would tilt it - now there's lots of room! And still plenty of room for the wheel - phew!

Letzte Änderung: 13 Dez. 2014 19:31 von dsj1979.
Antworten zu dsj1979
- dsj1979
-
Themenstarter
- Offline
- Routinier
-
- Beiträge: 109
- Thanks: 6
- Lollo_C
-

- Offline
- Administrator
-

- Hobby 600_Umbau
- Beiträge: 6173
- Thanks: 3024
Re: Starting on the rust....
13 Dez. 2014 21:58Hallo Daniel,dsj1979 schrieb: ... The mk2 handles are slightly different to the mk1, ...
I have a problem to understand: What do you mean with mk1 and mk2? Can it be that you means the Typ of the Ducato: 280 or 290?
But otherwise, you have done a good job. Congratulation!
Mit freundlichen Grüßen und Glückauf
Wilfried
Ich komme aus der alten Schule. Daher antworte ich nicht auf Fragen, die ohne Anrede und Gruß gestellt werden!
Wilfried
Ich komme aus der alten Schule. Daher antworte ich nicht auf Fragen, die ohne Anrede und Gruß gestellt werden!
Antworten zu Lollo_C
- dsj1979
-
Themenstarter
- Offline
- Routinier
-
- Beiträge: 109
- Thanks: 6
Re: Starting on the rust....
14 Dez. 2014 00:25
Thank you! Yes 280 and 290. It's a 280 vehicle with now 290 front panel, wings doors etc.
The subtle differences between 280 and 290 are annoying, things look the same but a tiny difference provides an annoying headache!
The subtle differences between 280 and 290 are annoying, things look the same but a tiny difference provides an annoying headache!
Antworten zu dsj1979
- saviemeke
-
- Offline
- Routinier
-
- Beiträge: 295
- Thanks: 84
Re: Starting on the rust....
24 Dez. 2014 23:07
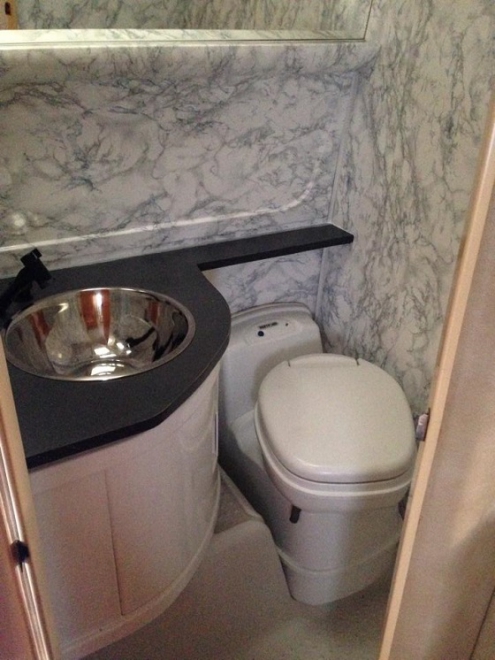
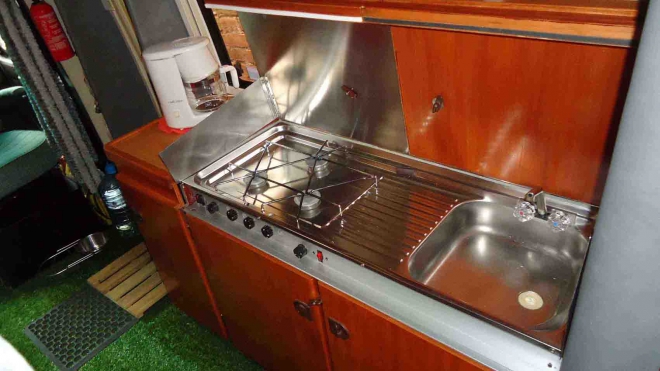
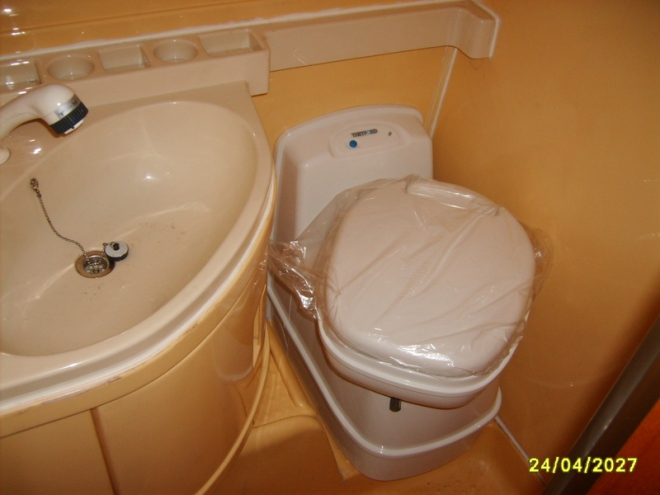
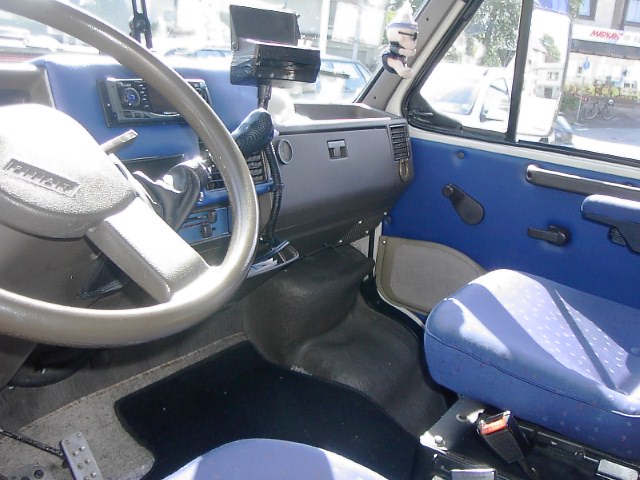
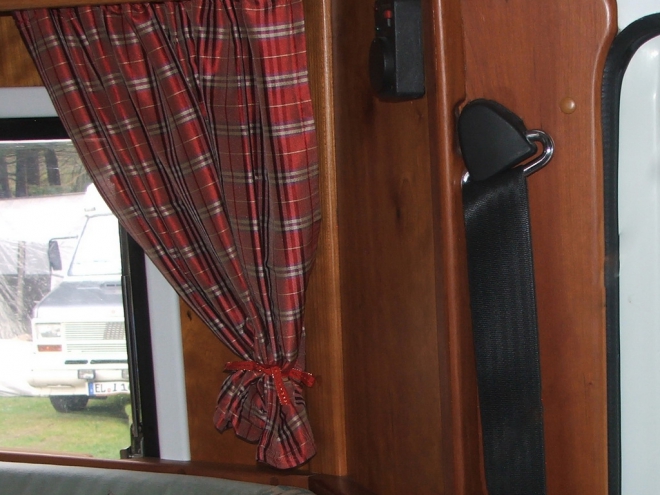
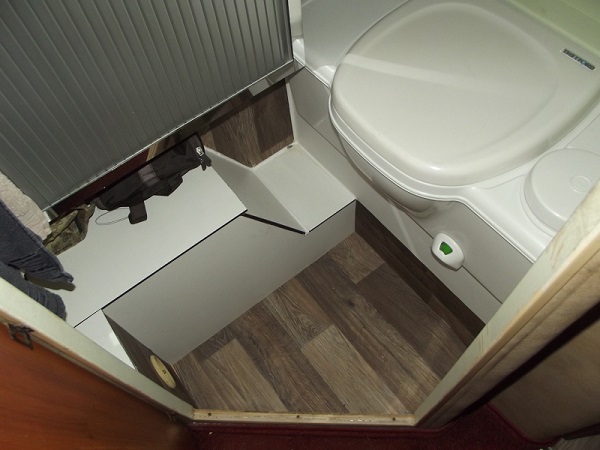
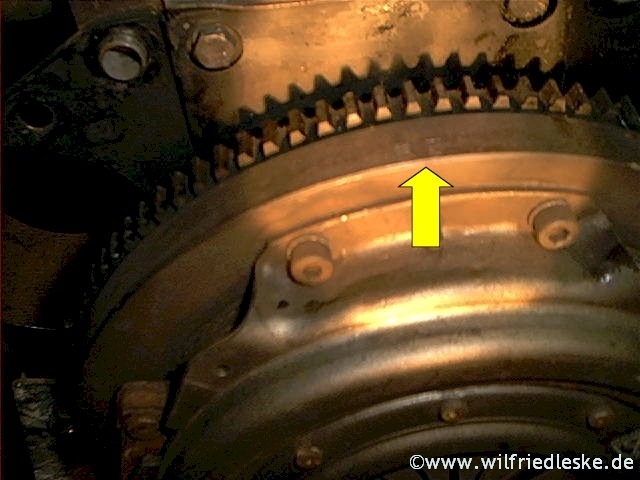
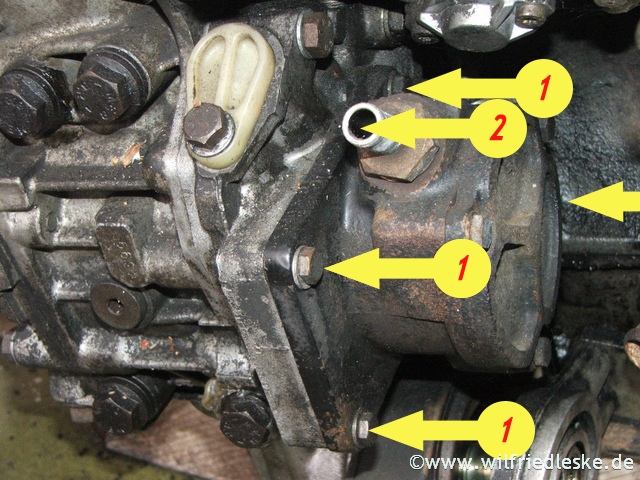
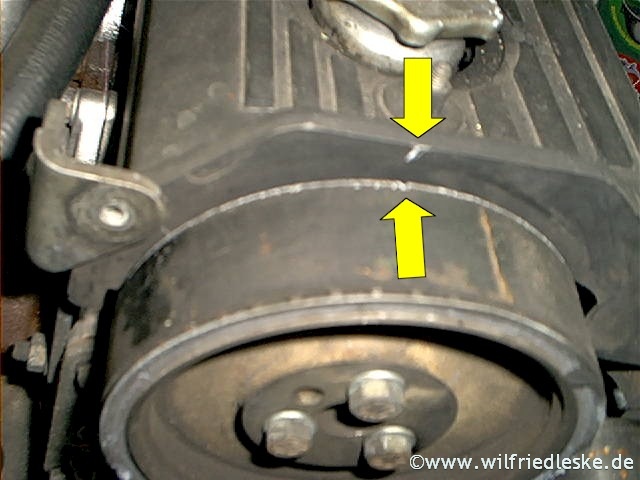
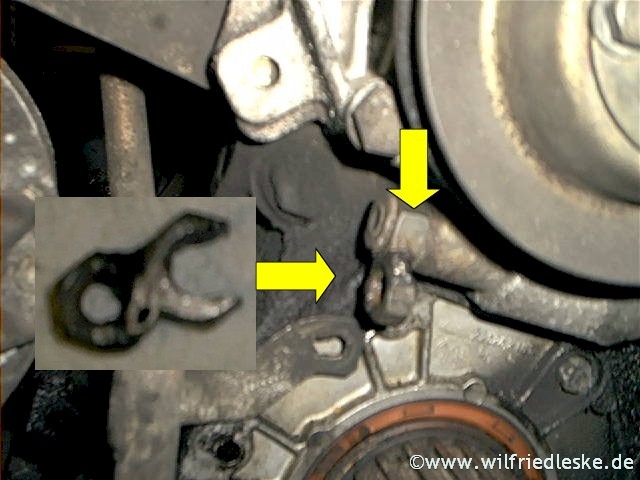
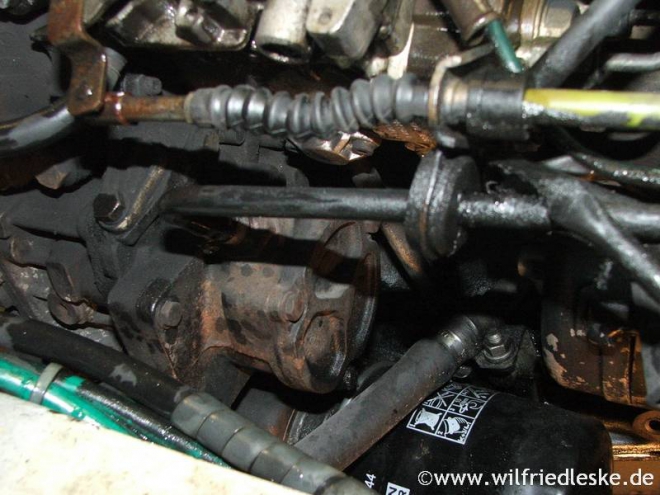
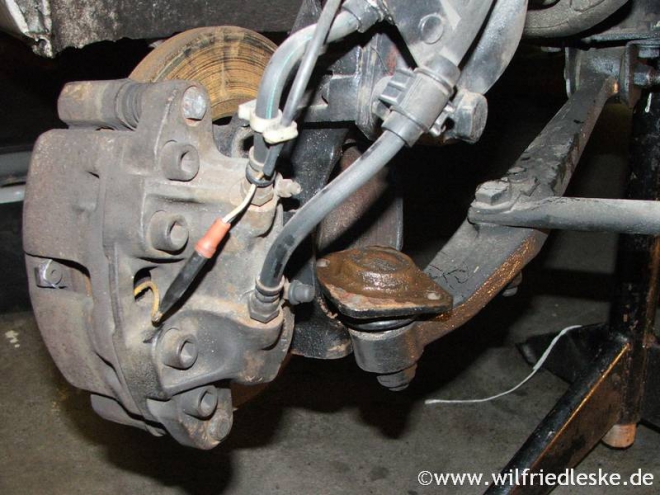
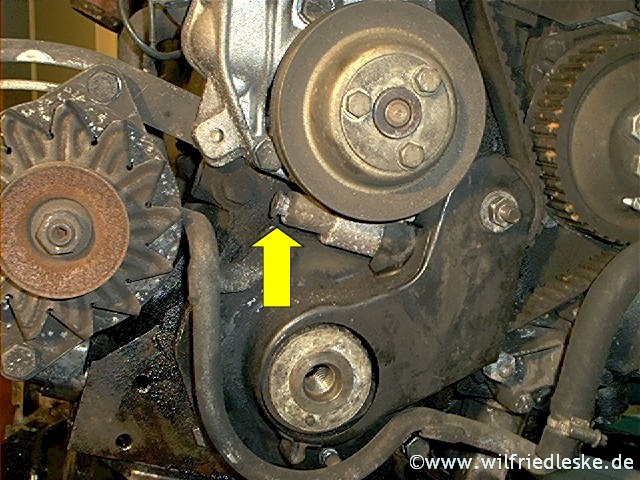
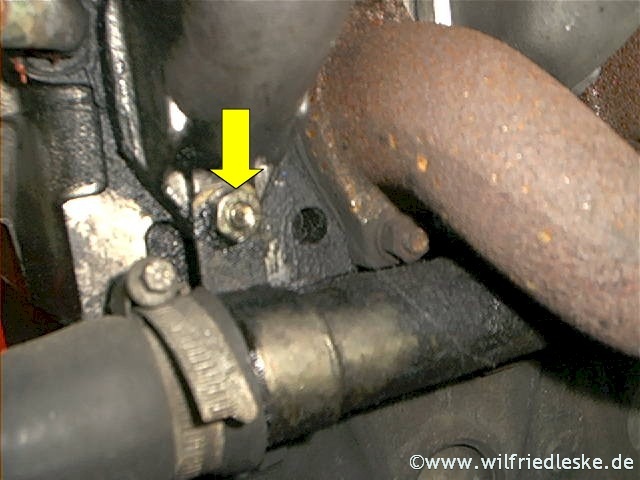
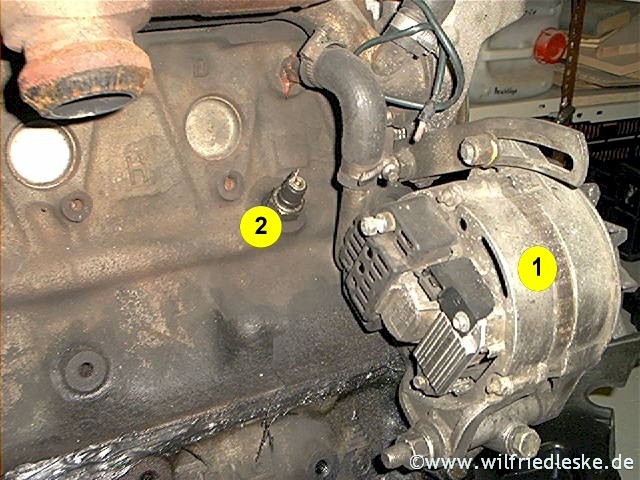
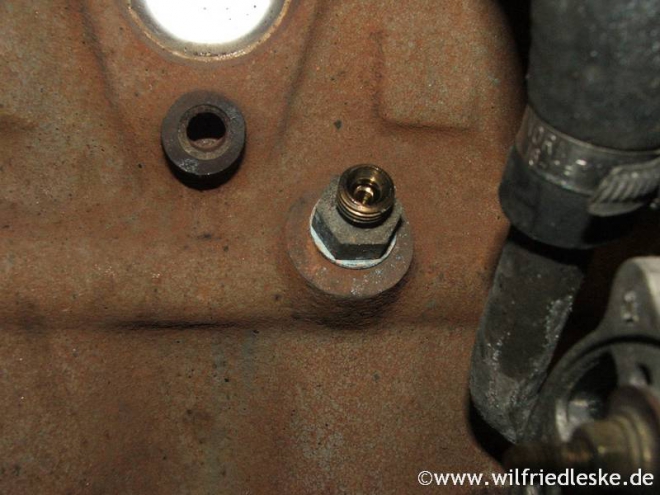
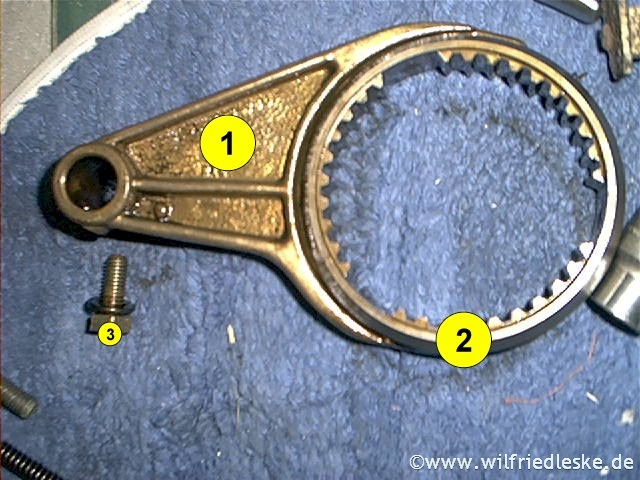
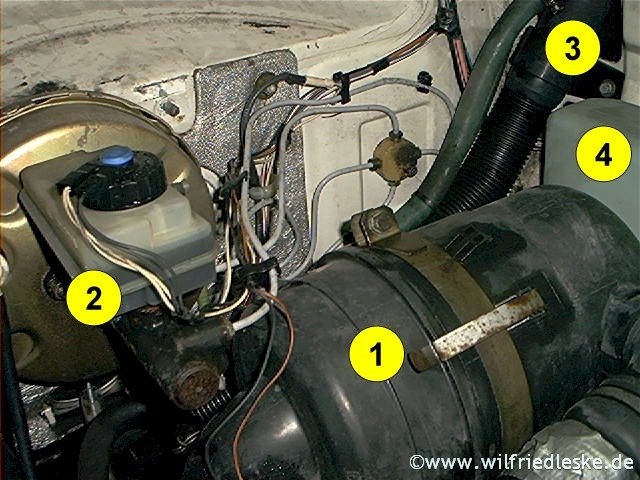
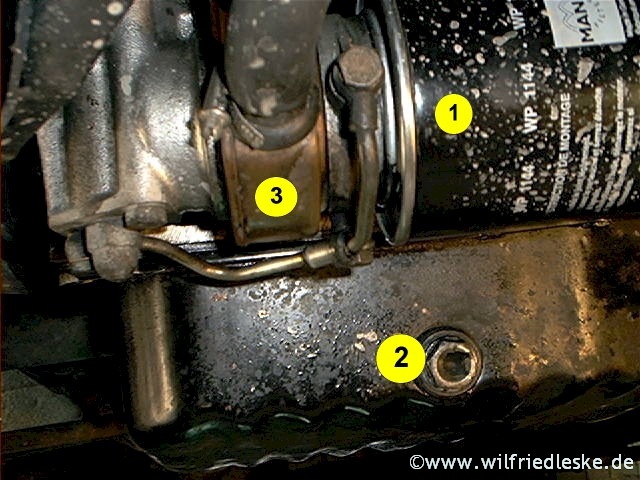
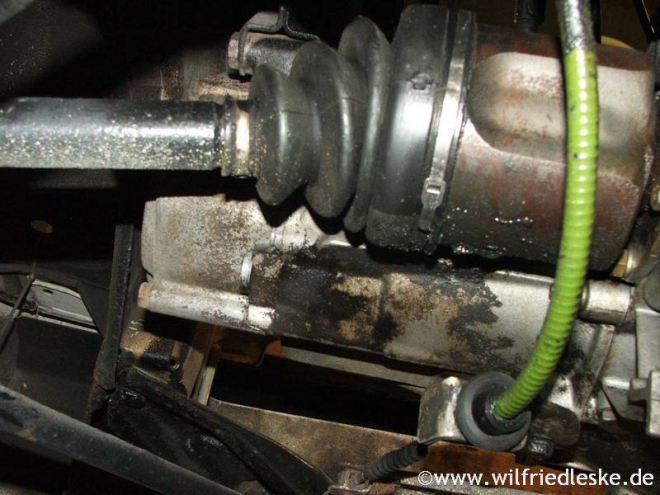
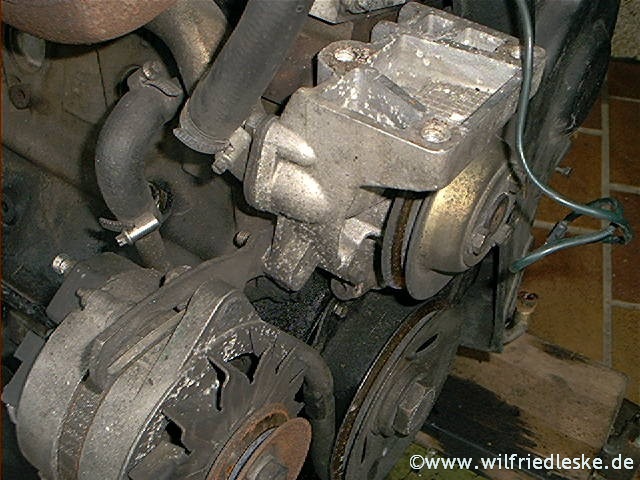
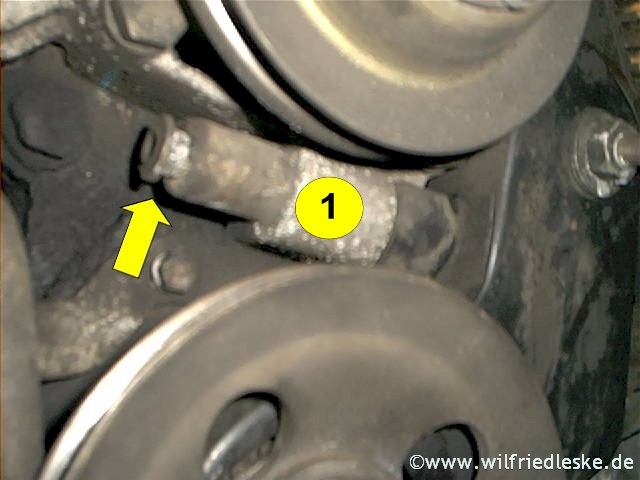
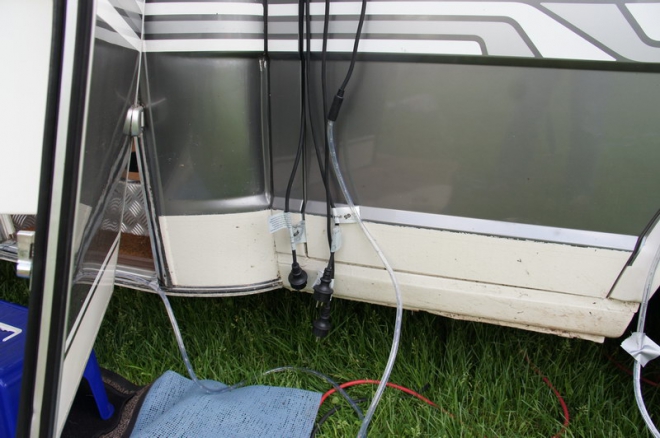
Hi Daniel, you ask, One question, where does the fuel filter fit to? I've been putting little bits and pieces back together today and and struggling to see where. Unless it's to the battery tray?
The fuel filter is located at the front part, across the fuel pump. Unfortunately i can't make photo's at this moment because i am painting our camper now.
The fuel filter is located at the front part, across the fuel pump. Unfortunately i can't make photo's at this moment because i am painting our camper now.
Mit freundlichen Grüßen, Gerard
Werfen Sie auch einen Blick auf meine Webseite,
(Meine Nachrichten sind manchmal mit Hilfe von einem Übersetzungsprogramm übersetzt....)
Werfen Sie auch einen Blick auf meine Webseite,
(Meine Nachrichten sind manchmal mit Hilfe von einem Übersetzungsprogramm übersetzt....)
Antworten zu saviemeke
- Lollo_C
-
- Offline
- Administrator
-
- Hobby 600_Umbau
- Beiträge: 6173
- Thanks: 3024
Re: Starting on the rust....
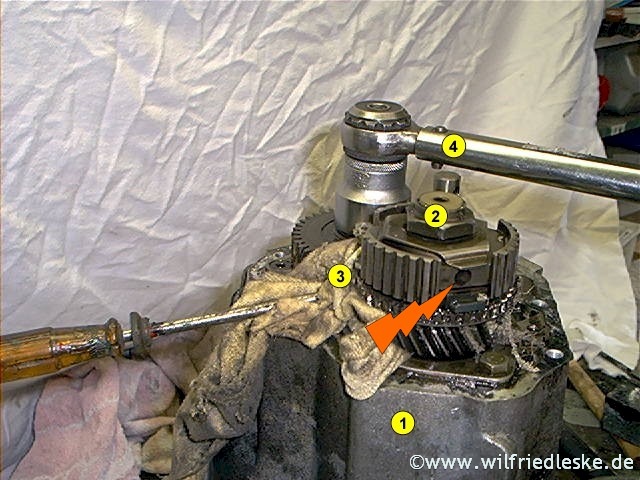
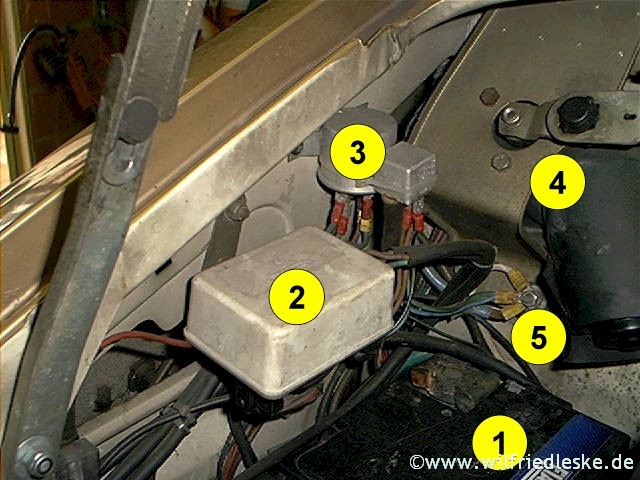
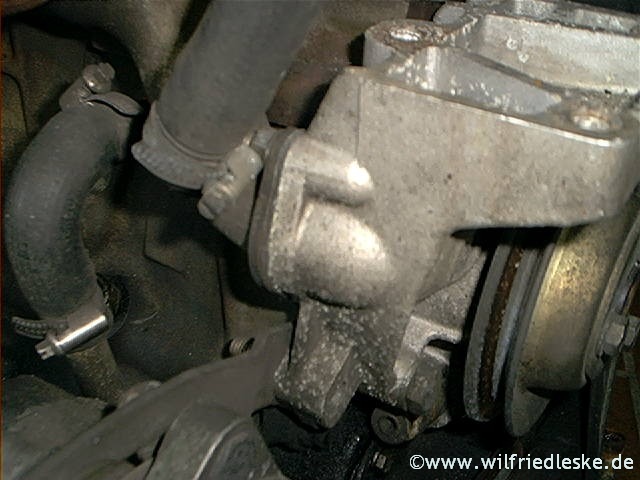
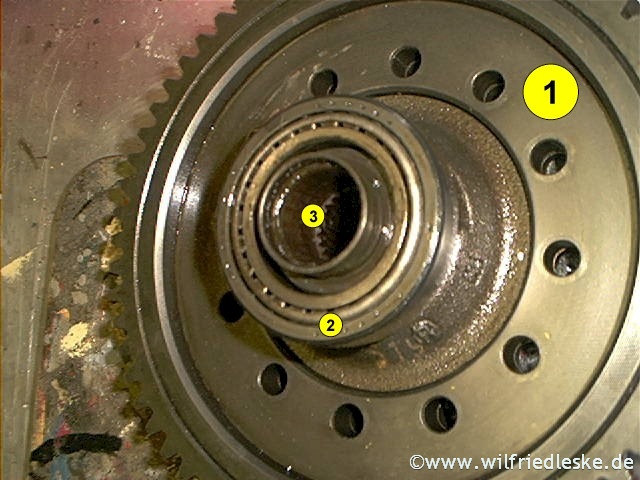
24 Dez. 2014 23:19 - 24 Dez. 2014 23:20
Hallo Daniel,
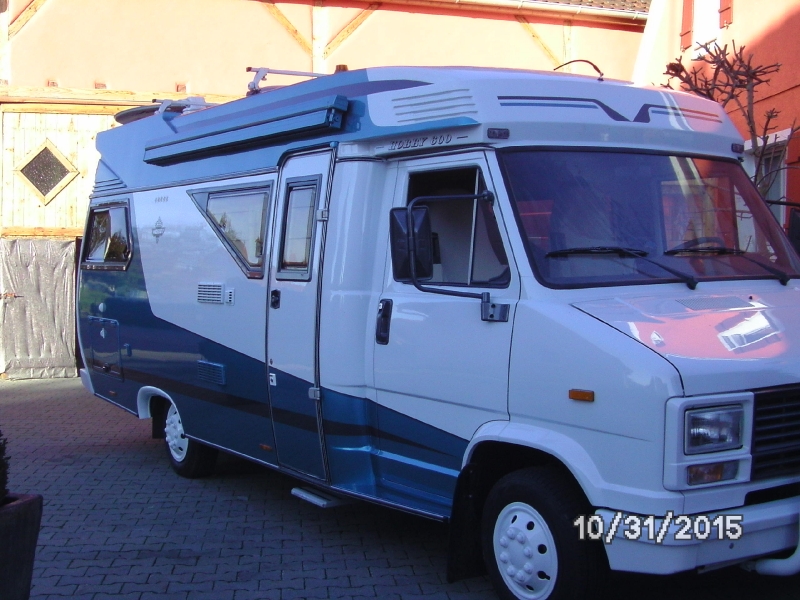
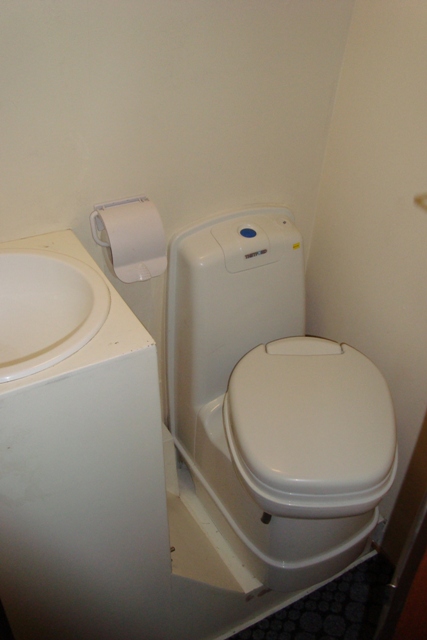
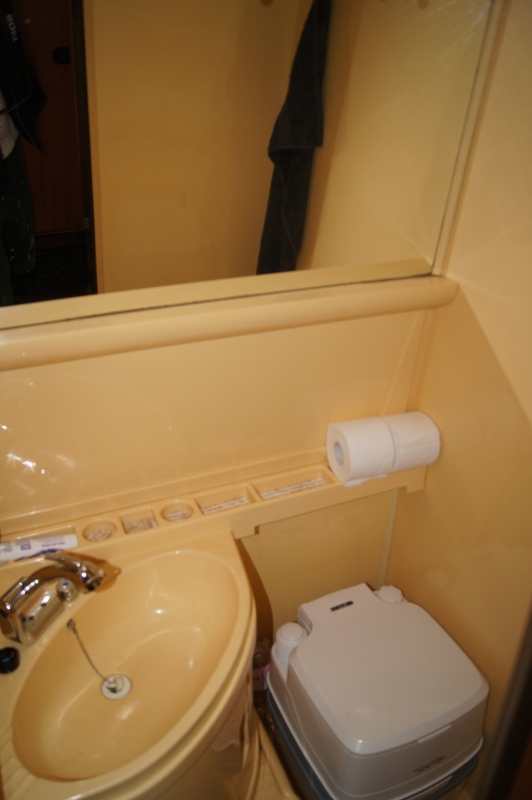
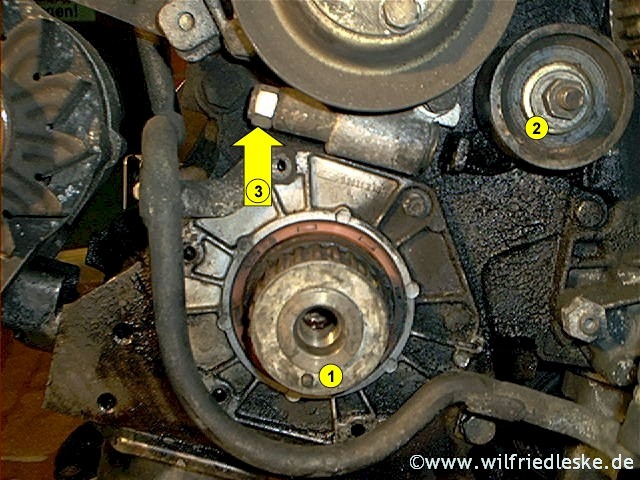
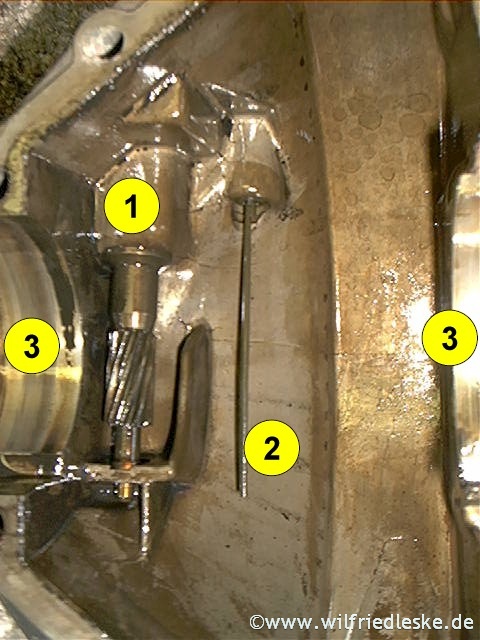
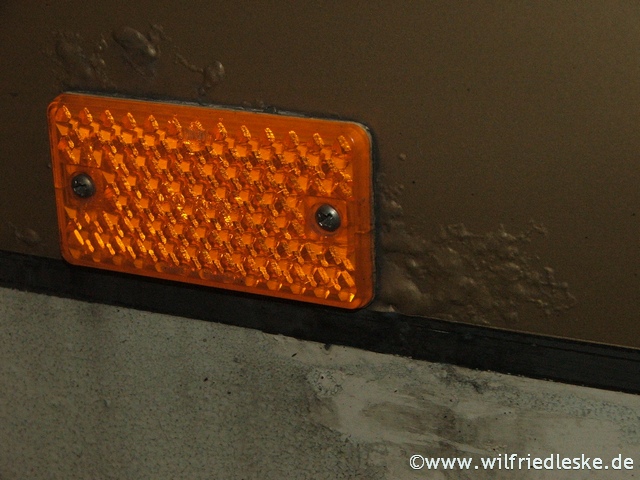
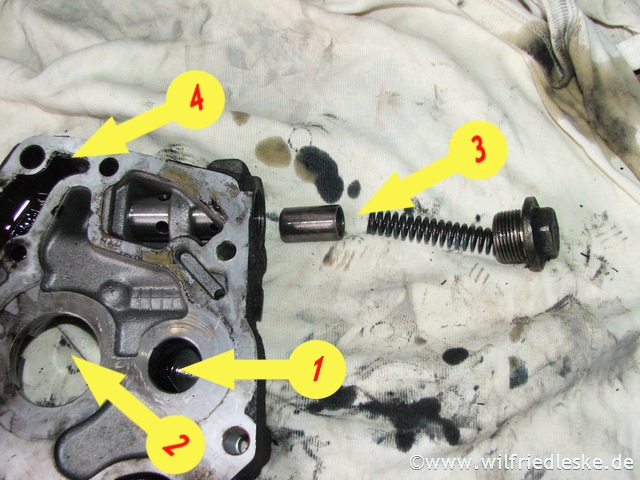
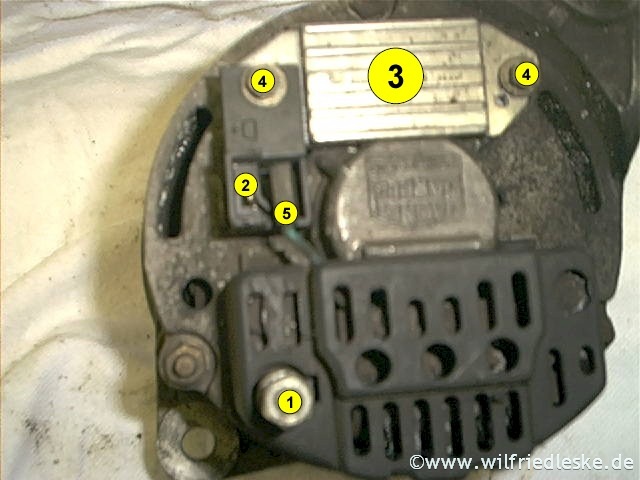
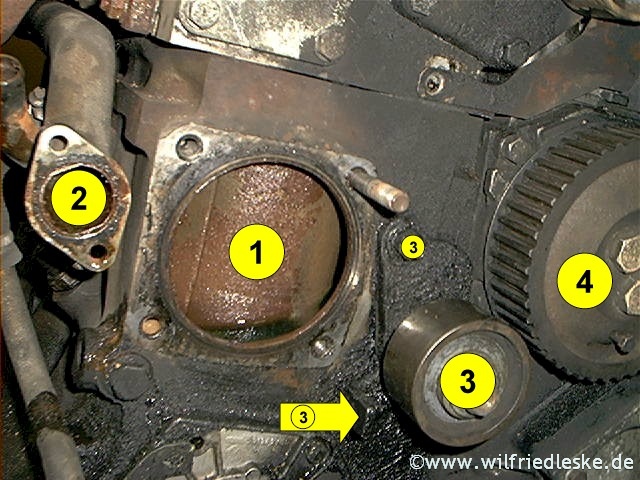
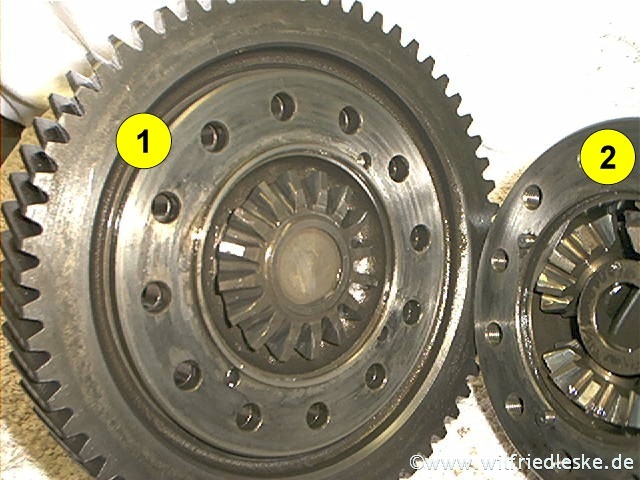
sorry, I did not read your question. Here is an picture from the fuel filter .
sorry, I did not read your question. Here is an picture from the fuel filter .
Mit freundlichen Grüßen und Glückauf
Wilfried
Ich komme aus der alten Schule. Daher antworte ich nicht auf Fragen, die ohne Anrede und Gruß gestellt werden!
Wilfried
Ich komme aus der alten Schule. Daher antworte ich nicht auf Fragen, die ohne Anrede und Gruß gestellt werden!
Letzte Änderung: 24 Dez. 2014 23:20 von Lollo_C.
Antworten zu Lollo_C
- dsj1979
-
Themenstarter
- Offline
- Routinier
-
- Beiträge: 109
- Thanks: 6
Re: Starting on the rust....
25 Dez. 2014 11:46
Ah, excellent thanks. I was putting it all around and couldn't see where it fits. I maybe missing a bracket on the new front panel for it to fit but that is easily sorted.
All the engine wiring is (hopefully) all plugged in now with the exception of the lights and indicators. That'll be done once I make some brackets to mount the headlights. Another one of those 280 going to a 290 problems!
All the engine wiring is (hopefully) all plugged in now with the exception of the lights and indicators. That'll be done once I make some brackets to mount the headlights. Another one of those 280 going to a 290 problems!
Antworten zu dsj1979
- saviemeke
-
- Offline
- Routinier
-
- Beiträge: 295
- Thanks: 84
Re: Starting on the rust....
25 Dez. 2014 11:59 - 25 Dez. 2014 12:00
Daniel, there aren't problems, they are challenges. :daumen2:
Mit freundlichen Grüßen, Gerard
Werfen Sie auch einen Blick auf meine Webseite,
(Meine Nachrichten sind manchmal mit Hilfe von einem Übersetzungsprogramm übersetzt....)
Werfen Sie auch einen Blick auf meine Webseite,
(Meine Nachrichten sind manchmal mit Hilfe von einem Übersetzungsprogramm übersetzt....)
Letzte Änderung: 25 Dez. 2014 12:00 von saviemeke.
Antworten zu saviemeke
- dsj1979
-
Themenstarter
- Offline
- Routinier
-
- Beiträge: 109
- Thanks: 6
Re: Starting on the rust....
25 Dez. 2014 12:04
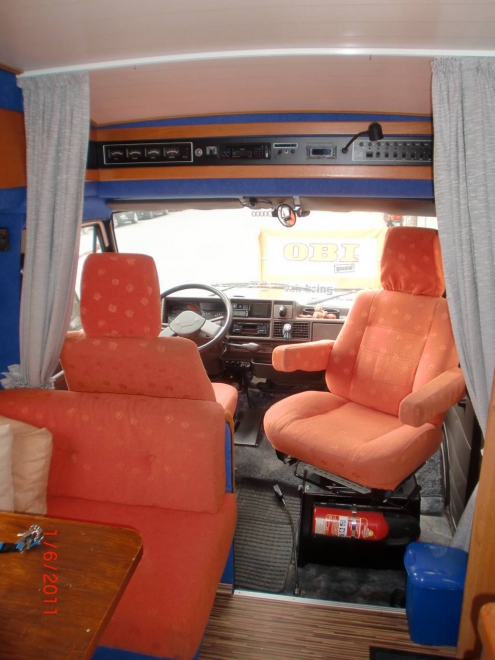
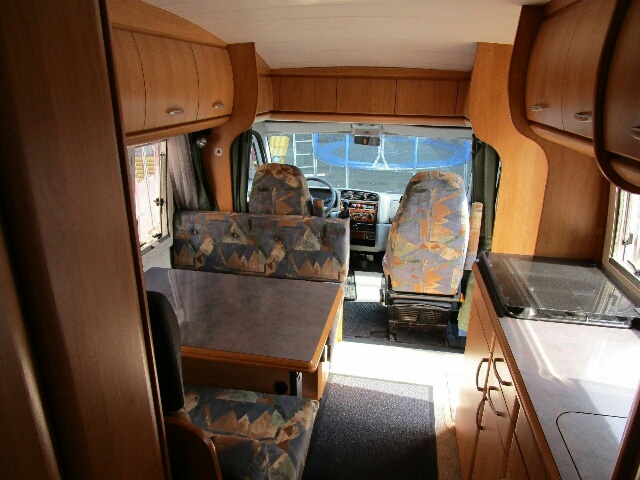
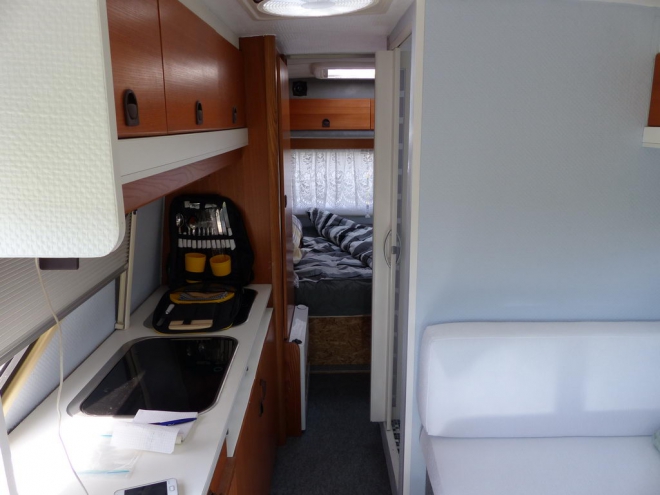
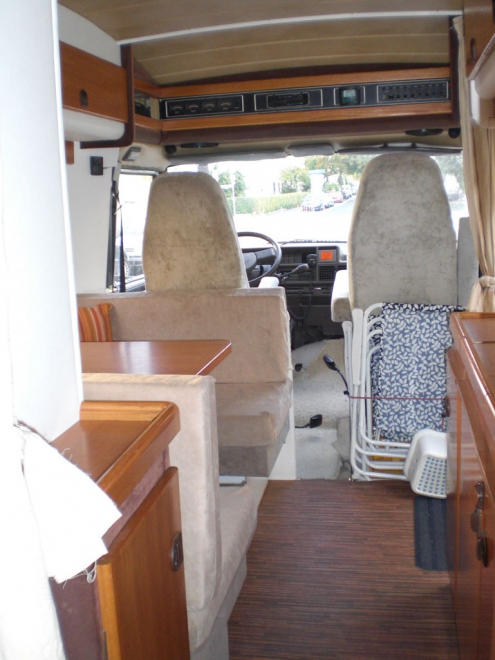
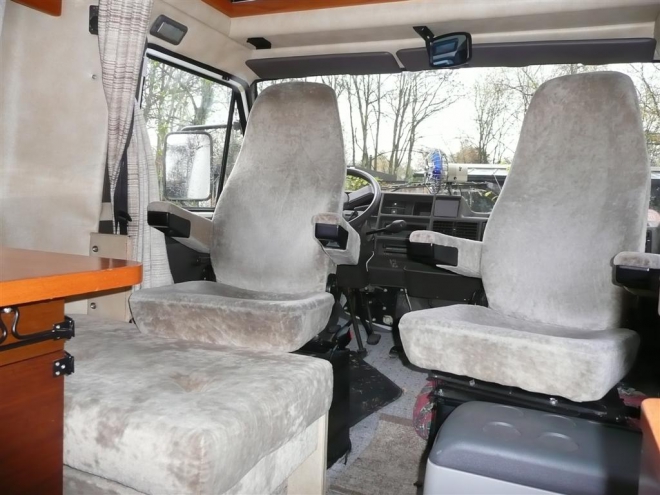
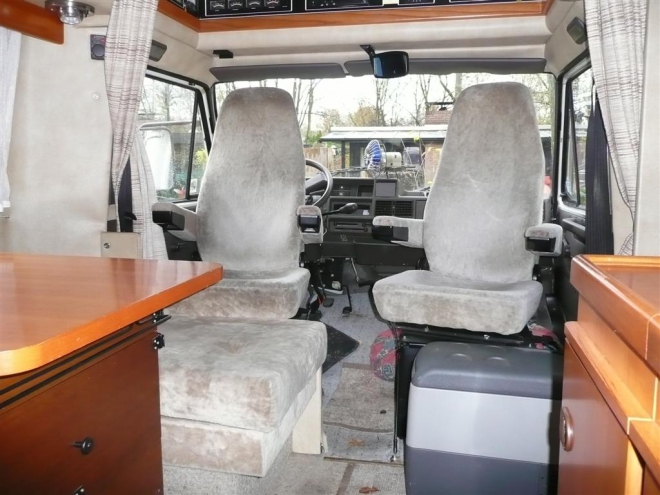
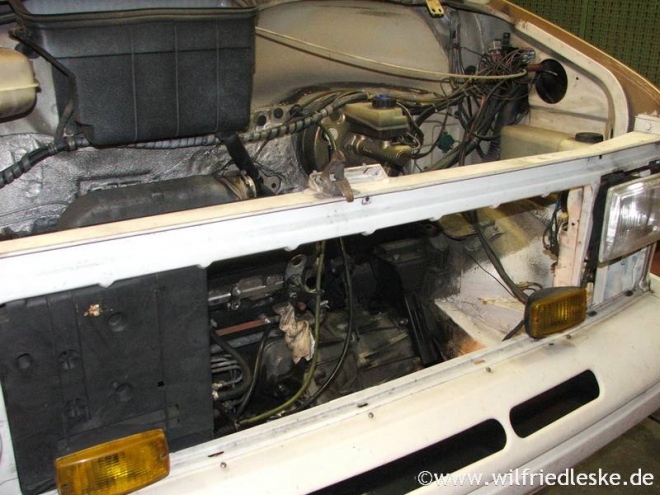
I've fitted all of the bitumen sound proofing to the cab! That means I can start putting the dash back together!
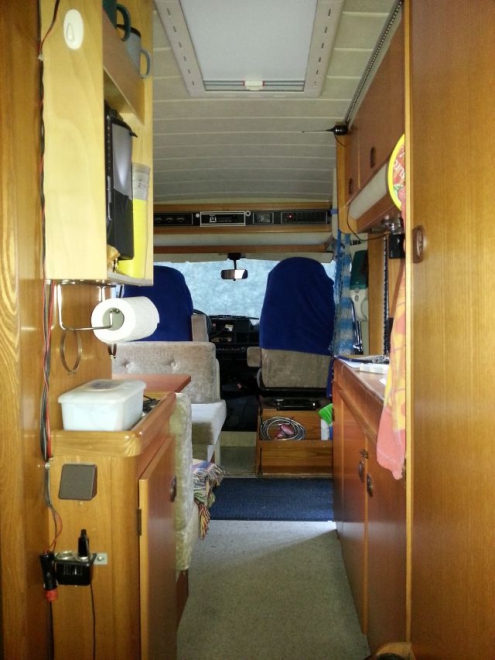
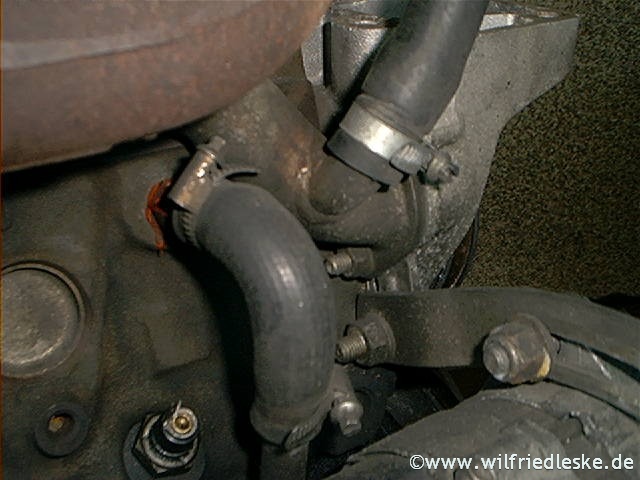
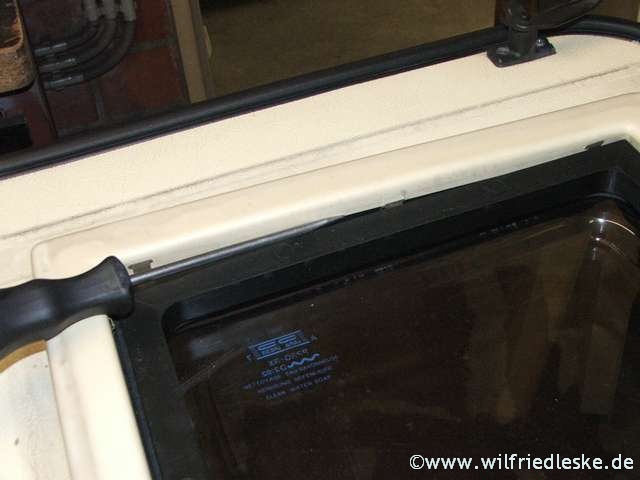
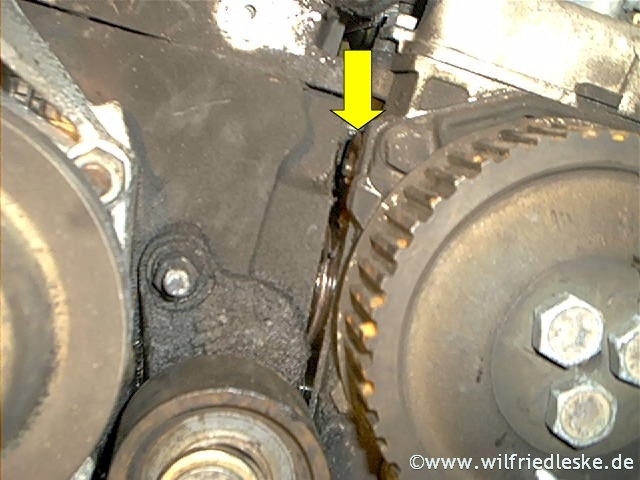
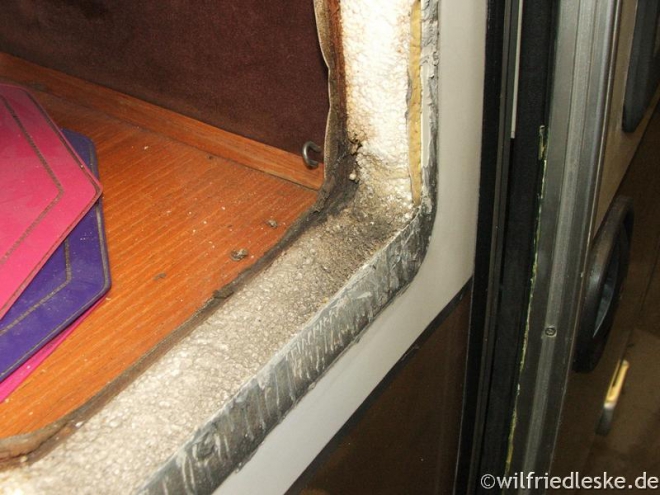
I've fitted a new windscreen now which has been sealed in with window sealant as well; hopefully if no water gets behind the seal it won't rust again. I have covered the underside of the wiper panel with waxoyl (as with the rest of the cab!) so I'm hoping not to have to work on it ever again!
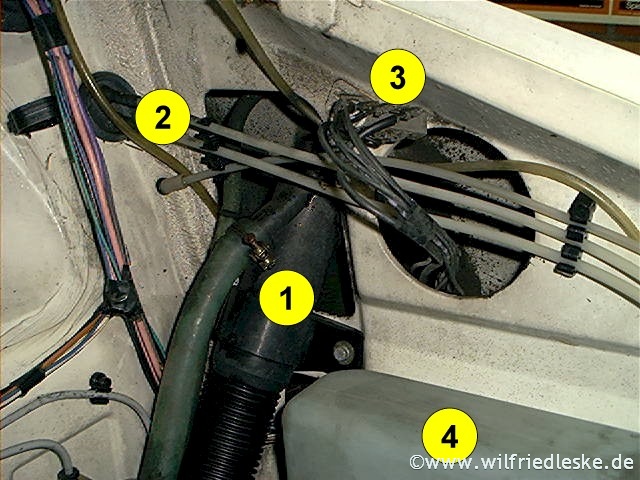
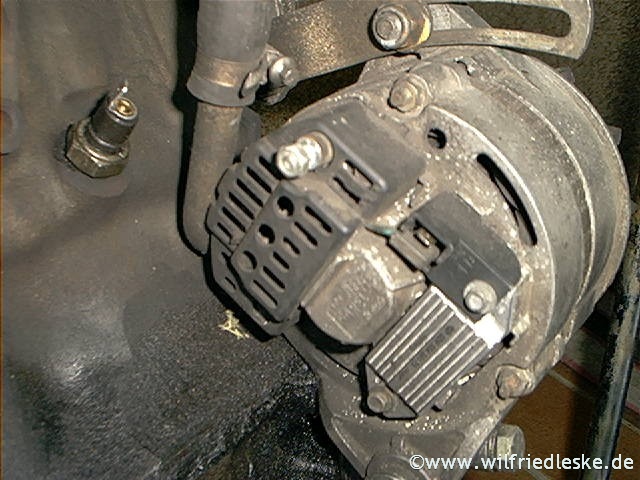
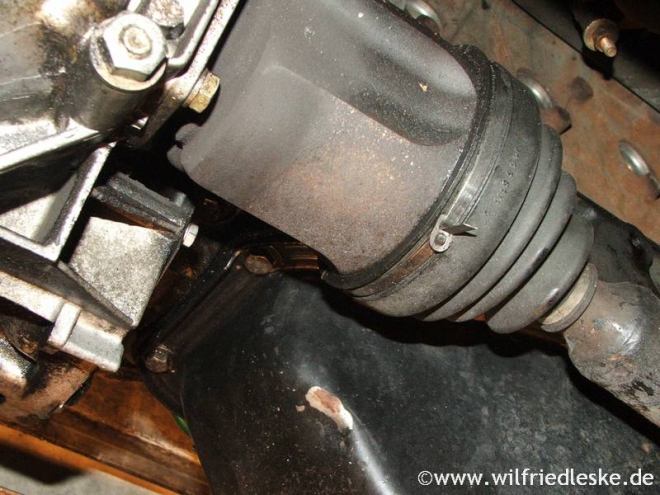
The wiper system is all fitted and appears to be working, the little bits in the engine bay have been painted and fitted. Battery tray, air filter box, spare wheel bracket etc.
The battery tray has been bolted in so that provides easy maintenance should I need to get behind there in future.
December has been a good month, I've managed to get lots done! There will always be a million jobs to do but I'm hoping it will be roadworthy and able to be useable by the end of January!
That means I can start putting the dash back together!I've fitted a new windscreen now which has been sealed in with window sealant as well; hopefully if no water gets behind the seal it won't rust again. I have covered the underside of the wiper panel with waxoyl (as with the rest of the cab!) so I'm hoping not to have to work on it ever again!
The wiper system is all fitted and appears to be working, the little bits in the engine bay have been painted and fitted. Battery tray, air filter box, spare wheel bracket etc.
The battery tray has been bolted in so that provides easy maintenance should I need to get behind there in future.
December has been a good month, I've managed to get lots done! There will always be a million jobs to do but I'm hoping it will be roadworthy and able to be useable by the end of January!
Antworten zu dsj1979
Ladezeit der Seite: 0.447 Sekunden


