


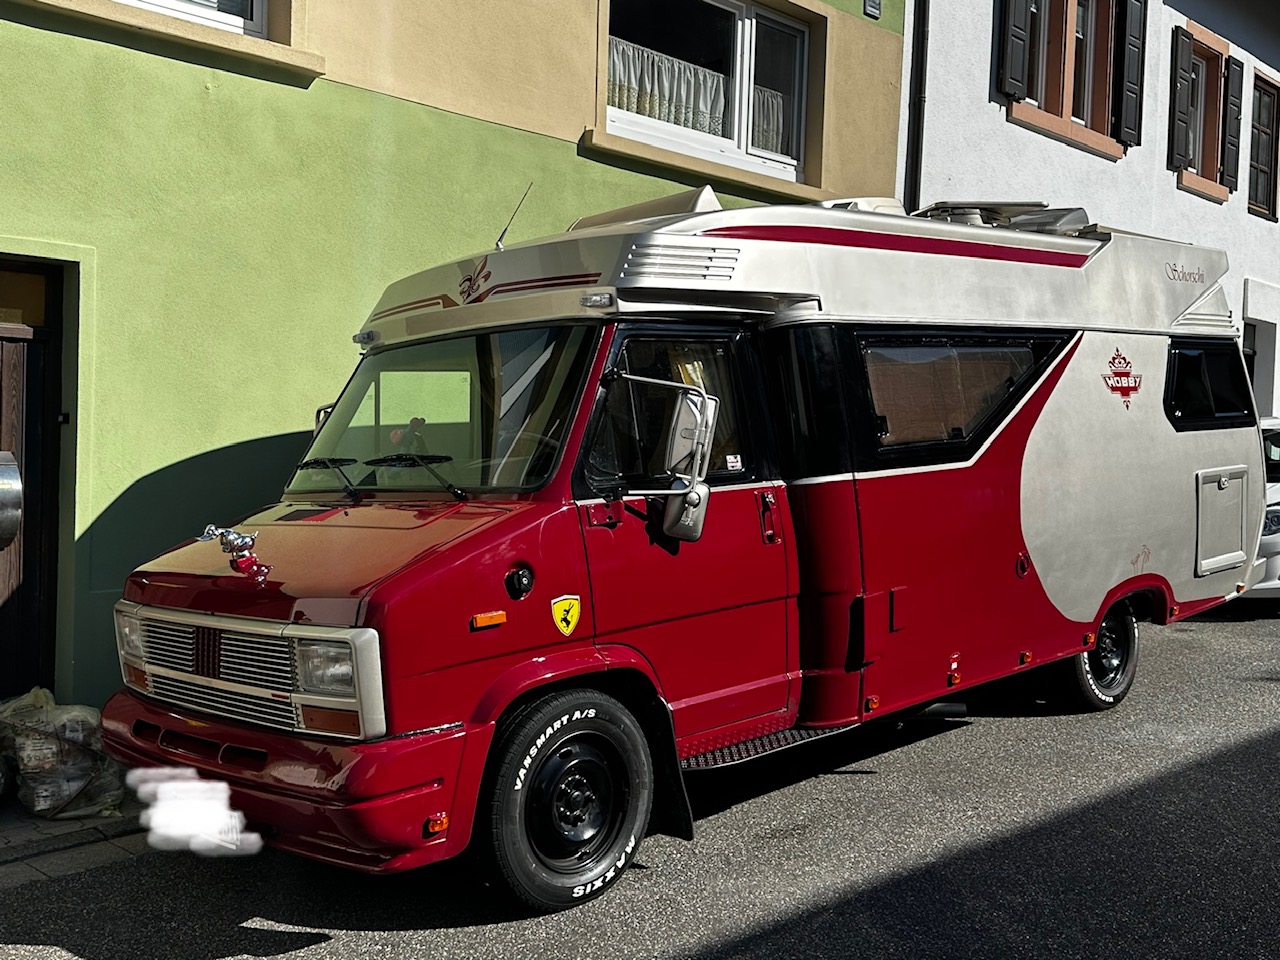
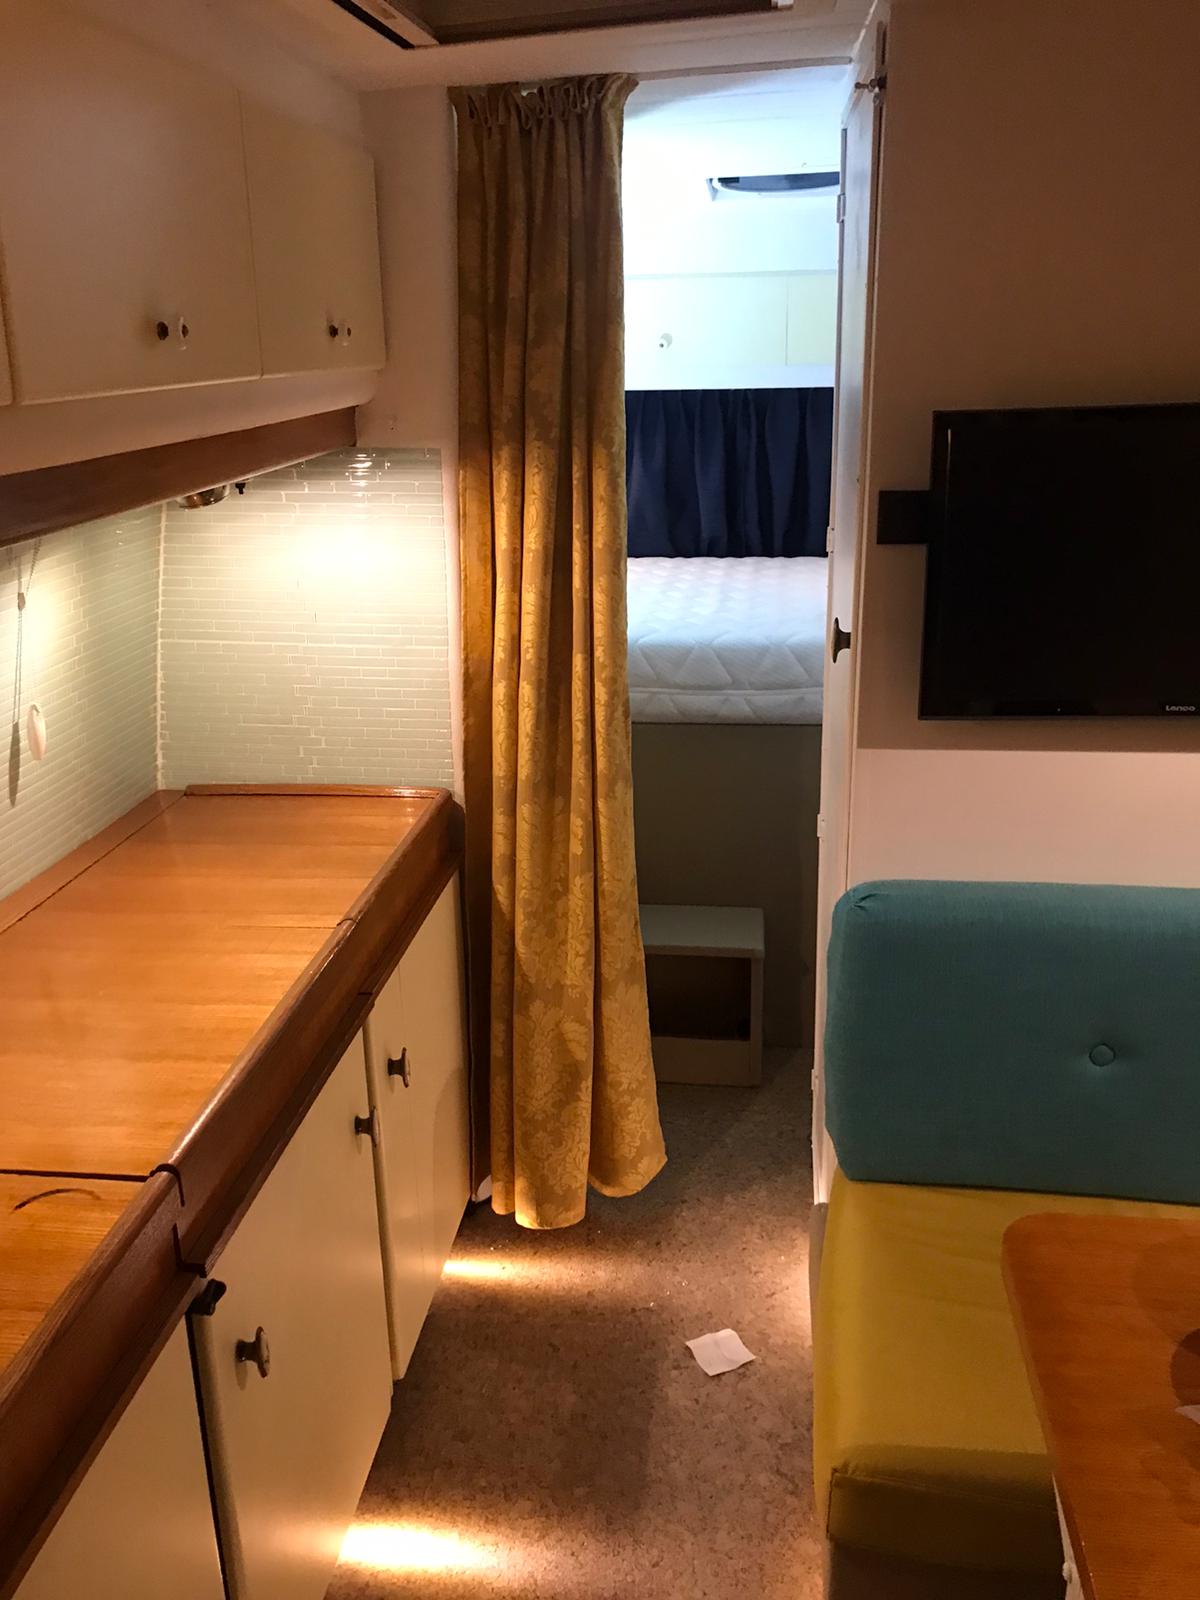
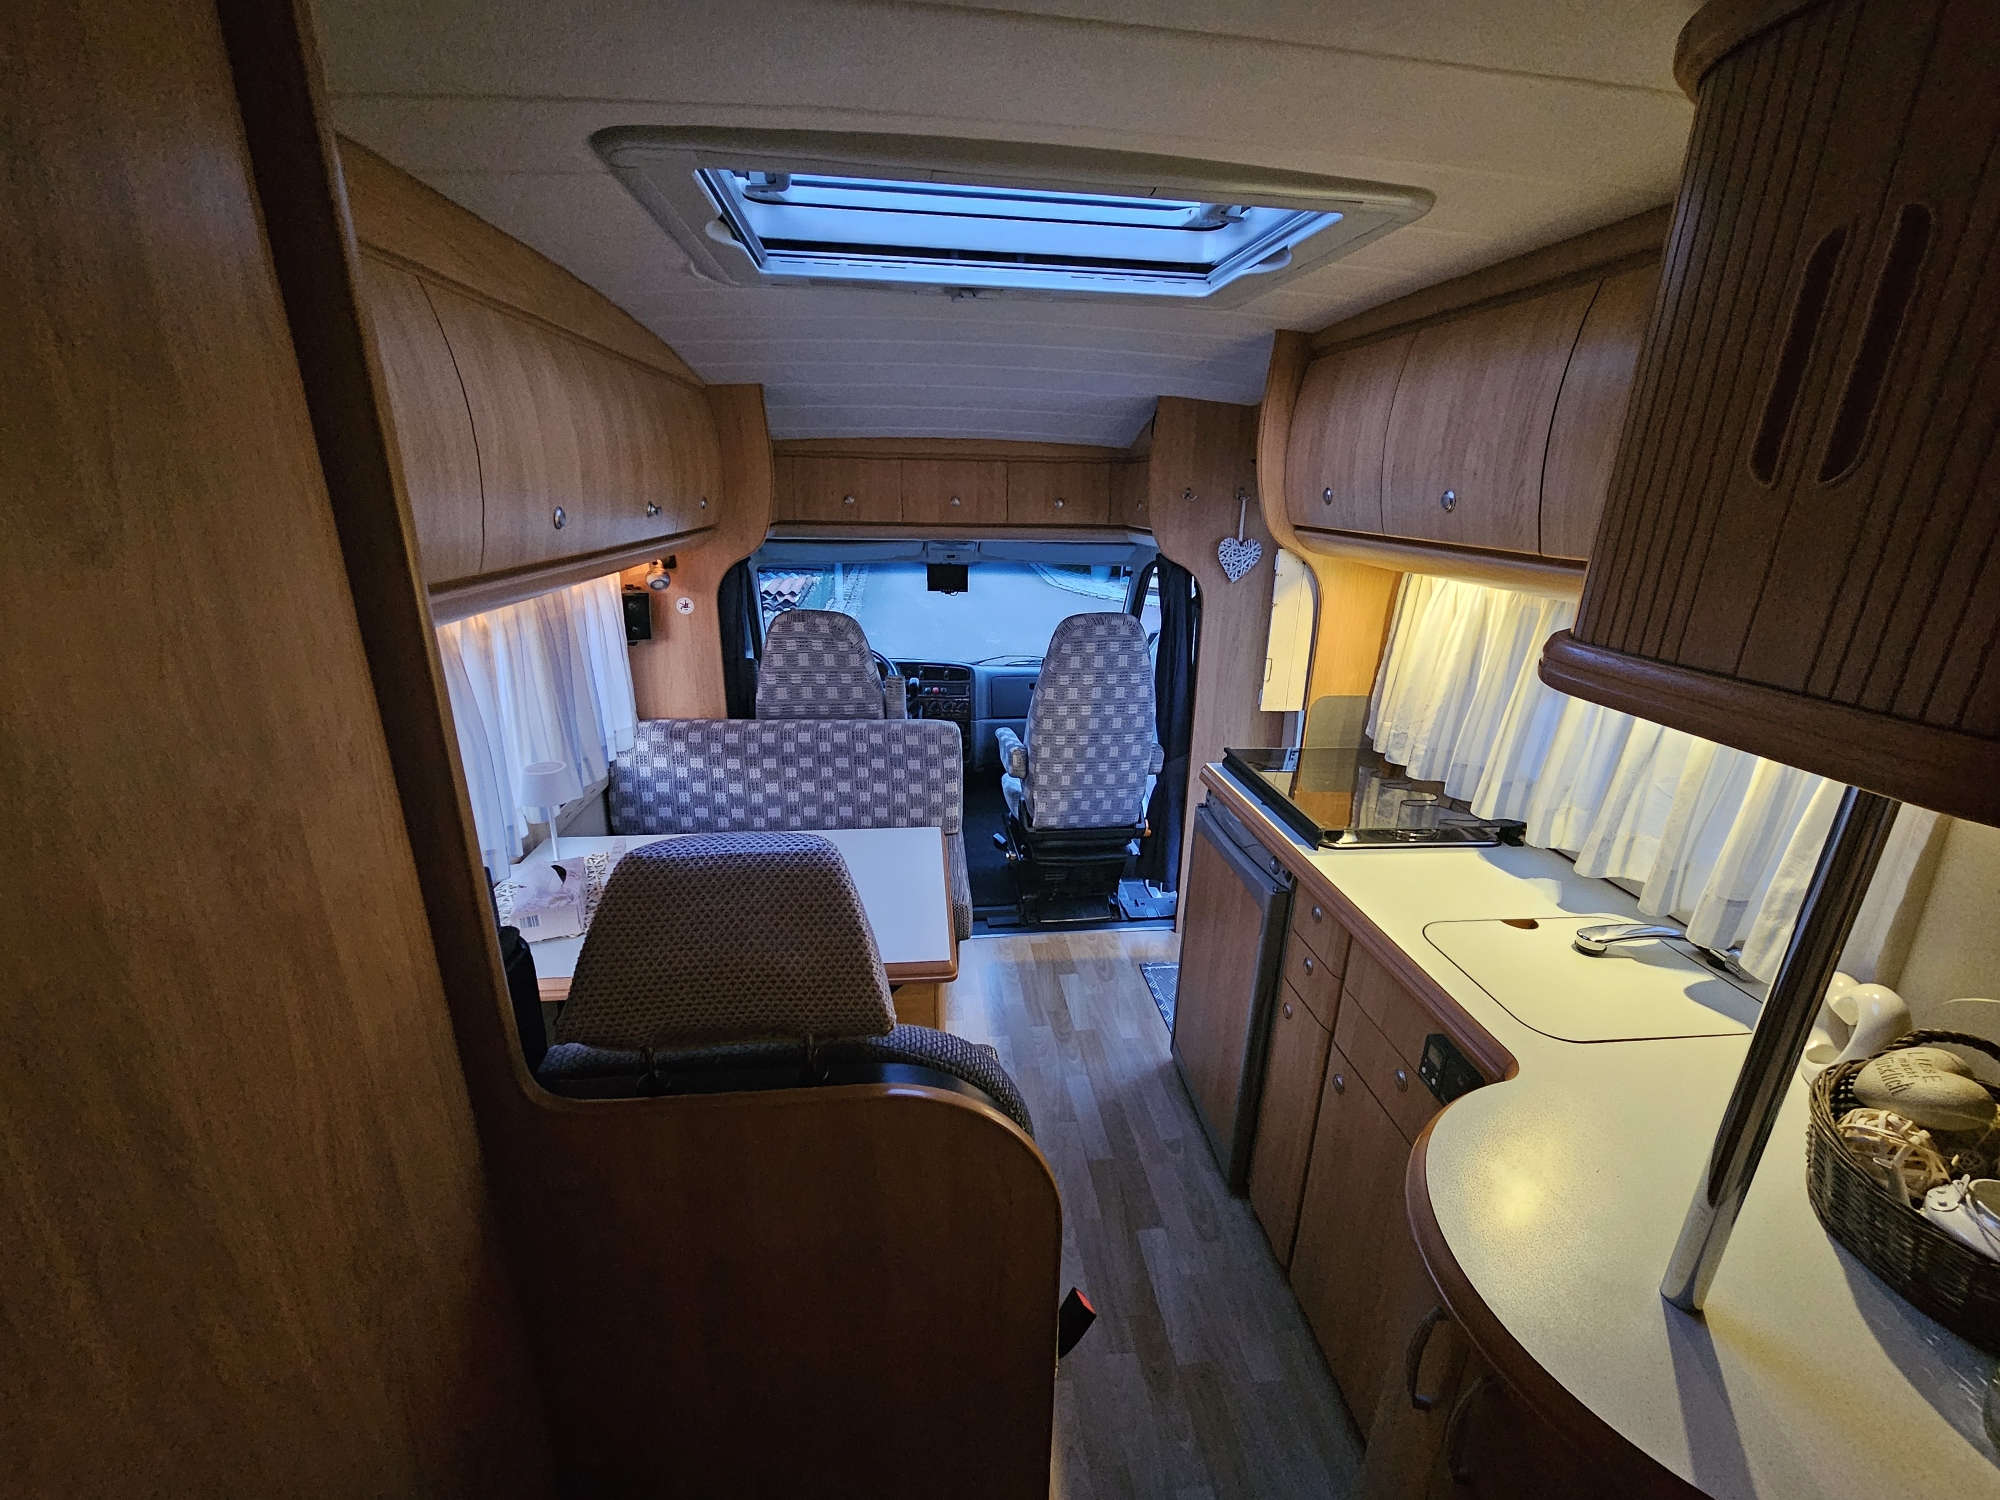
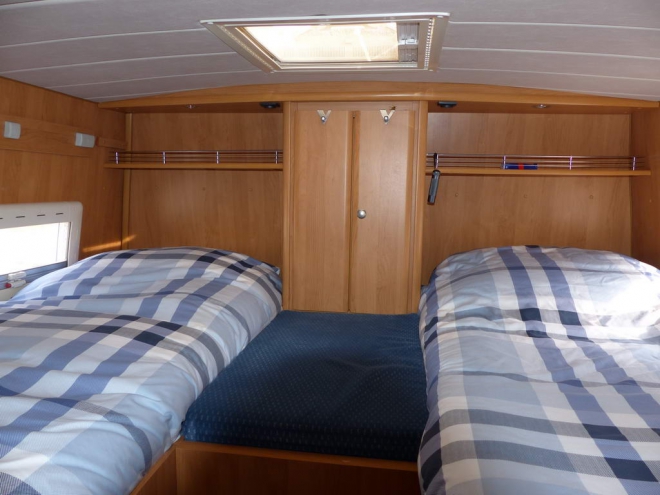
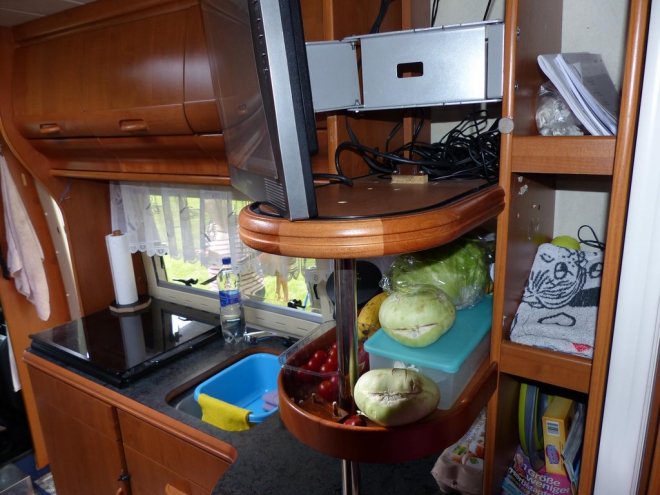
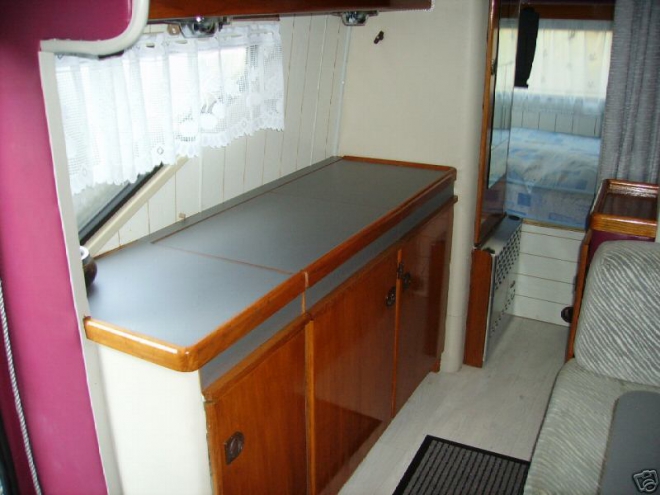
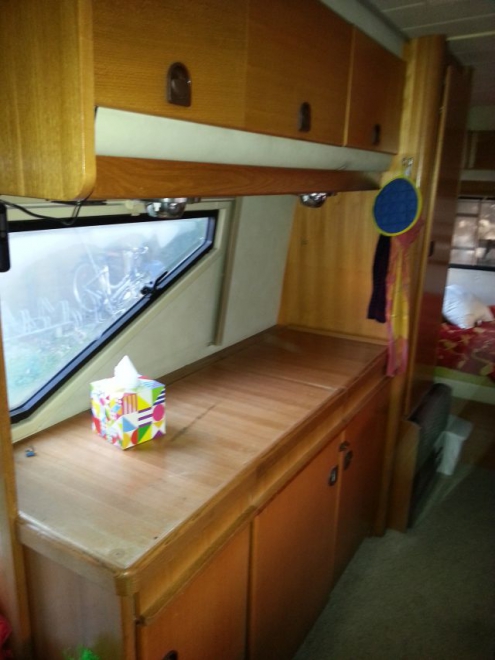
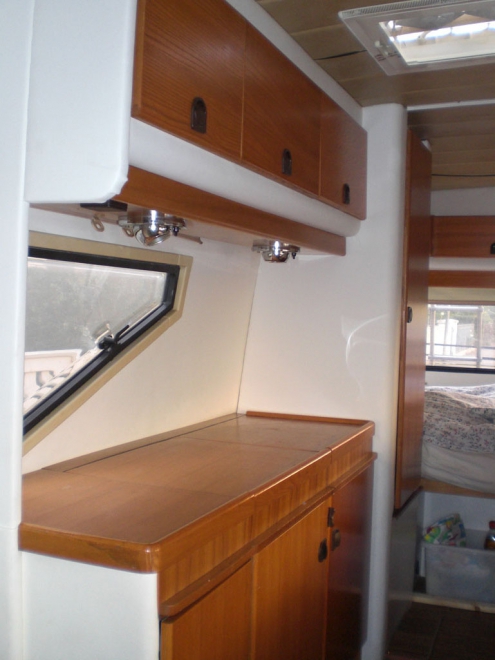
Antwort: ausbau oberen Küchenschränke
Themenhistorie von: ausbau oberen Küchenschränke
Max. Anzeige der letzten 10 Beiträge - (Letzter Beitrag zuerst)

artyvisual
23 Apr. 2016 18:06
artyvisual
23 Apr. 2016 07:22

Danken
23 Apr. 2016 01:52
artyvisual
22 Apr. 2016 21:43
Danken
25 März 2016 21:15

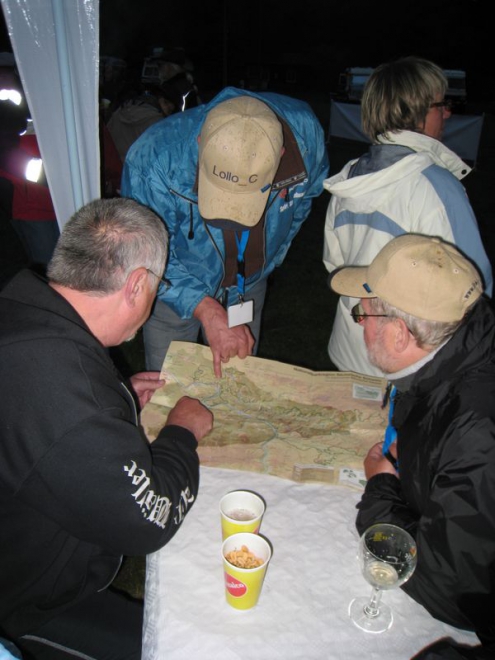
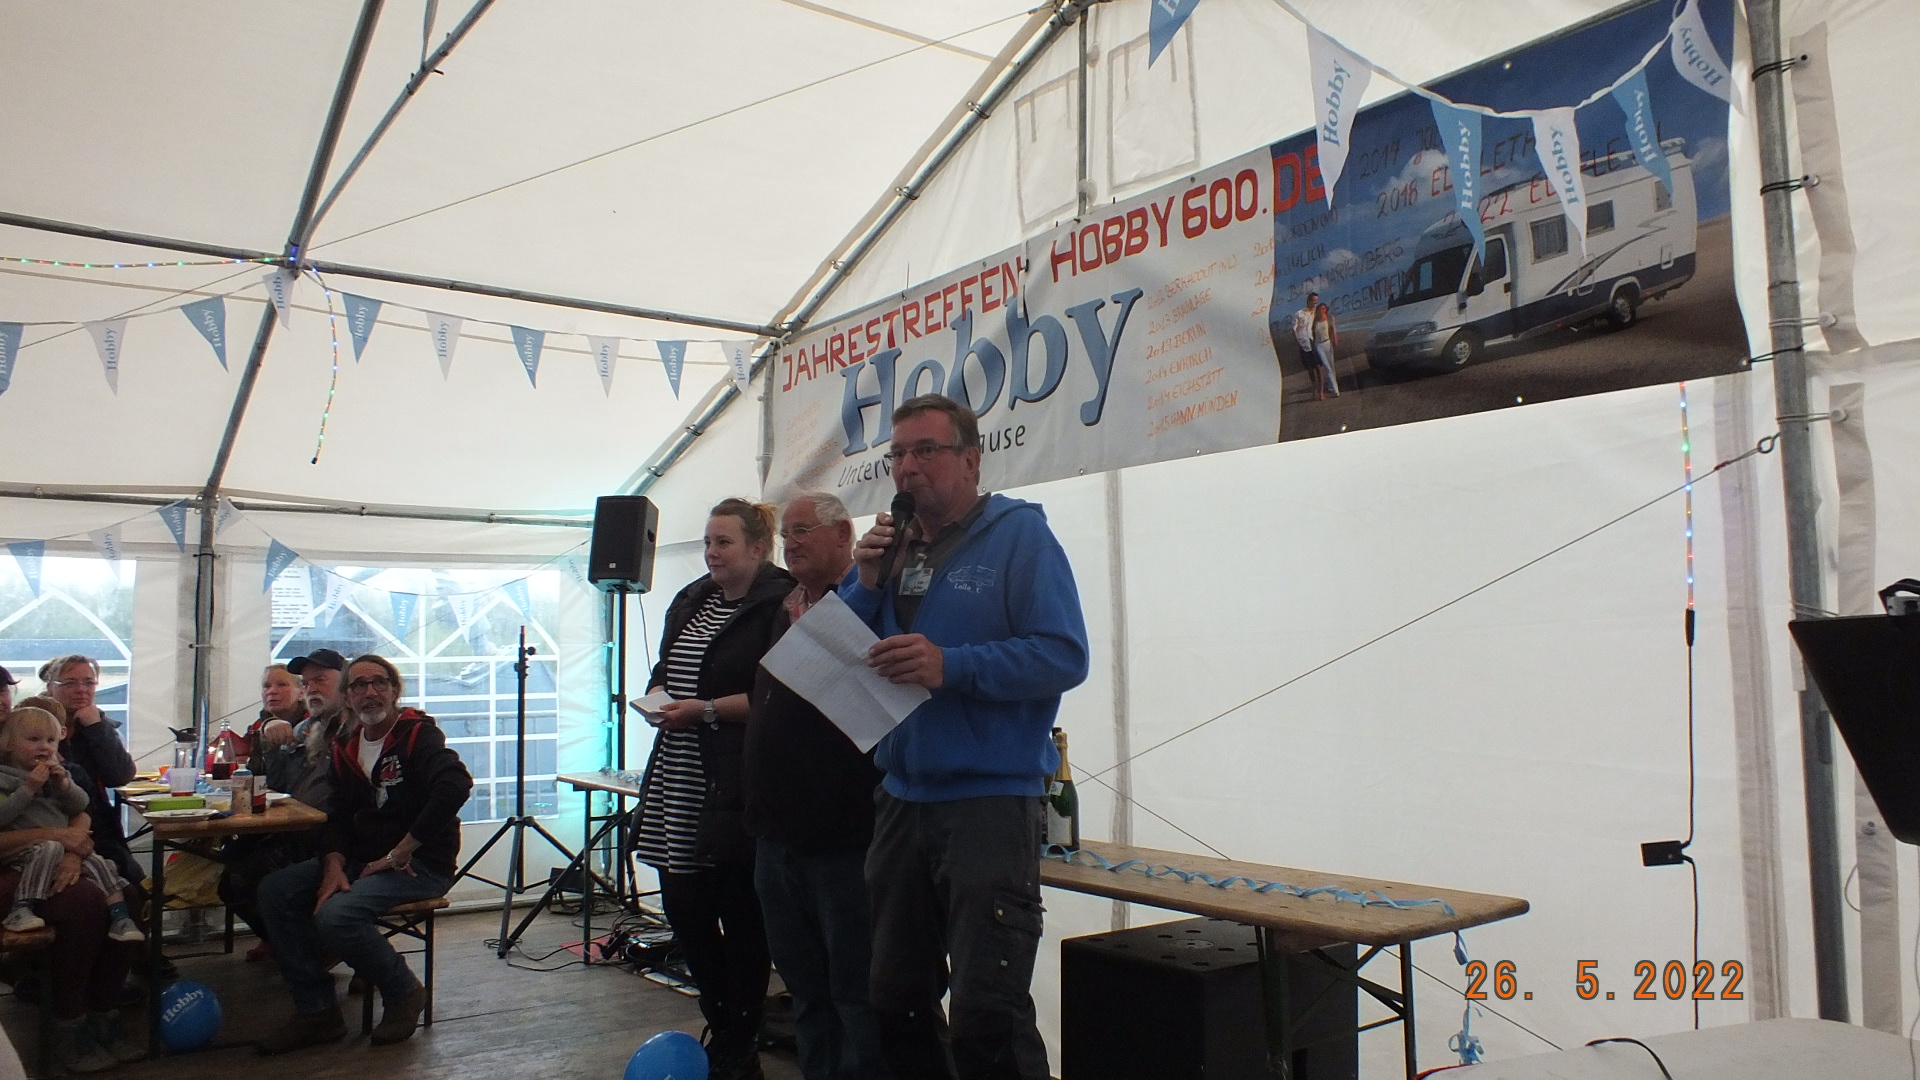
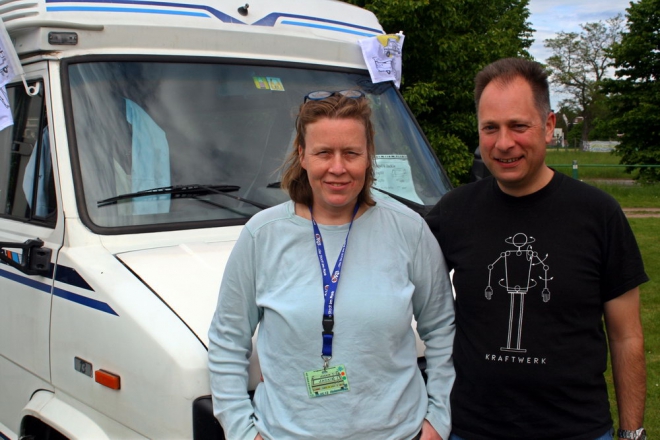
Lollo_C
25 März 2016 18:16

Der Däne
25 März 2016 17:53
Lollo_C
25 März 2016 08:24
artyvisual
24 März 2016 22:50
Lollo_C
20 März 2016 11:07


